ThanksHammy wrote:I love this project... Soo much fabrication, ingenuity and down right skillz...
Man you are a legend!!!
I'll be watching this to the end!!!
Keep up the awesome work!
Hammy
Project Jay-Spec MX-326GS
-
IMACHU2
- Regular Member
- Posts: 559
- Joined: September 25th, 2008, 4:11 pm
- Location: Guelph Ontario Canada
Re: Project Jay-Spec MX-326GS
Dominic Toretto's whip is a MaZda and his cell phone number starts in "(323)"
My work log http://mx-3.com/phpBB3/viewtopic.php?f=46&t=72471
My work log http://mx-3.com/phpBB3/viewtopic.php?f=46&t=72471
-
IMACHU2
- Regular Member
- Posts: 559
- Joined: September 25th, 2008, 4:11 pm
- Location: Guelph Ontario Canada
Re: Project Jay-Spec MX-326GS
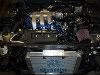
Made a battery tray out of a old metal shelf from a display from work.
Just about killed myself with a cut-off wheel LOL. Half got stuck in the ceiling, a piece cut my stomach and another piece hit the garage door about 20' away.
Cut the tray to shape.

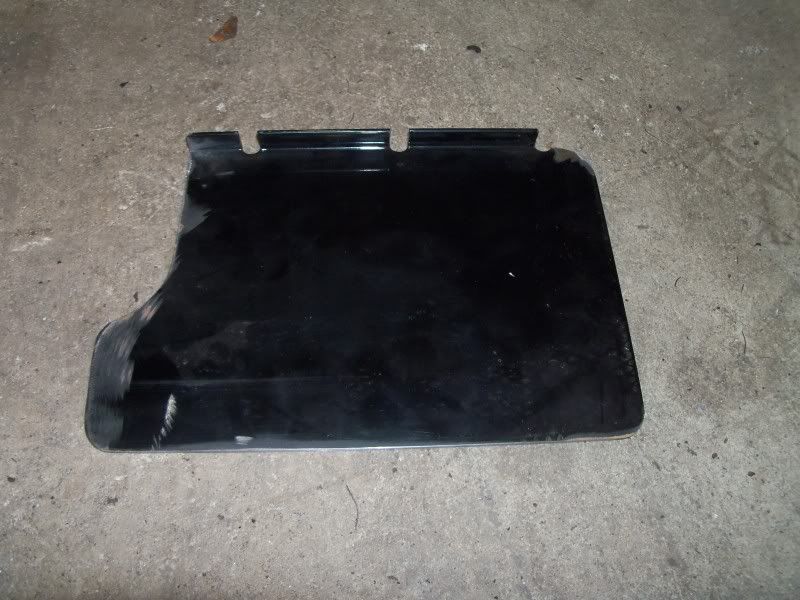
Finished product.
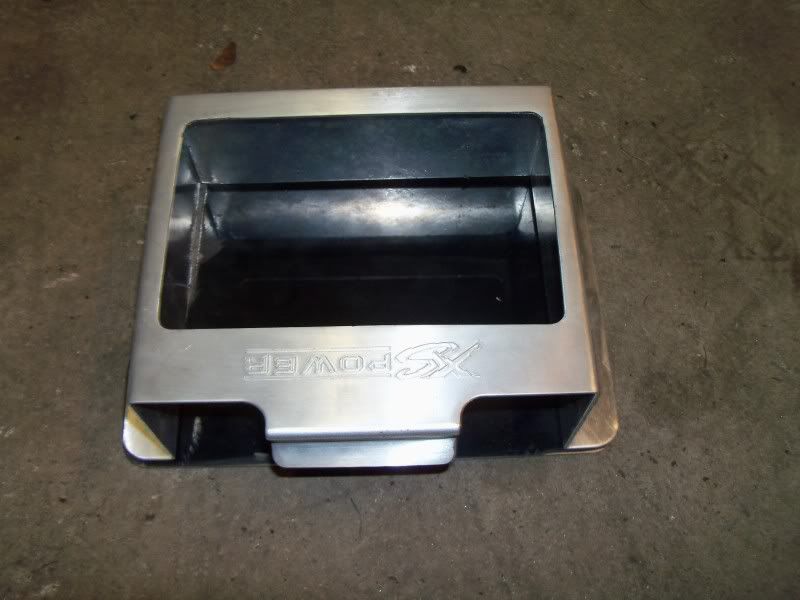
Then painted signature color.
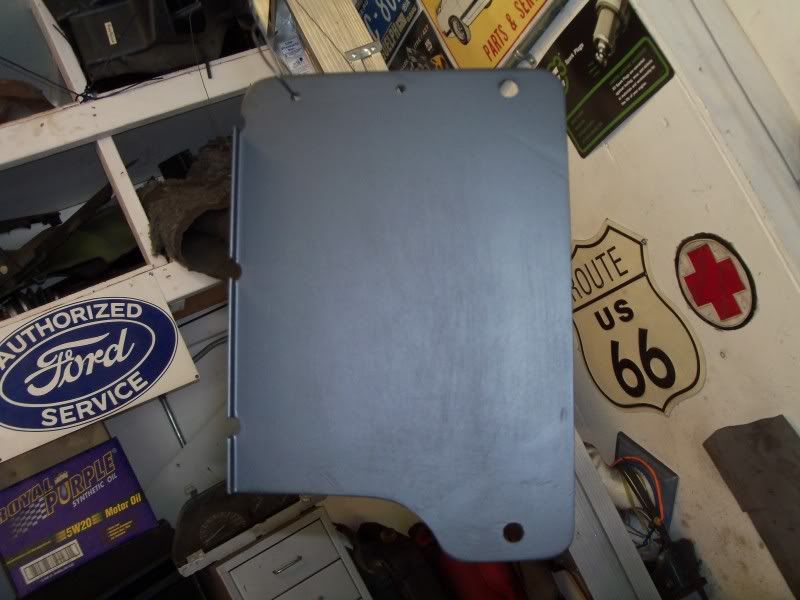
Installed in the car.
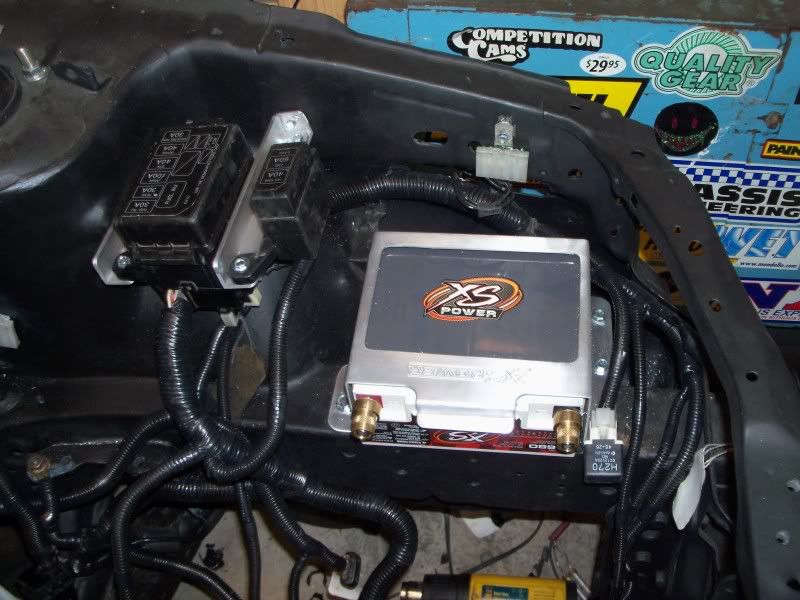
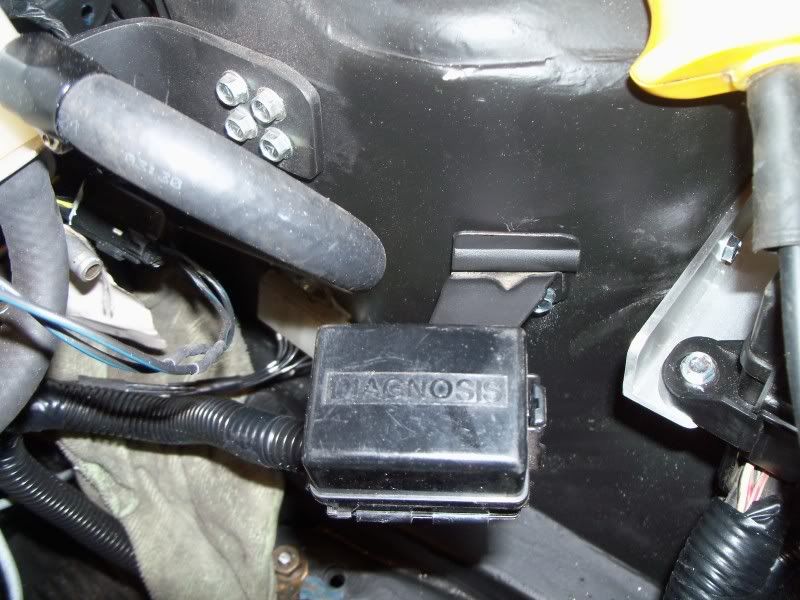
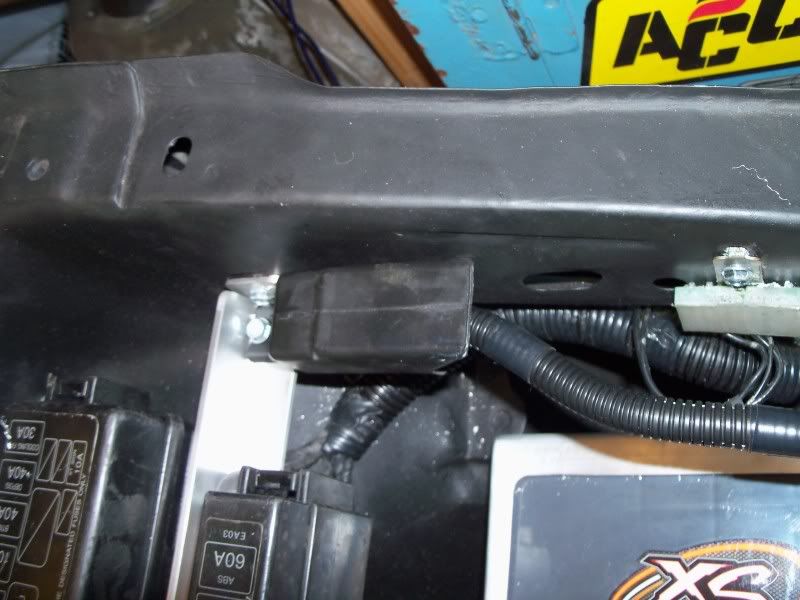
I made aluminum brackets for the fuse boxes too.
Cleaned and painted some relay brackets
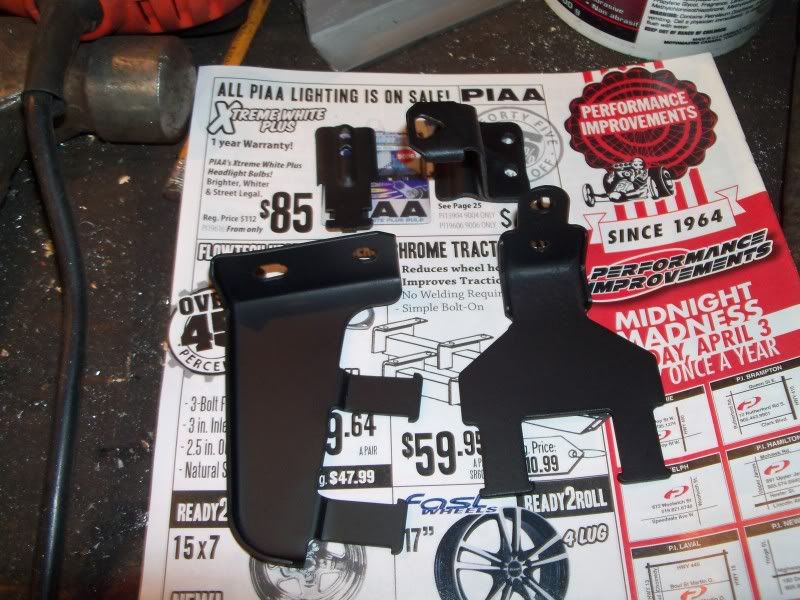
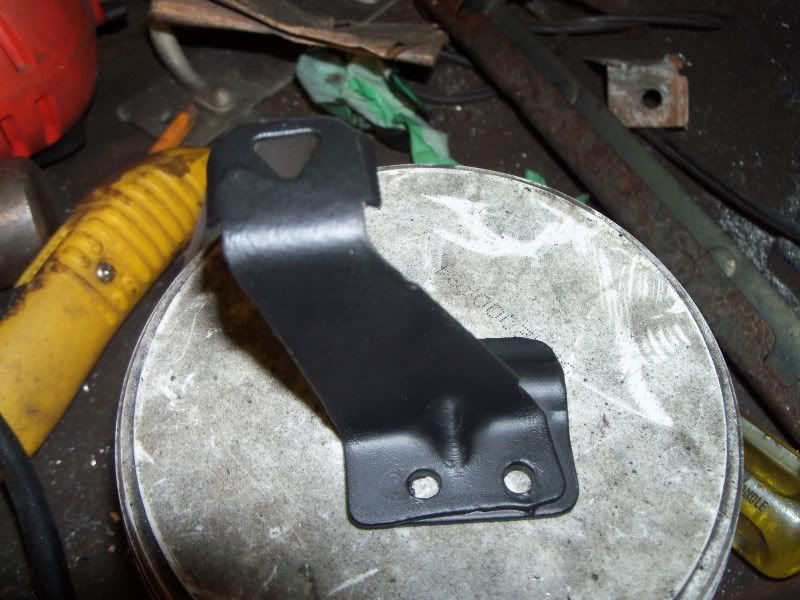
Modified the diagnostic port bracket. It was kind weird looking.
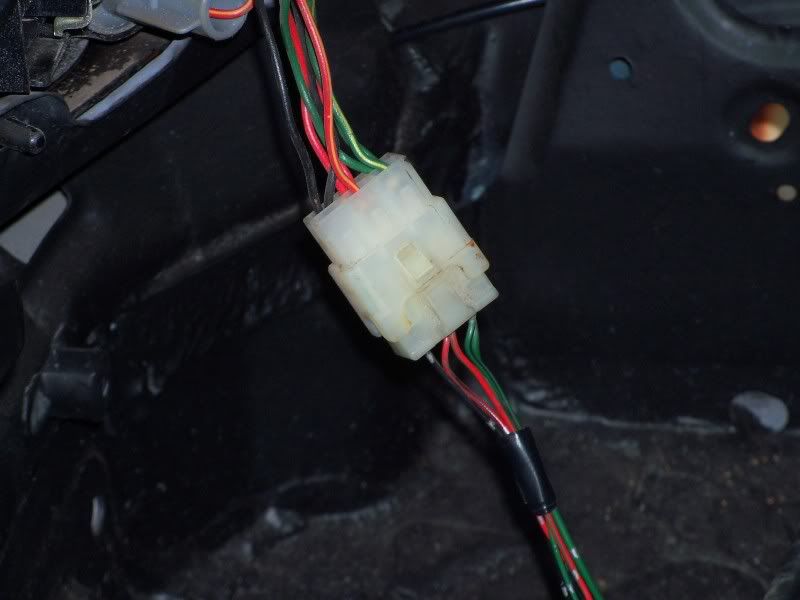
One of the relays had a burnt plug
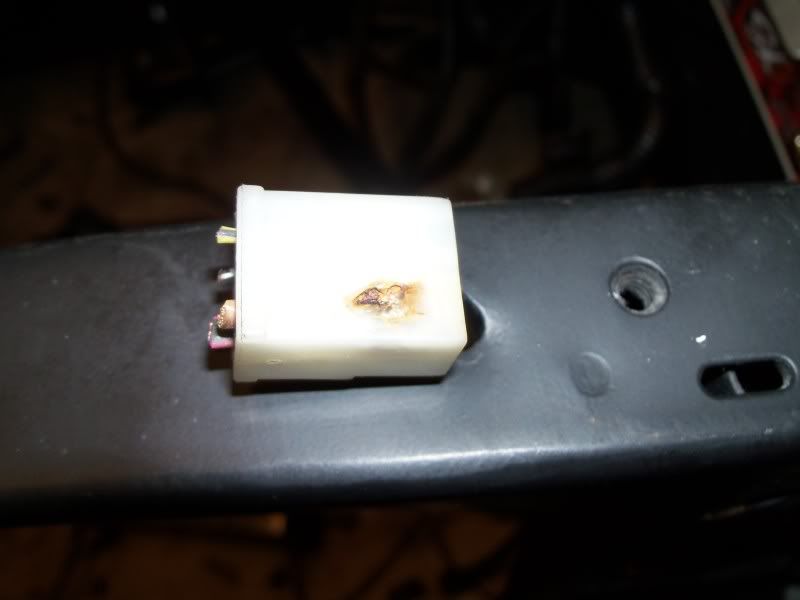
I put a good used plug in from the 323 harness and mounted it.
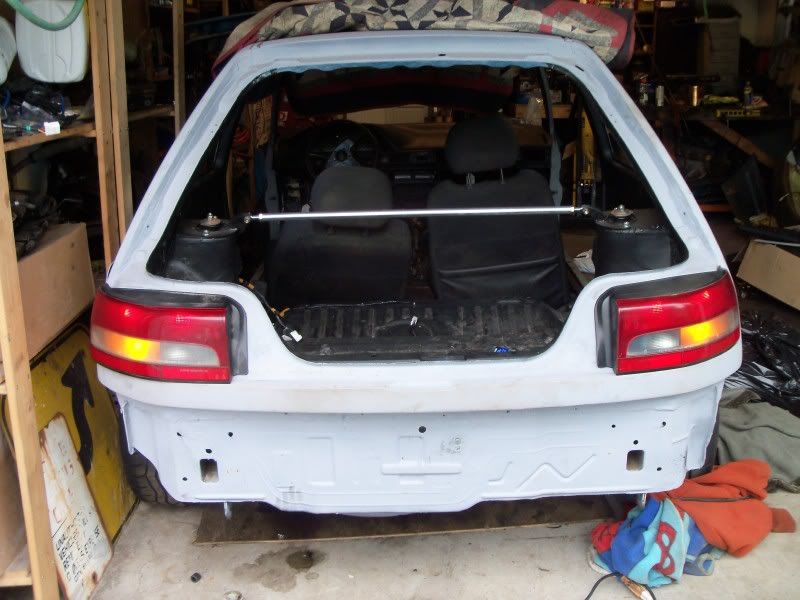
Spliced in the 323 tail lights. Mazda was nice enough to color code the wires so it was a very simple spice and solder.
I hooked up the washer pump and the dome light too. The wiring is almost done. I need to wire the rear wiper and go to the wrecker for a MX-3 rear defroster switch. I threw it out thinking I could wire in the 323 one. I probably could figure it out, but like the hazard lights it would have be much easier to use the MX-3 switches :cuss: For simplicity sake I am going to wire in a separate horn button, The Grant steering wheel adapter took a lot of screwing around to get it to work because the MX-3 column had cruise built into the steering wheel. The steering wheel is finally on right and the signals cancel and the wiper / turn signal stalks all work , but I can't get the horn to work.
Just about killed myself with a cut-off wheel LOL. Half got stuck in the ceiling, a piece cut my stomach and another piece hit the garage door about 20' away.
Cut the tray to shape.
Finished product.
Then painted signature color.
Installed in the car.
I made aluminum brackets for the fuse boxes too.
Cleaned and painted some relay brackets
Modified the diagnostic port bracket. It was kind weird looking.
One of the relays had a burnt plug
I put a good used plug in from the 323 harness and mounted it.
Spliced in the 323 tail lights. Mazda was nice enough to color code the wires so it was a very simple spice and solder.
I hooked up the washer pump and the dome light too. The wiring is almost done. I need to wire the rear wiper and go to the wrecker for a MX-3 rear defroster switch. I threw it out thinking I could wire in the 323 one. I probably could figure it out, but like the hazard lights it would have be much easier to use the MX-3 switches :cuss: For simplicity sake I am going to wire in a separate horn button, The Grant steering wheel adapter took a lot of screwing around to get it to work because the MX-3 column had cruise built into the steering wheel. The steering wheel is finally on right and the signals cancel and the wiper / turn signal stalks all work , but I can't get the horn to work.
Dominic Toretto's whip is a MaZda and his cell phone number starts in "(323)"
My work log http://mx-3.com/phpBB3/viewtopic.php?f=46&t=72471
My work log http://mx-3.com/phpBB3/viewtopic.php?f=46&t=72471
-
solo_ryder

- Senior Member
- Posts: 6289
- Joined: October 16th, 2004, 2:01 am
- Location: British Columbia
Re: Project Jay-Spec MX-326GS
I like these brackets you are using for the fuse boxes etc. And that battery is straight bad-a--. Im liking these updates
-
PATDIESEL

- Senior Member
- Posts: 4476
- Joined: August 13th, 2001, 2:01 am
- antispam: ~SPAM*SUX~
- Location: Atlanta, GA.
Re: Project Jay-Spec MX-326GS
With all the work you are doing, I would suggest you put the battery in the trunk. It is sealed right. Better for weight distribution and alot better than fore of the front axle even (unless you are more of a drag strip kind of guy).

ZE -strait neck,headers,2.5 exhaust,pheno spacers,lower cross member,GC coils,MS struts,Brembo slotted rotors,filled MS mounts,SS brake/clutch lines, CAI,to rear bat reloc,Hella headlamps,Hella DE fogs 180WHP
-
wytbishop
- Senior Member
- Posts: 5554
- Joined: August 25th, 2004, 2:01 am
- Location: Edmonton, Alberta, Canada
Re: Project Jay-Spec MX-326GS
That battery is so small I doubt it would make much difference where it was located. How much does that little thing weigh?
Great work on the car so far. Looking forward to seeing it complete.
Great work on the car so far. Looking forward to seeing it complete.
94' RS/GS/MS/CF Monster Turbo...coming soon.
93' GS SE, the Black Beast, the former love of my life...soon to be gutted and crushed.
94' GS, black on black, now in several small pieces...and one large crushed piece.
2007 Mazda3 GT Sport --- super fun
2004 Honda RC51 --- Lost forever to some theavin' bastard
My Worklog
My feedback thread
Never attribute to malice that which can be adequately explained by stupidity.
-
Evo_Spec

- Senior Member
- Posts: 2504
- Joined: December 30th, 2008, 3:41 am
- Location: Calgary, Alberta, Canada
Re: Project Jay-Spec MX-326GS
IMACHU2 wrote: http://www.summitracing.com/parts/XSP-S680/" onclick="window.open(this.href);return false;
http://www.summitracing.com/parts/XSP-511/" onclick="window.open(this.href);return false;
Tech info for a fellow car geek LOL
http://www.powermastermotorsports.com/xspowercat.pdf" onclick="window.open(this.href);return false;
16.62 lbs.wytbishop wrote:That battery is so small I doubt it would make much difference where it was located. How much does that little thing weigh?

-
IMACHU2
- Regular Member
- Posts: 559
- Joined: September 25th, 2008, 4:11 pm
- Location: Guelph Ontario Canada
Re: Project Jay-Spec MX-326GS
Thanks for the compliments guys. The high tricknology battery was installed for two reasons.
1. I am lazy, you do not have to maintain sealed dry cell batteries in the off season. (Canadian Winters)
2. Free up some space.
If I put it in the trunk, I would need an external battery cut-off switch to drag race it. I am building this car as more of a summer daily driver. My other "street" car has a cage, nitrous, fuel cell, rear mounted battery ect. Trying to make this one more of road car / less race car. (I am old now)
Dominic Toretto's whip is a MaZda and his cell phone number starts in "(323)"
My work log http://mx-3.com/phpBB3/viewtopic.php?f=46&t=72471
My work log http://mx-3.com/phpBB3/viewtopic.php?f=46&t=72471
-
PATDIESEL
- Senior Member
- Posts: 4476
- Joined: August 13th, 2001, 2:01 am
- antispam: ~SPAM*SUX~
- Location: Atlanta, GA.
Re: Project Jay-Spec MX-326GS
lol I feel ya on the old thing.
On that cut off wheel, I thought it was laying on a table or something, not stuck half-way into the ceiling Those things always freek me out when they break...
On that cut off wheel, I thought it was laying on a table or something, not stuck half-way into the ceiling
ZE -strait neck,headers,2.5 exhaust,pheno spacers,lower cross member,GC coils,MS struts,Brembo slotted rotors,filled MS mounts,SS brake/clutch lines, CAI,to rear bat reloc,Hella headlamps,Hella DE fogs 180WHP
-
IMACHU2
- Regular Member
- Posts: 559
- Joined: September 25th, 2008, 4:11 pm
- Location: Guelph Ontario Canada
Re: Project Jay-Spec MX-326GS
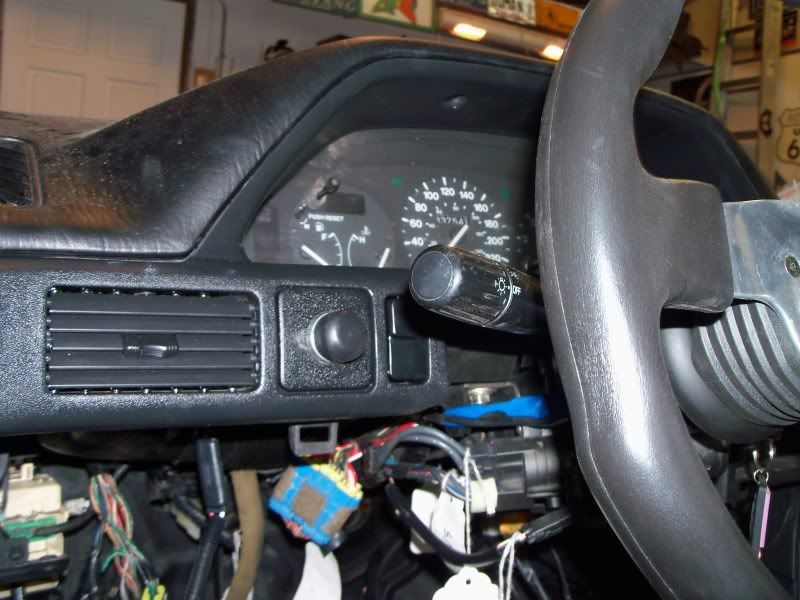
Operation "Have a operational horn" took place today.
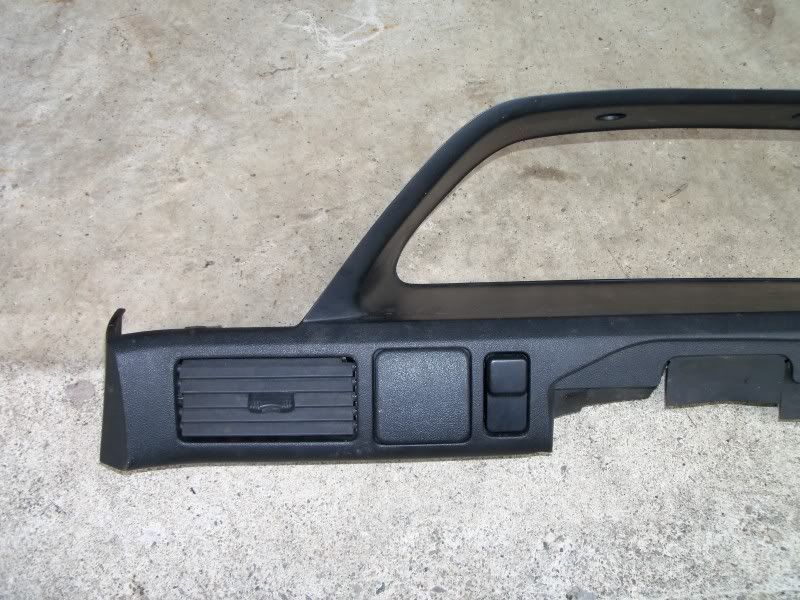
Decided this "option i don't have square" would be a good spot for the horn.
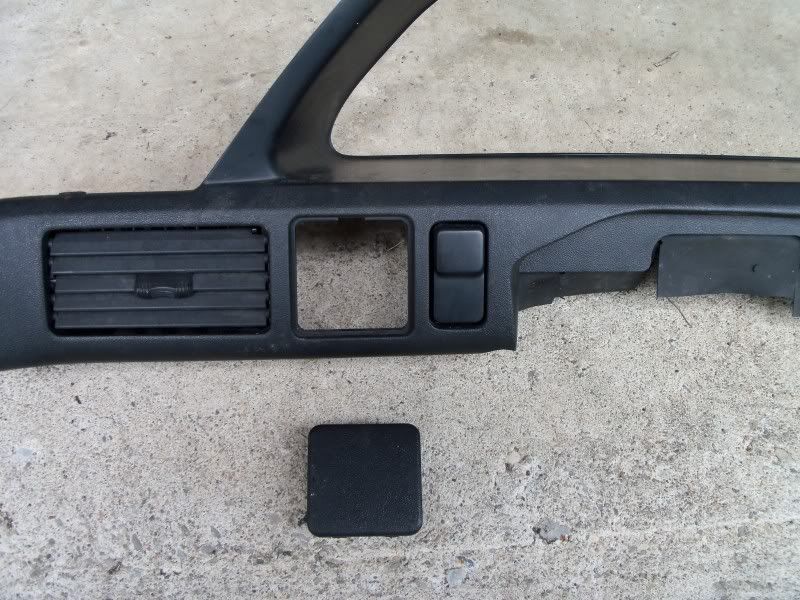
Dremeled off the toggle switch box on the back.

Drilled a 3/8" hole in it and dremeled it out to size huge for the horn button
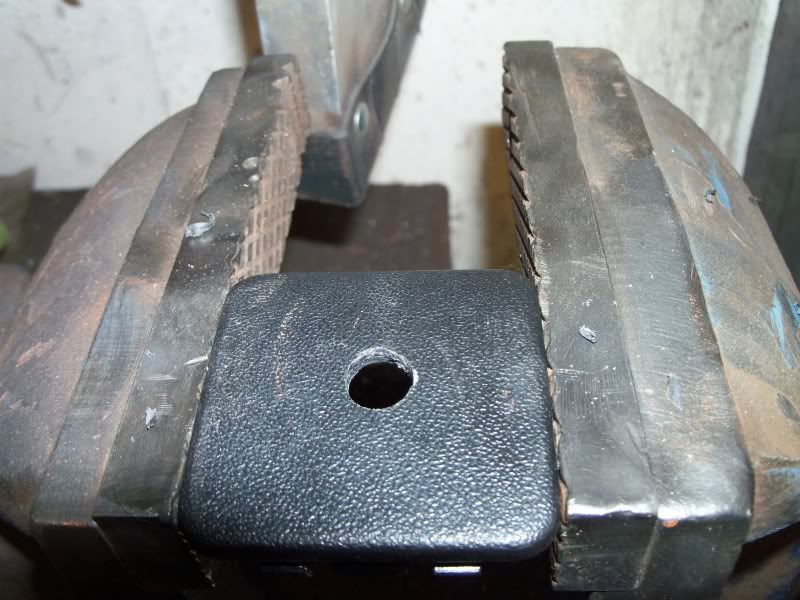
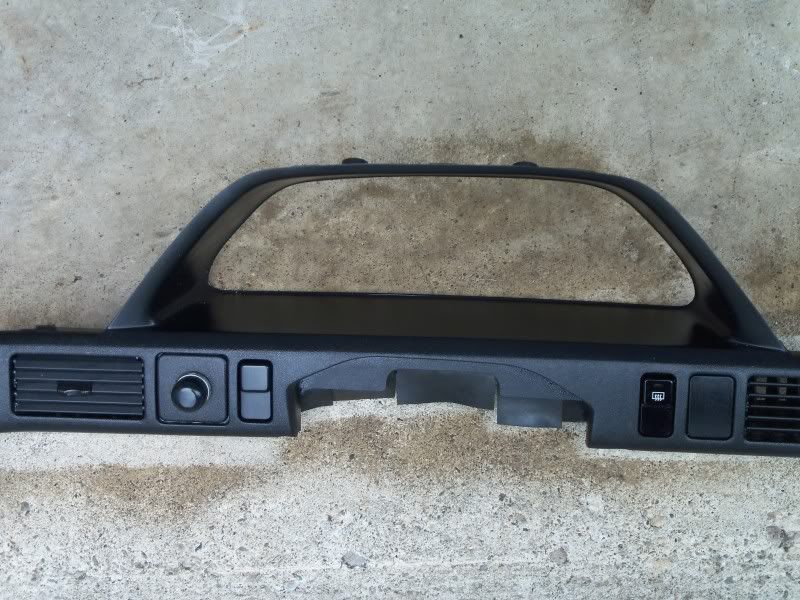
Finished button install
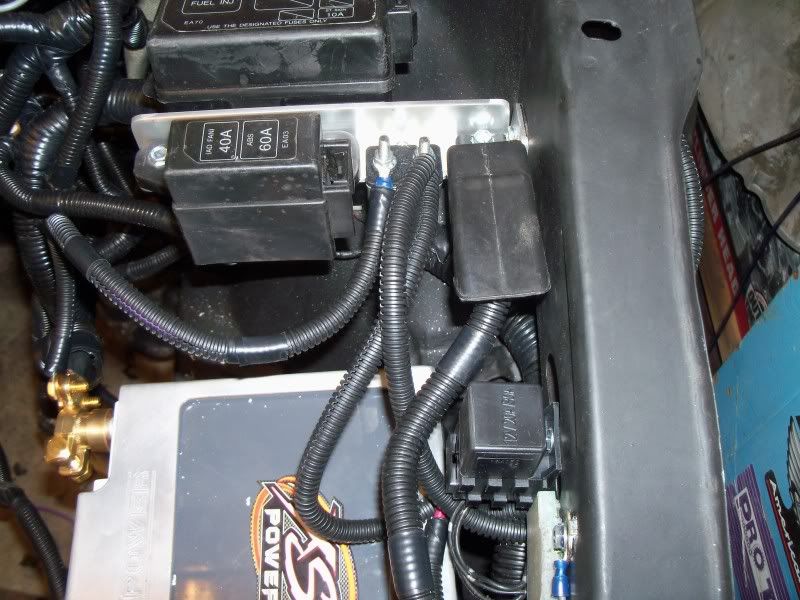
I put a plug on it to ease removal
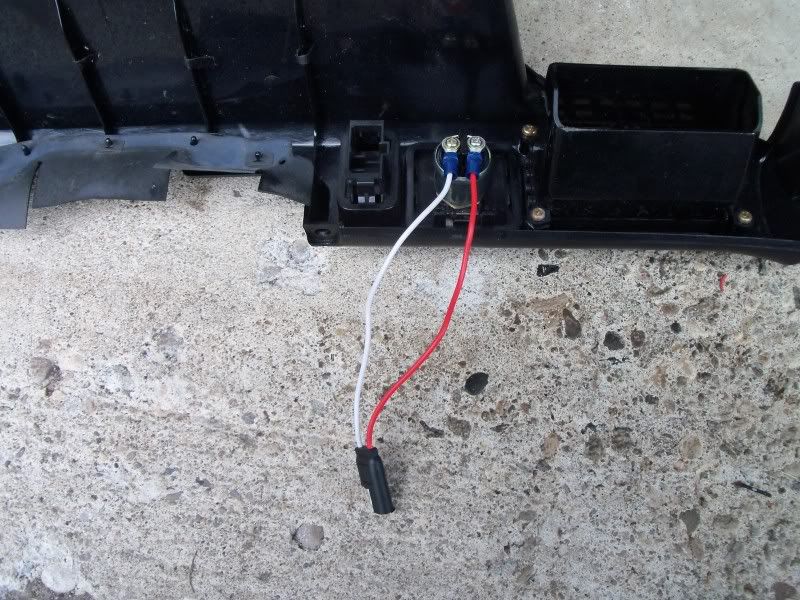
Horn relay and wiring.
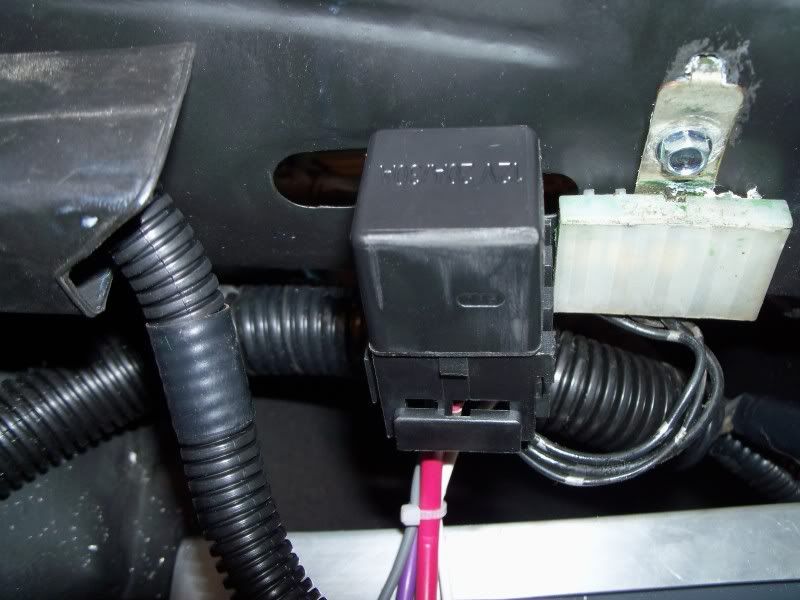
The horn is really loud. I took it off one of my 323 parts car. It looked brand new. Some aftermarket horn with a brand name I have never heard of.
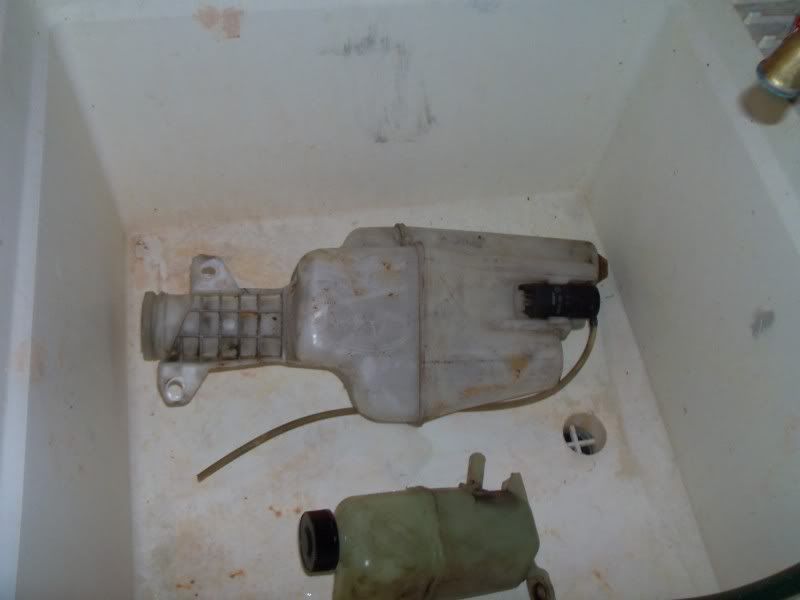
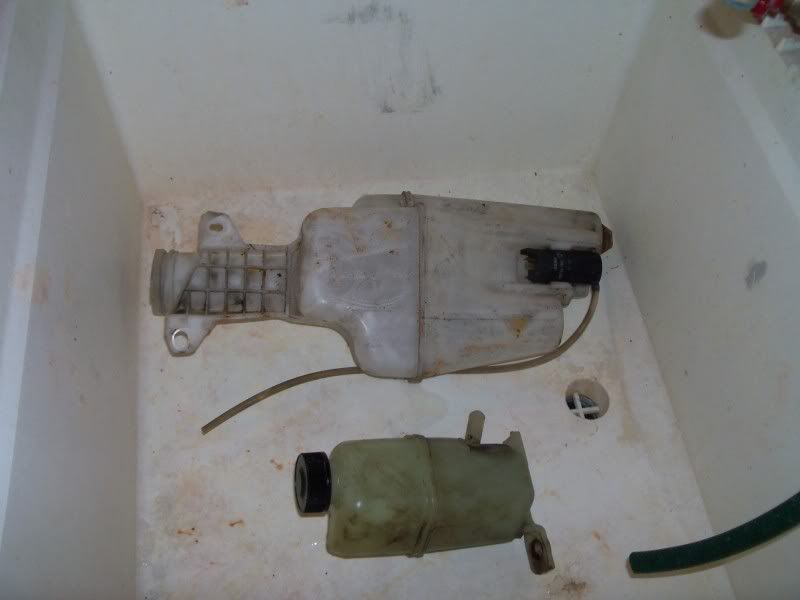
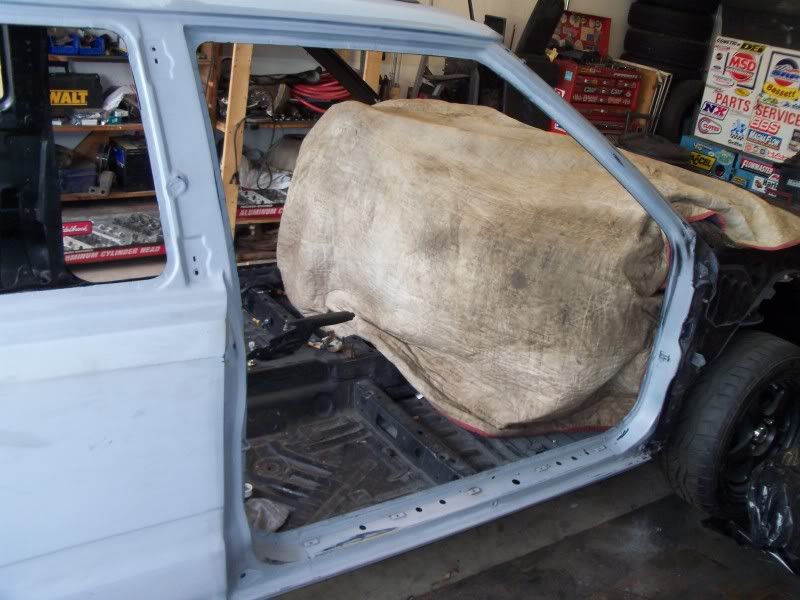
I also washed the coolant and power steering resivoirs. I forgot the "After photo's" Here they are all full of grime. They look like-new now promise.
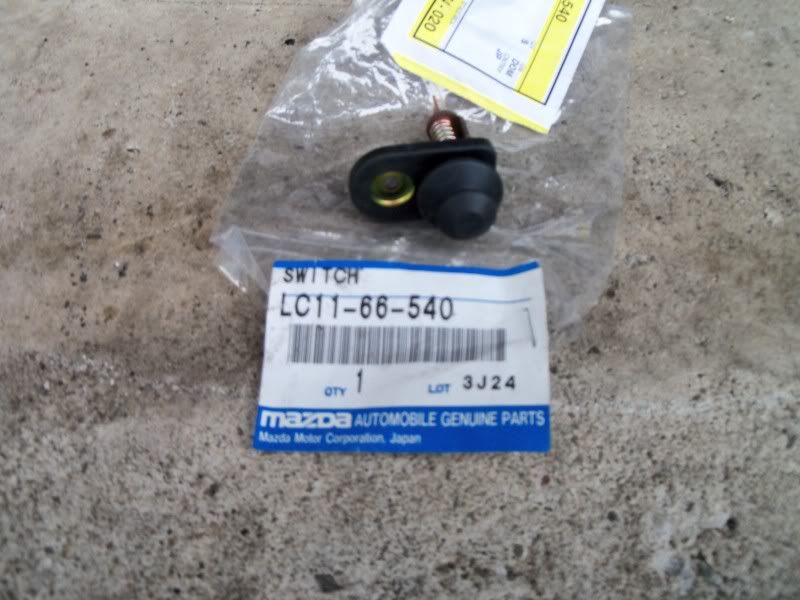
I bought new door swiches and wired them in. My switchs were long gone, just nasty looking exposed green oxidized wires left LOL. I cut a 2' section of wire off both sides soldered in some new wire and new spade terminals now my dome light and the annoying buzzer are fully operational now:p
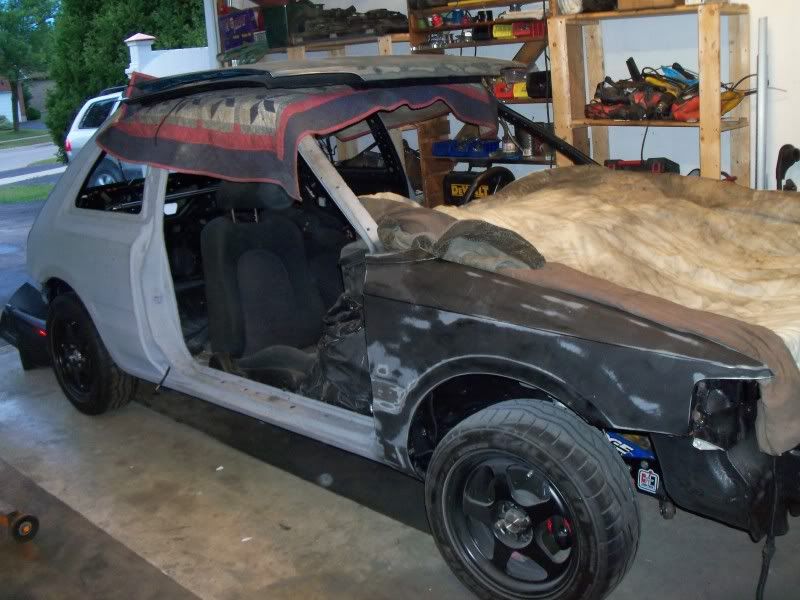
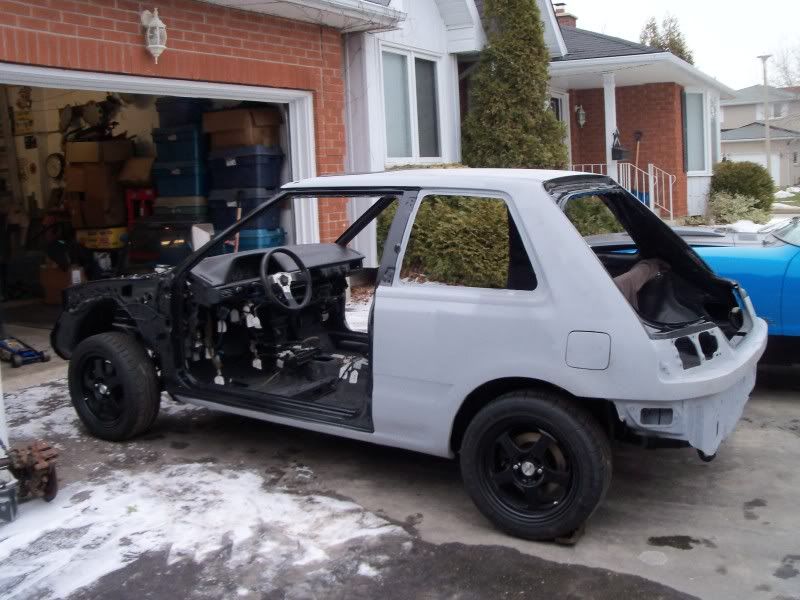
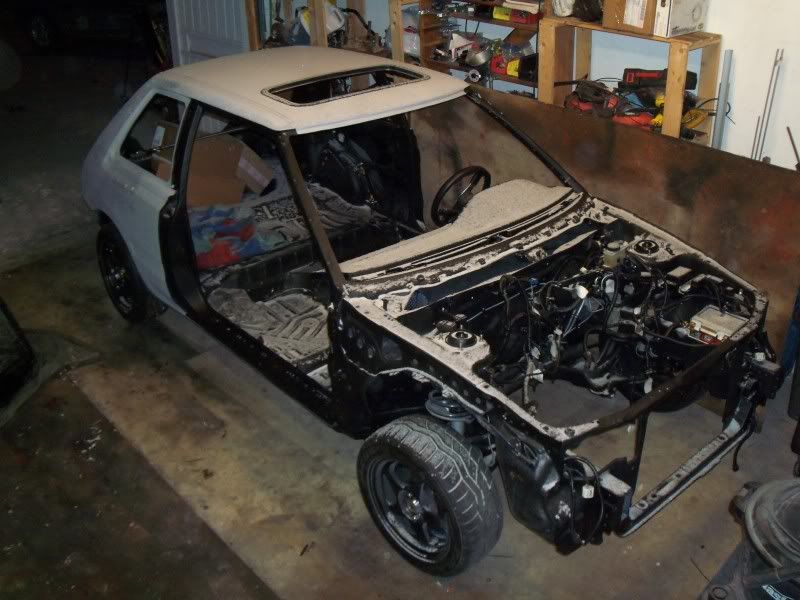
Spent 5 hours cleaning and organizing the garage for my next mission. (Putting the body panels back of the 326) The MX-326GS and the Mustang will now both fit in the garage fully assembled. I.E with the 326 complete with fenders doors, and bumpers. Used my new 323 daily driver as the template for completed 326 :p My garage is only a car and a half wide so this is quite a feat of organization. You could build two Mustangs and two 323's and likely a running MX-3 from all the spare parts stuffed in there too.
Decided this "option i don't have square" would be a good spot for the horn.
Dremeled off the toggle switch box on the back.
Drilled a 3/8" hole in it and dremeled it out to size huge for the horn button
Finished button install
I put a plug on it to ease removal
Horn relay and wiring.
The horn is really loud. I took it off one of my 323 parts car. It looked brand new. Some aftermarket horn with a brand name I have never heard of.
I also washed the coolant and power steering resivoirs. I forgot the "After photo's" Here they are all full of grime. They look like-new now promise.
I bought new door swiches and wired them in. My switchs were long gone, just nasty looking exposed green oxidized wires left LOL. I cut a 2' section of wire off both sides soldered in some new wire and new spade terminals now my dome light and the annoying buzzer are fully operational now:p
Spent 5 hours cleaning and organizing the garage for my next mission. (Putting the body panels back of the 326) The MX-326GS and the Mustang will now both fit in the garage fully assembled. I.E with the 326 complete with fenders doors, and bumpers. Used my new 323 daily driver as the template for completed 326 :p My garage is only a car and a half wide so this is quite a feat of organization. You could build two Mustangs and two 323's and likely a running MX-3 from all the spare parts stuffed in there too.
Dominic Toretto's whip is a MaZda and his cell phone number starts in "(323)"
My work log http://mx-3.com/phpBB3/viewtopic.php?f=46&t=72471
My work log http://mx-3.com/phpBB3/viewtopic.php?f=46&t=72471
-
IMACHU2
- Regular Member
- Posts: 559
- Joined: September 25th, 2008, 4:11 pm
- Location: Guelph Ontario Canada
Re: Project Jay-Spec MX-326GS
Bottles before:
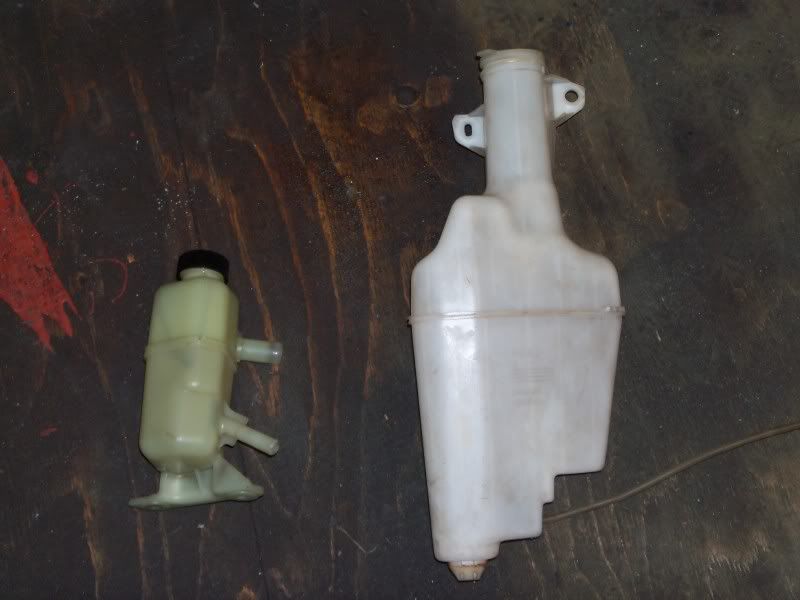
Bottles after a scrub:
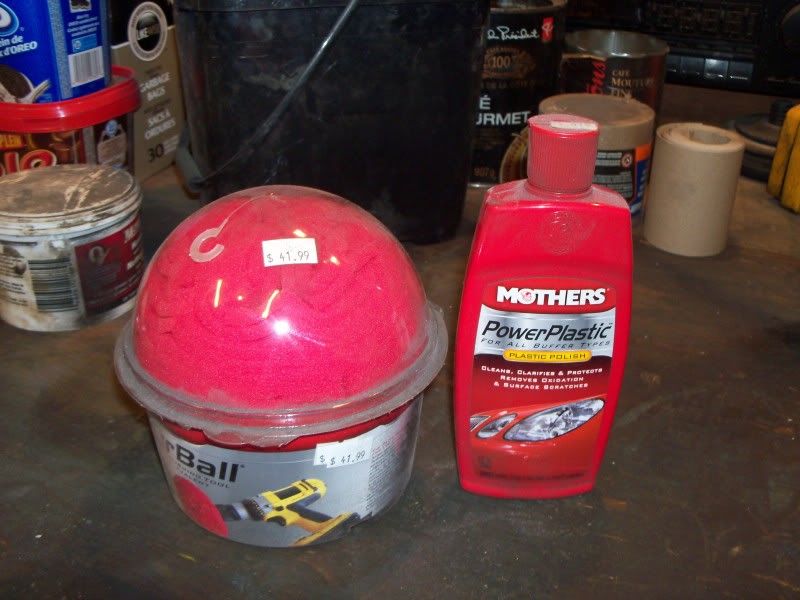
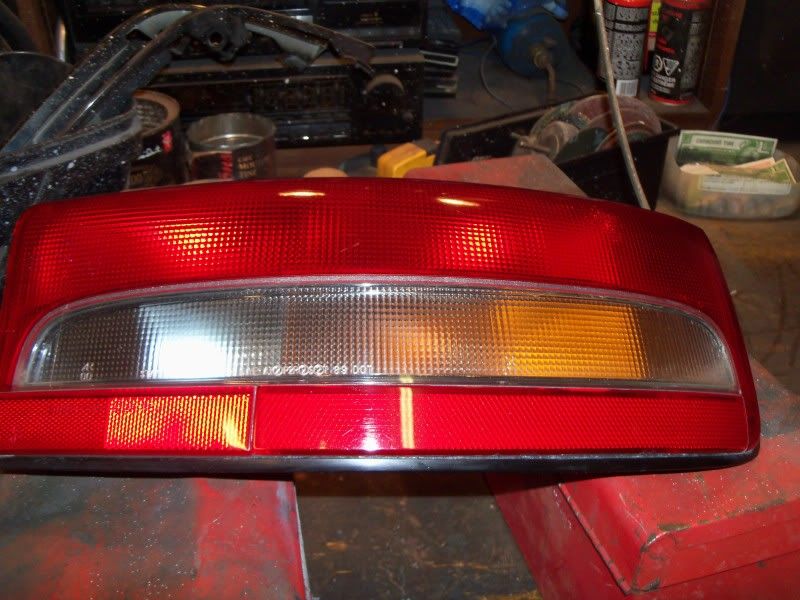
Polished the lights. Used a Mothers Buff ball and plastic polish. They have a headlight restoration kit now. (bought the stuff ages ago)
Before:
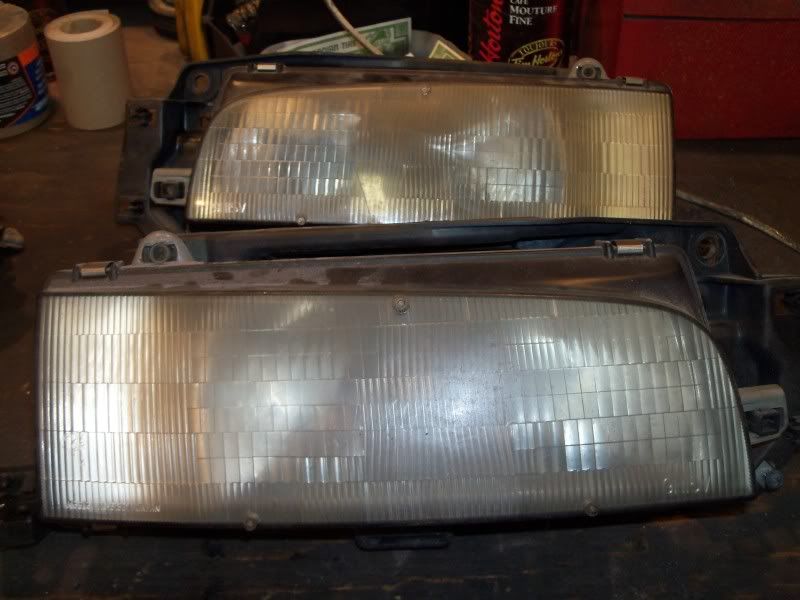
After: (light closest)
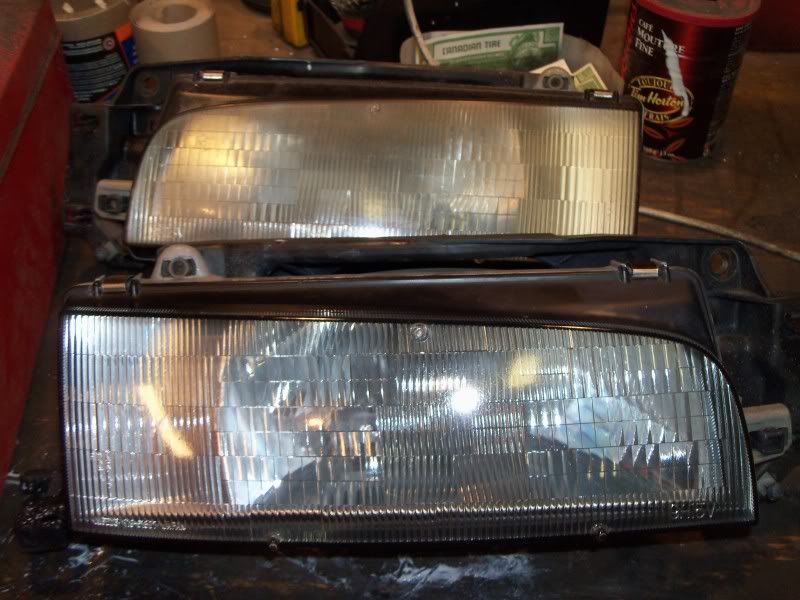
Before:
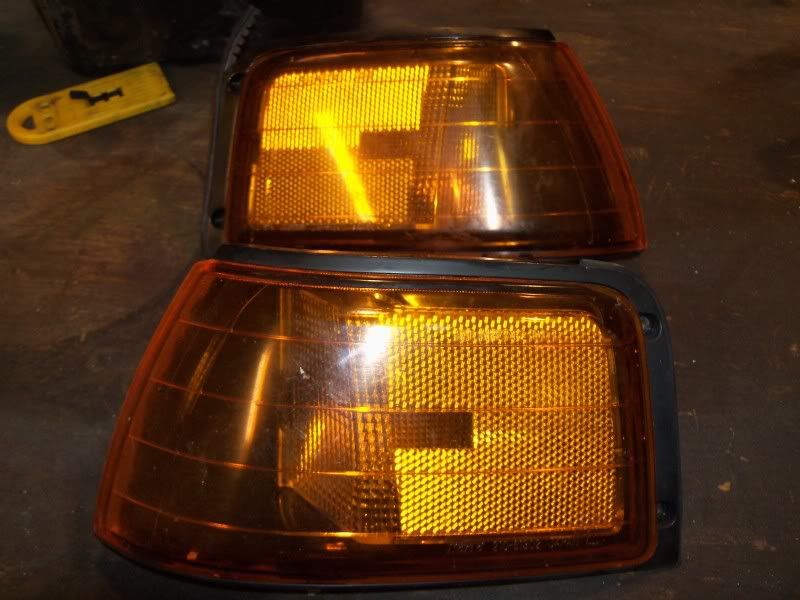
After:
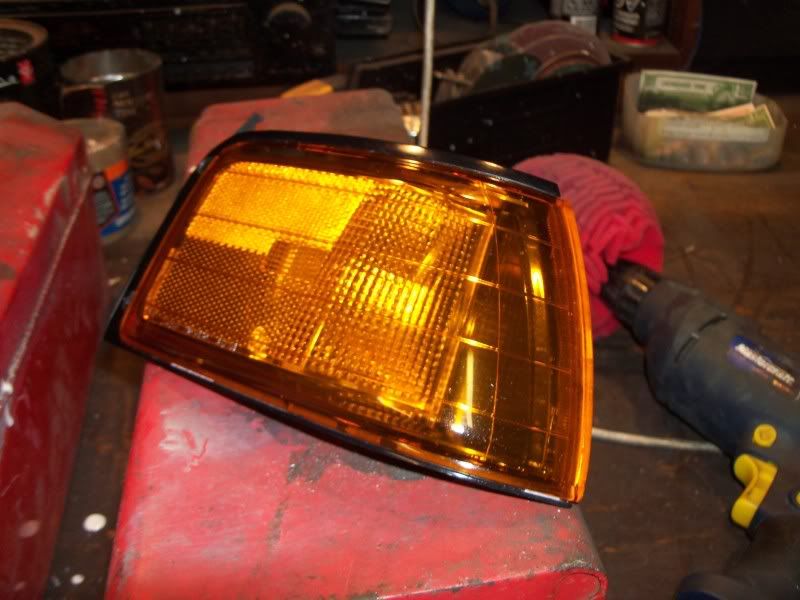
Before:
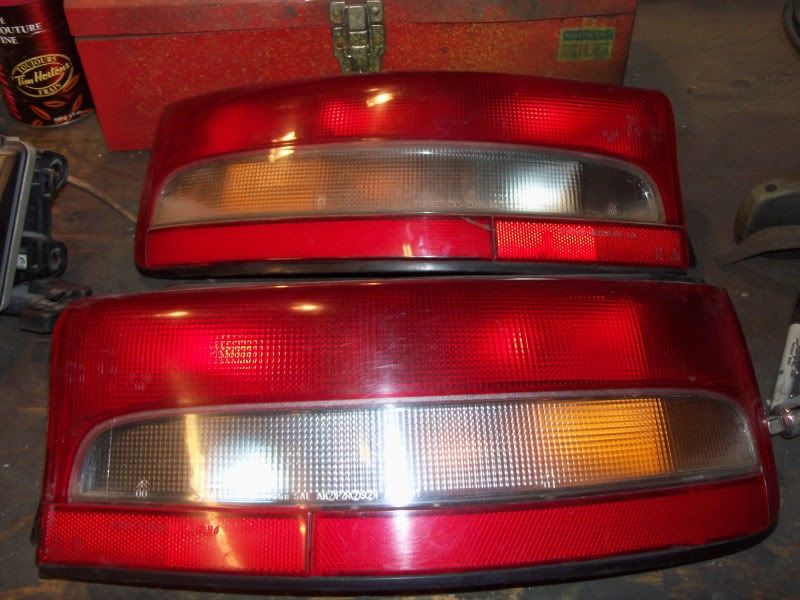
After:
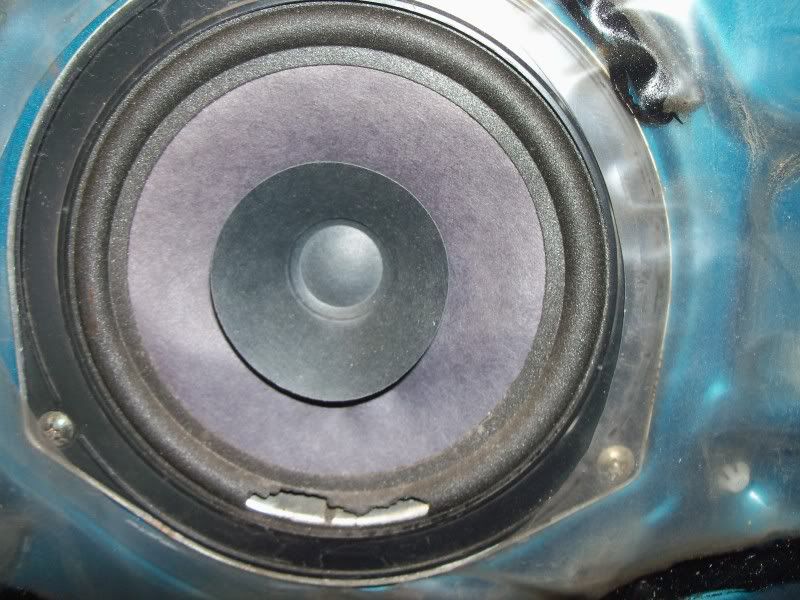
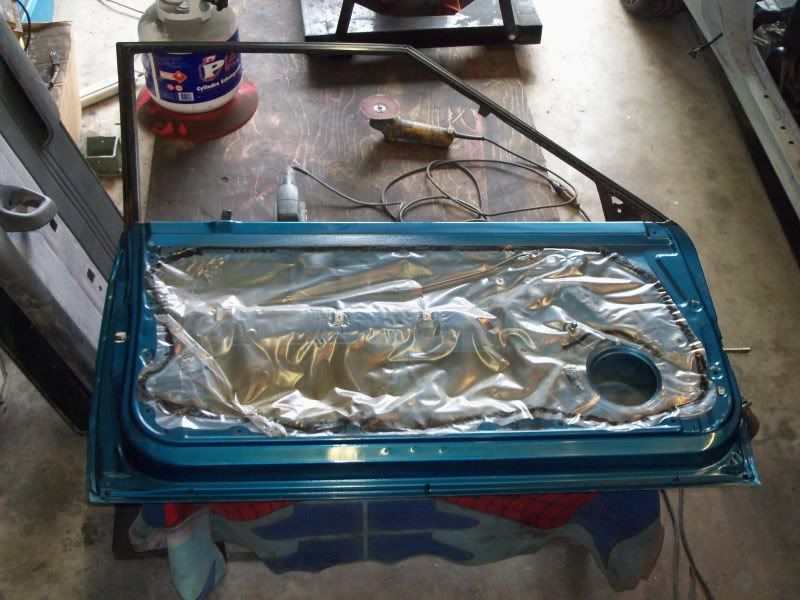
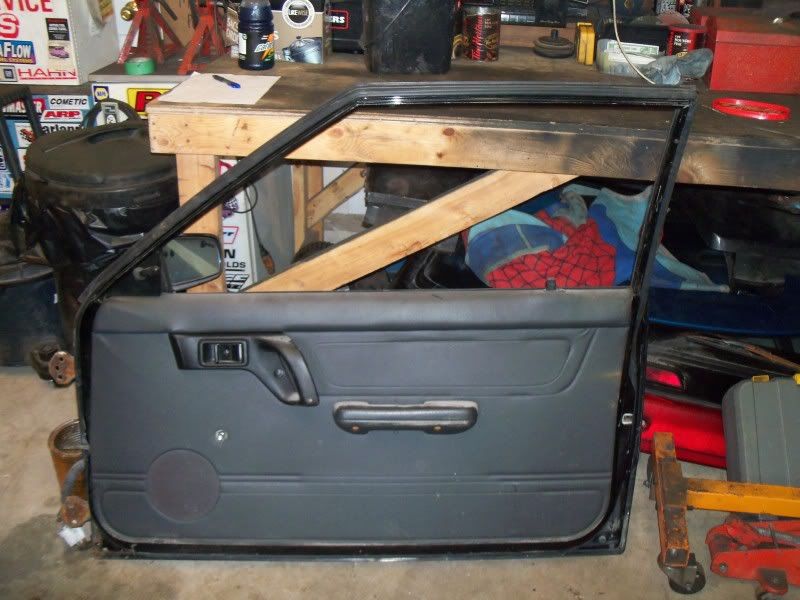
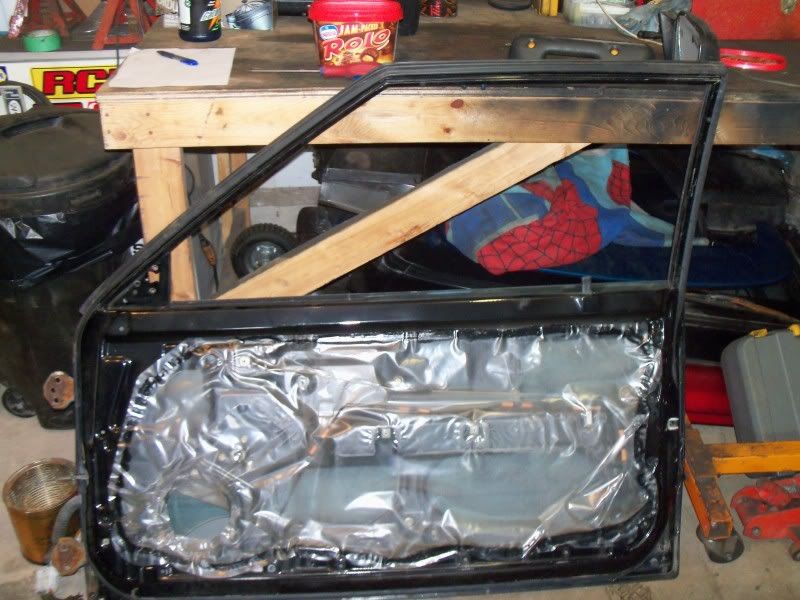
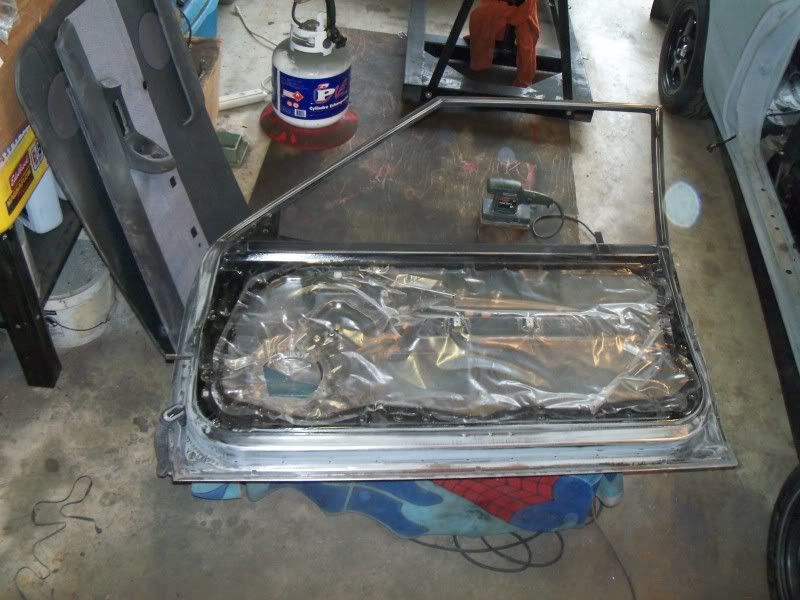
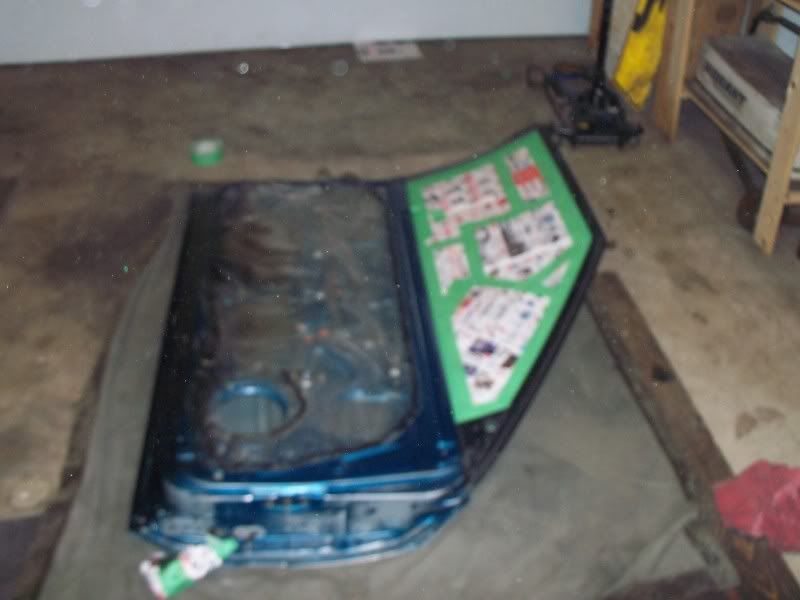
Took apart the doors:
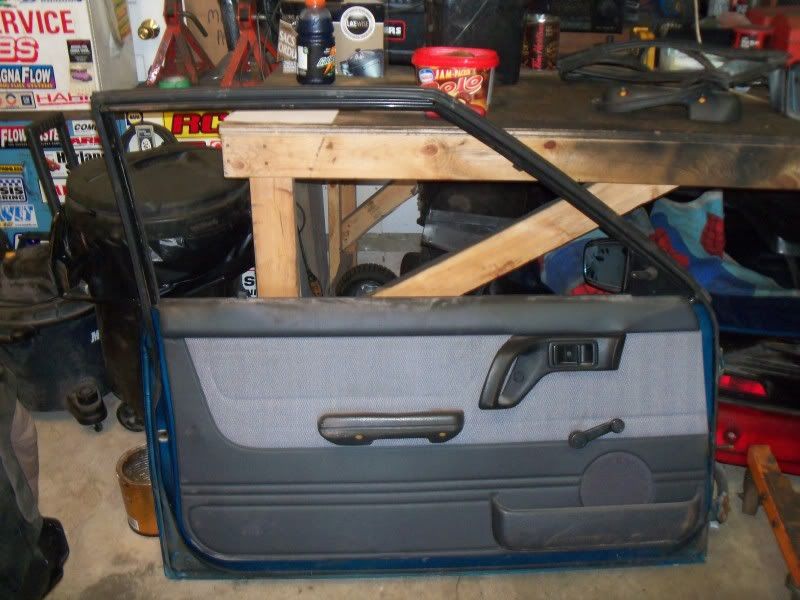
No wonder the factory stereo sounded so bad LOL
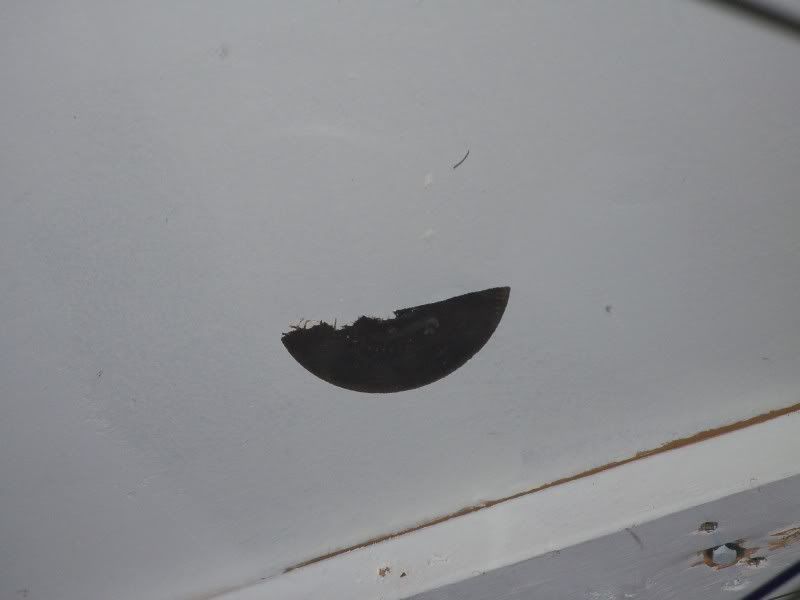
Boo! Hole
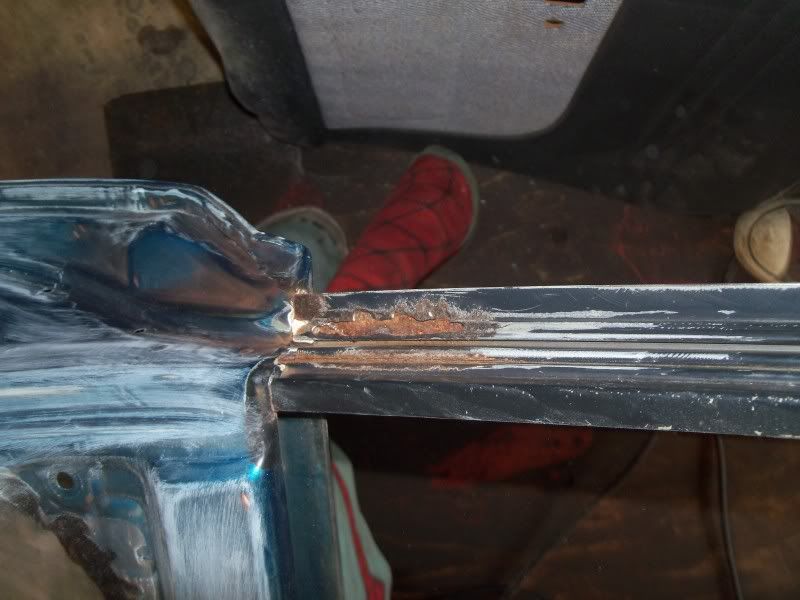

Boo! Another hole
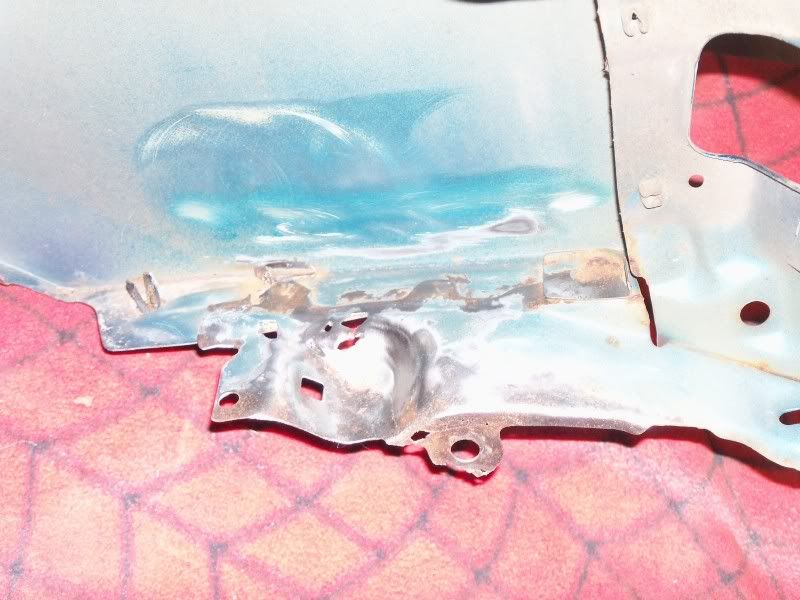

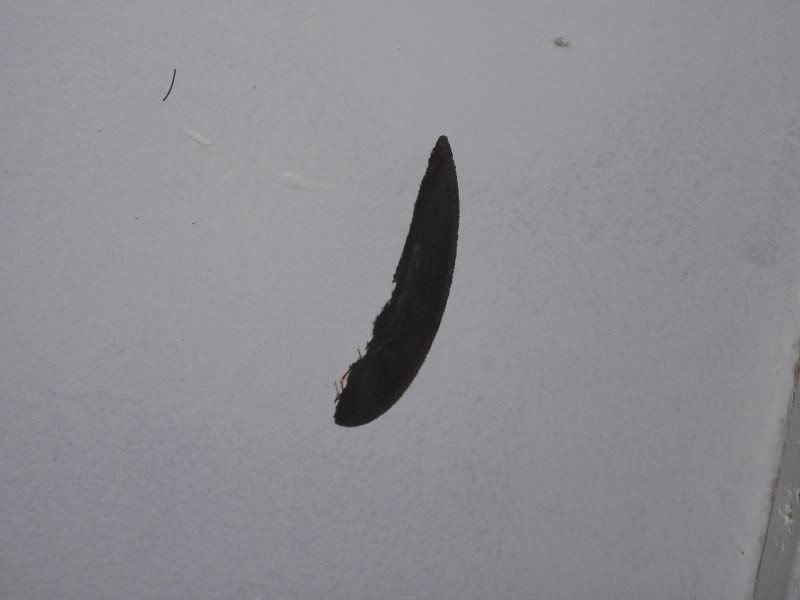
Boo! Yes a hole in the freakin hood
Bottles after a scrub:
Polished the lights. Used a Mothers Buff ball and plastic polish. They have a headlight restoration kit now. (bought the stuff ages ago)
Before:
After: (light closest)
Before:
After:
Before:
After:
Took apart the doors:
No wonder the factory stereo sounded so bad LOL
Boo! Hole
Boo! Another hole
Boo! Yes a hole in the freakin hood
Dominic Toretto's whip is a MaZda and his cell phone number starts in "(323)"
My work log http://mx-3.com/phpBB3/viewtopic.php?f=46&t=72471
My work log http://mx-3.com/phpBB3/viewtopic.php?f=46&t=72471
-
IMACHU2
- Regular Member
- Posts: 559
- Joined: September 25th, 2008, 4:11 pm
- Location: Guelph Ontario Canada
Re: Project Jay-Spec MX-326GS
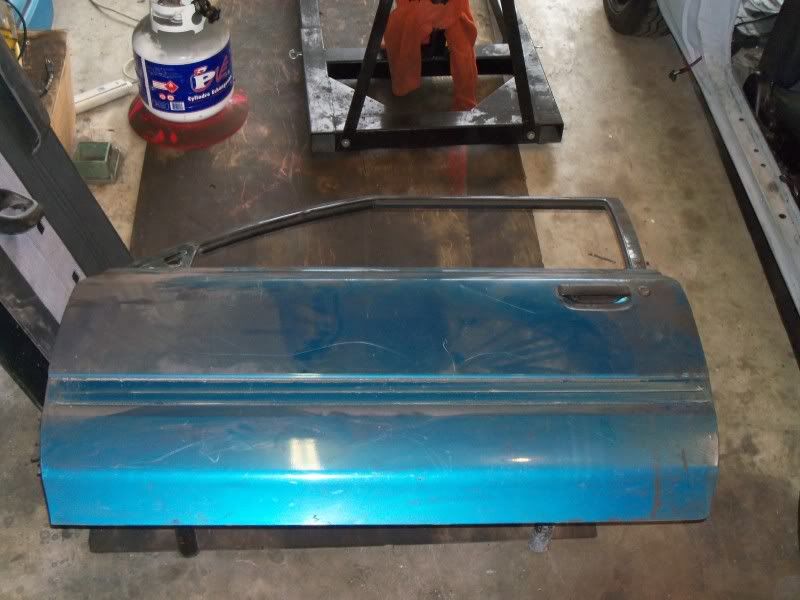
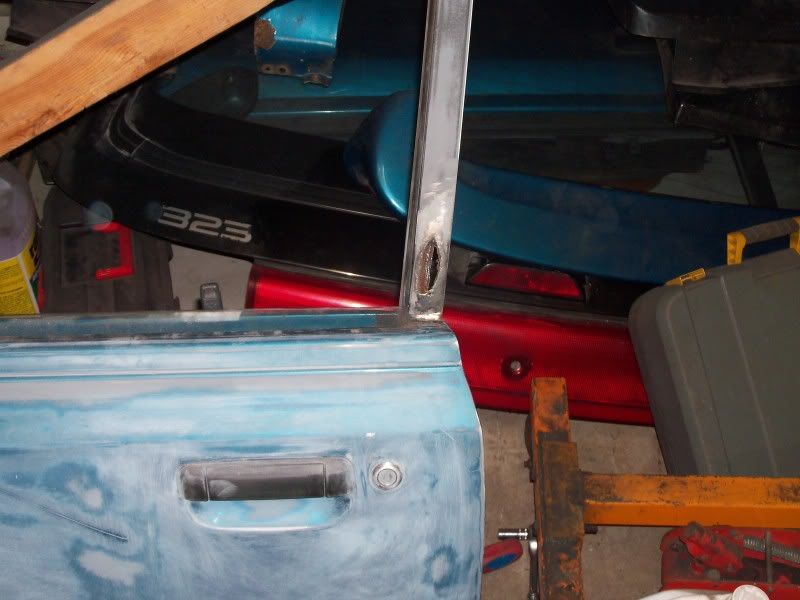
Today had ups and downs LOL. Well I stashed my old car at my parents house about a half hour away from my house. I was at my parents the other day and I inspected the drivers door. It looked to be in pretty good shape. The bottom lip was in mint condition, and there is no hole in the post like the door on my project car. So it was decided to put the 326's door on my old 323, and steal it's door for the project.
It gets confusing so here is the run down. I have (3) 323's (Now) Have had (4)
1)The flat black one I just took off the road. (going to use it for parts).
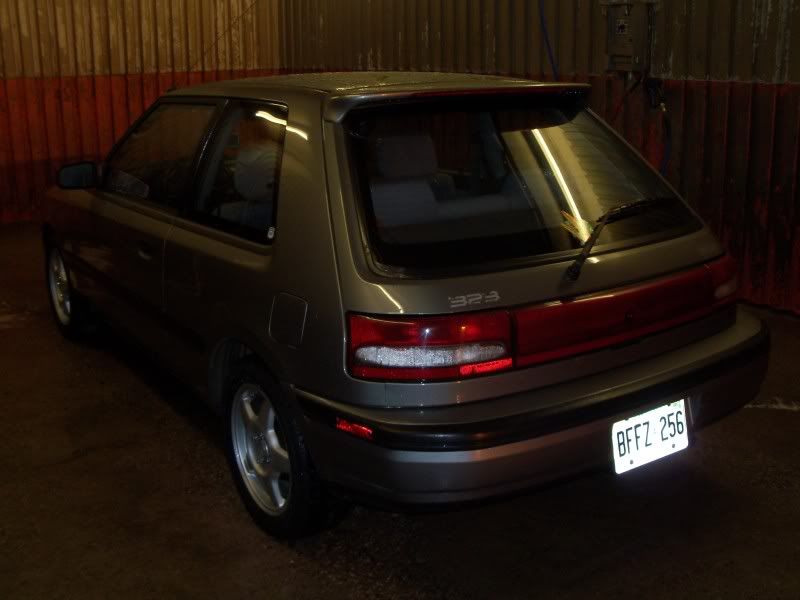
2)The grey one (my new daily driver)
3)My project car (To be KLZE powered)
4)Had a shiny black parts car 323 also. Many of the panels are on the V6 car and its engine is in the flat black car
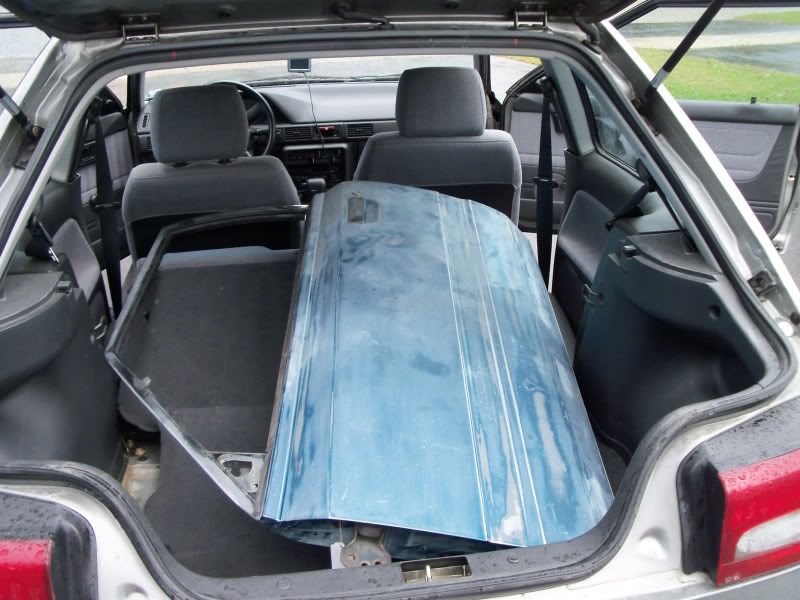
A 323 door actually fits in the hatch of a 323! I thought for sure there would be bungee cords and hope involved.
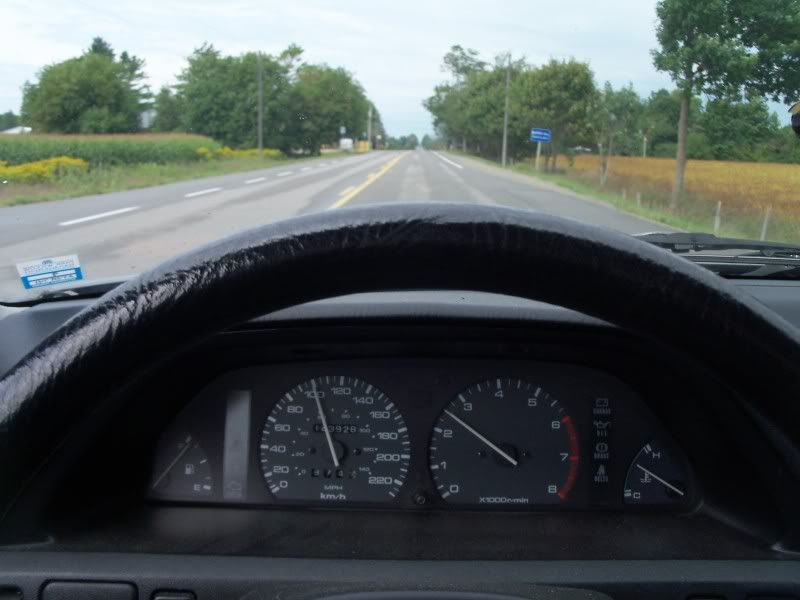
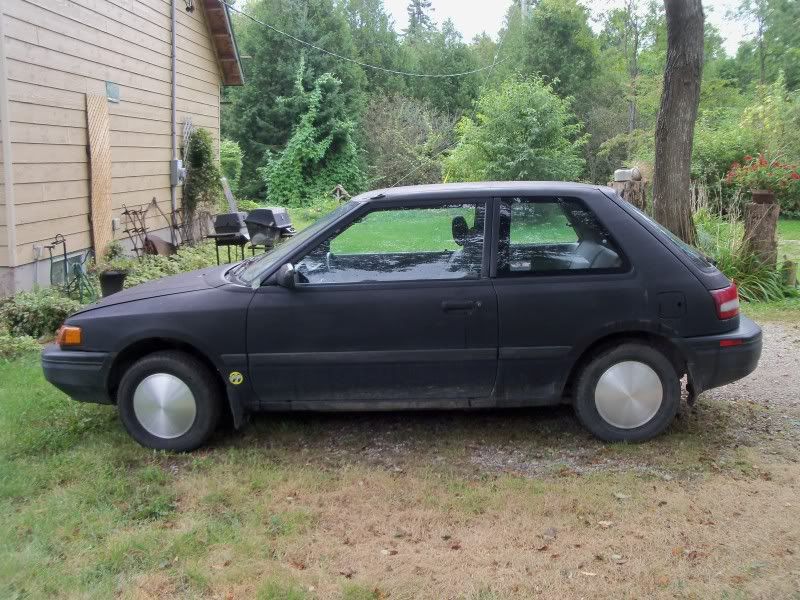
My door and I on a romantic drive to the country
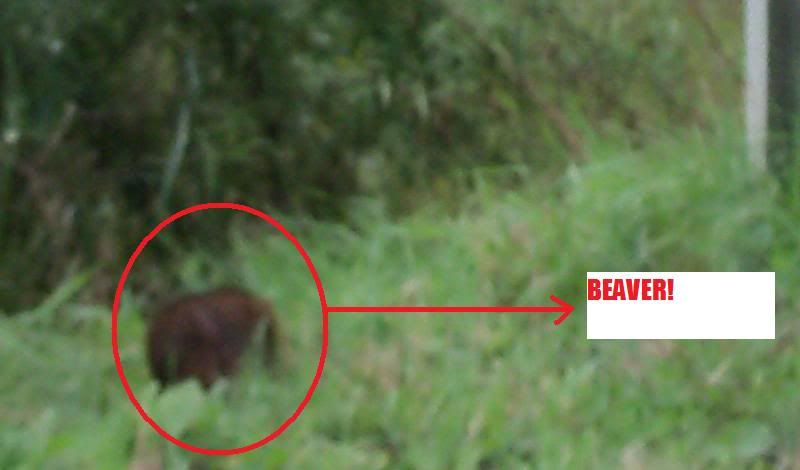
The door and I saw a beaver! Oh-Canada! (Not something you see everyday-even in Canada)
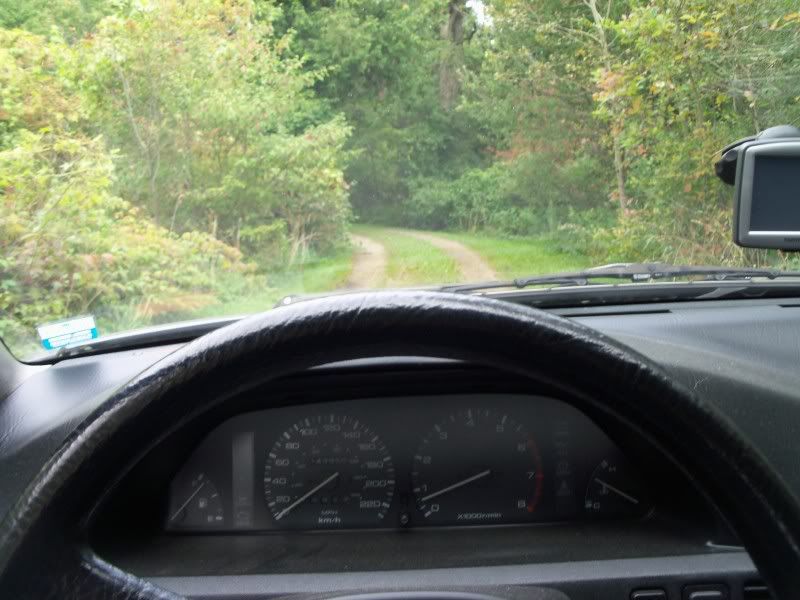
The door and I finally got to my parents house.
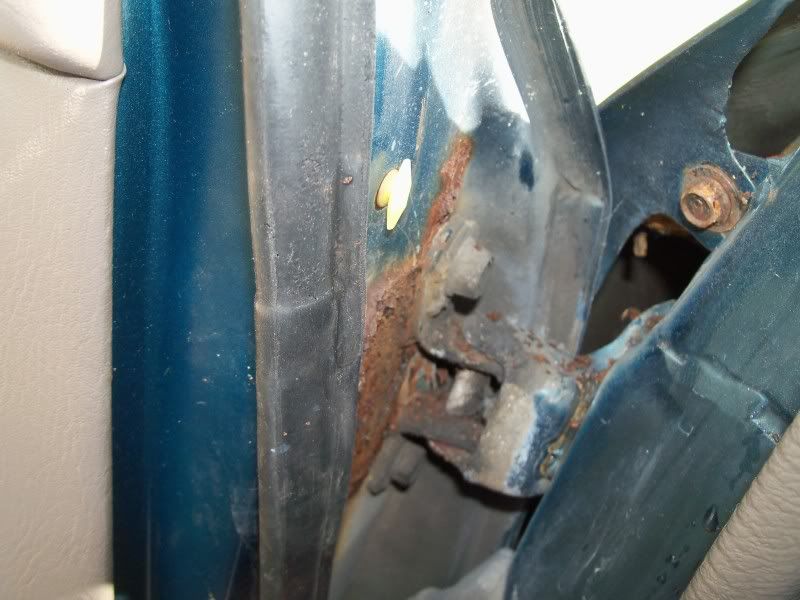
The drivers door looked to be in good shape, which is odd cause everything else is garbage LOL
I decided to remove the fender and take the door with the hinges, then replace it with my hole in the post door. I went to undo the fender bolt that you access when the door is open, when I noticed the door was rotted badly where the upper hinge bolts on. Mission aborted. Other then the hole in the post the other door was mint. Thinking a hole in the post is easier to fix then a hole where the hinge bolts on. Note: this is still the flat black car (it is still green in the jams) LOL.
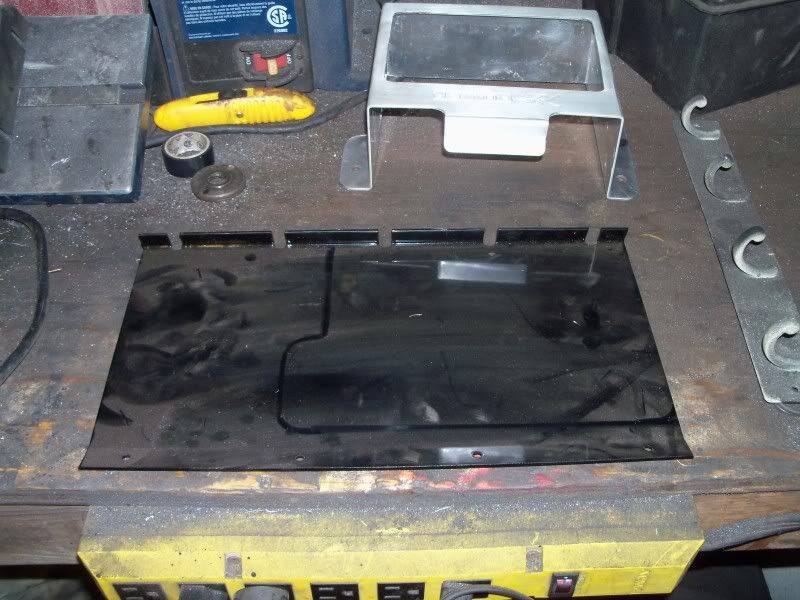
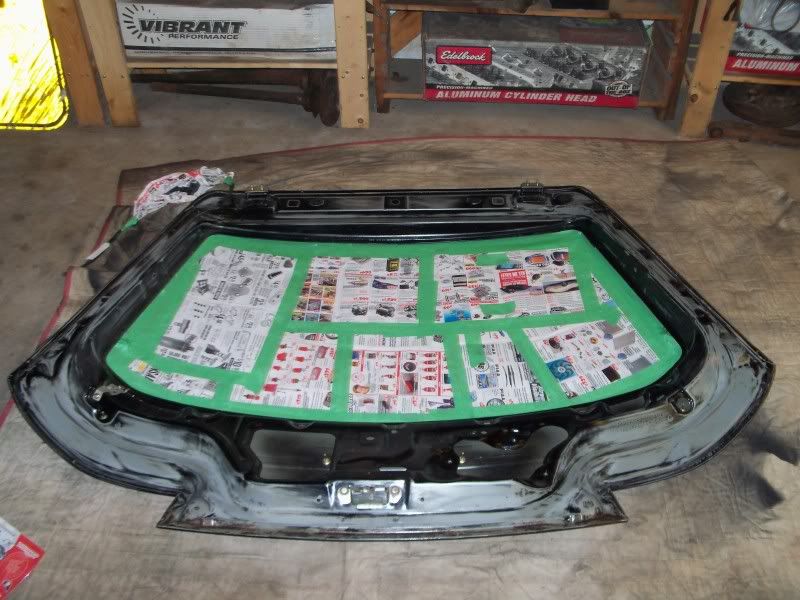
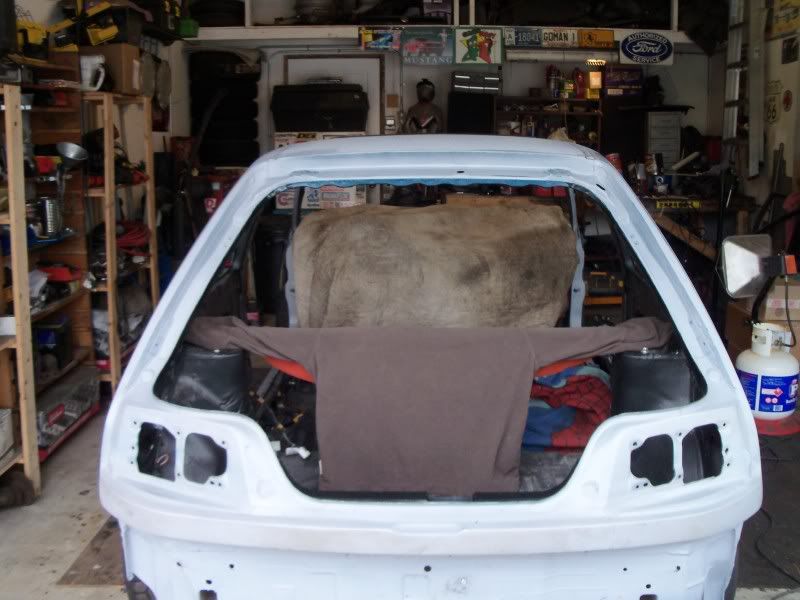
My door and I drove home. I decided to start body work on the hatch.
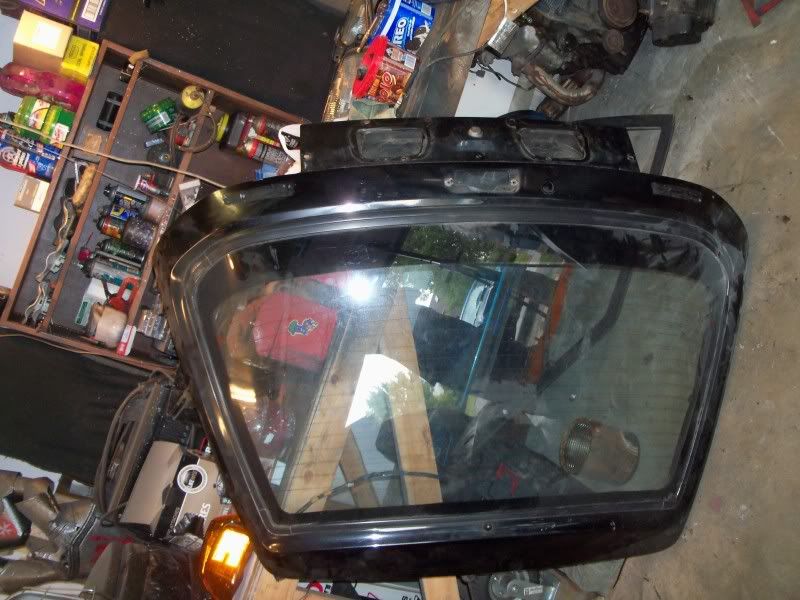
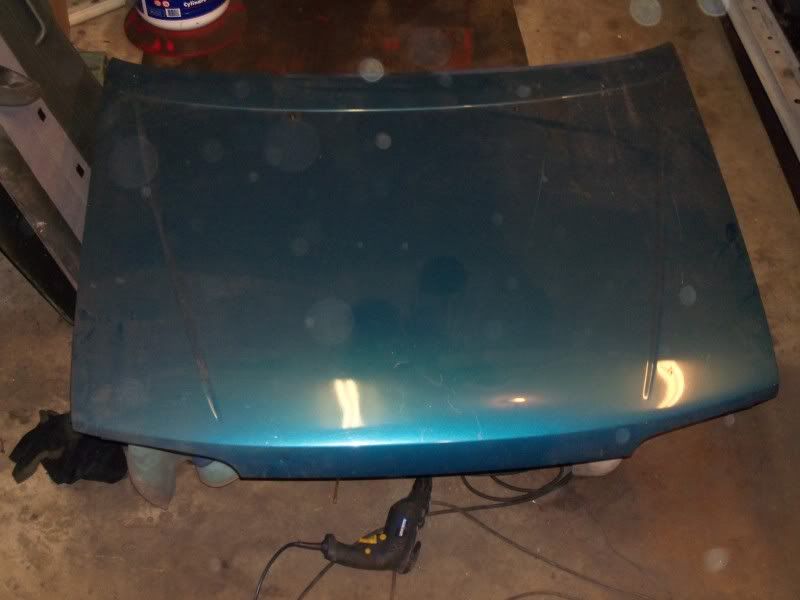
The hatch was off my shiny black parts car, it is mint.
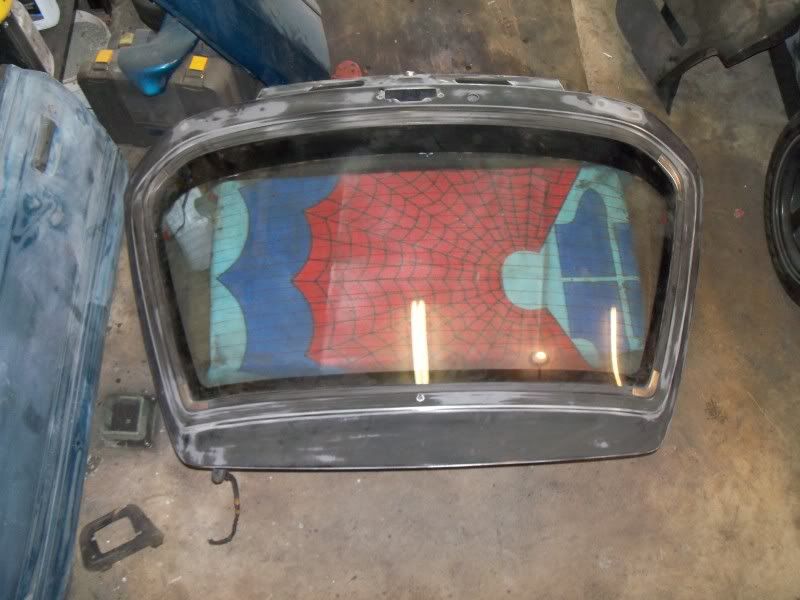
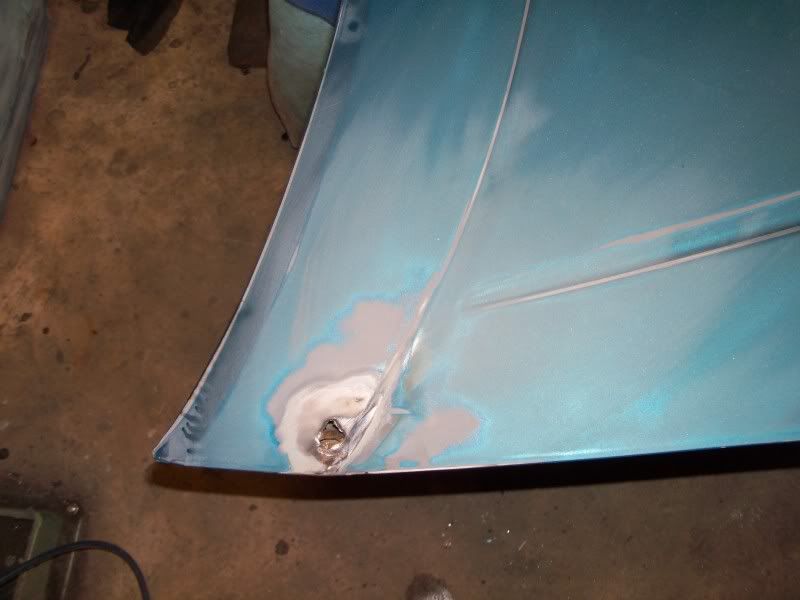
Used the box garbage bags came in to make a template for a patch for the third brake light.
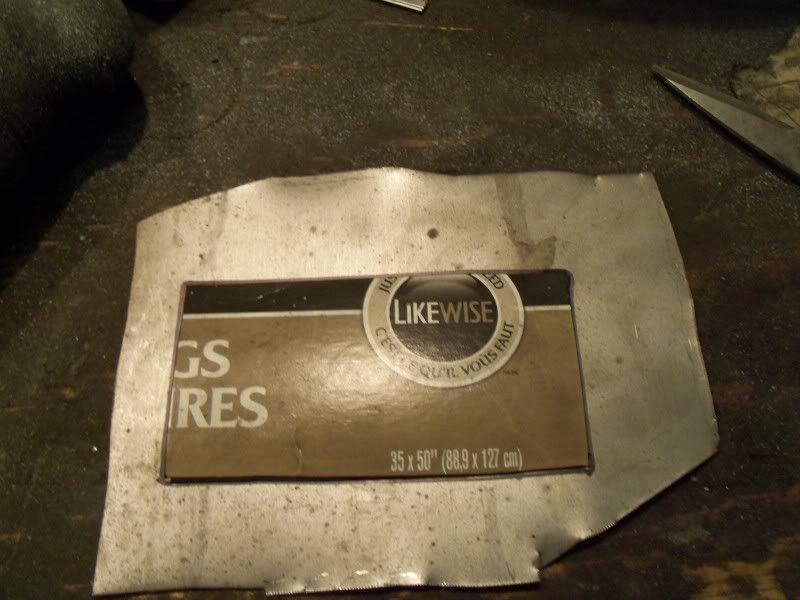
Patch made
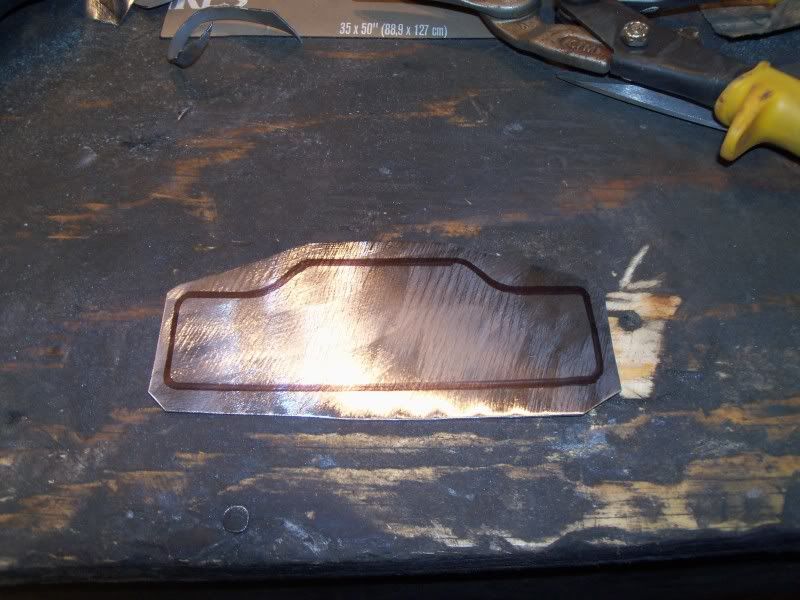
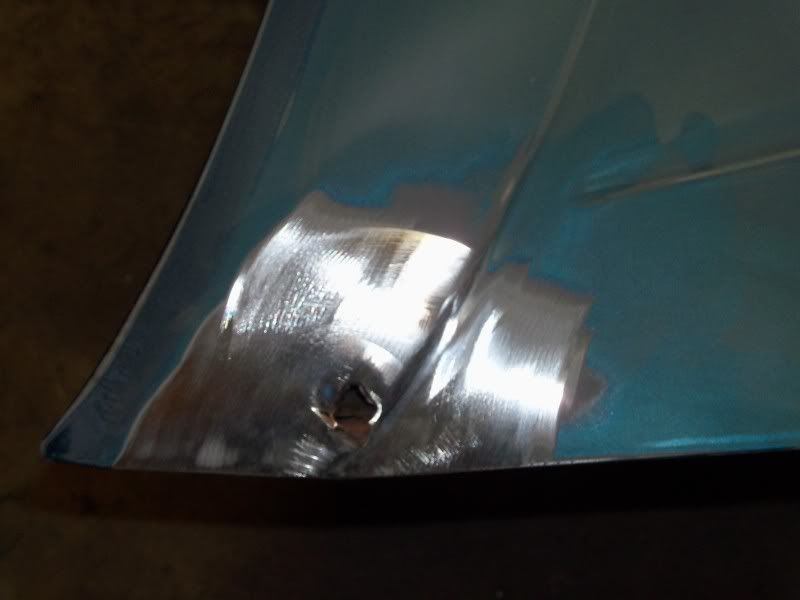
Patch wedged into place using deep sockets.
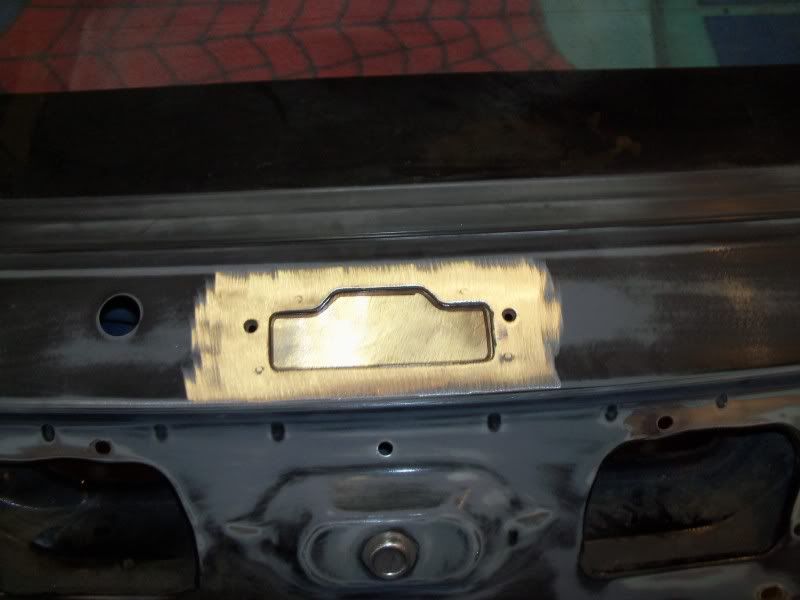
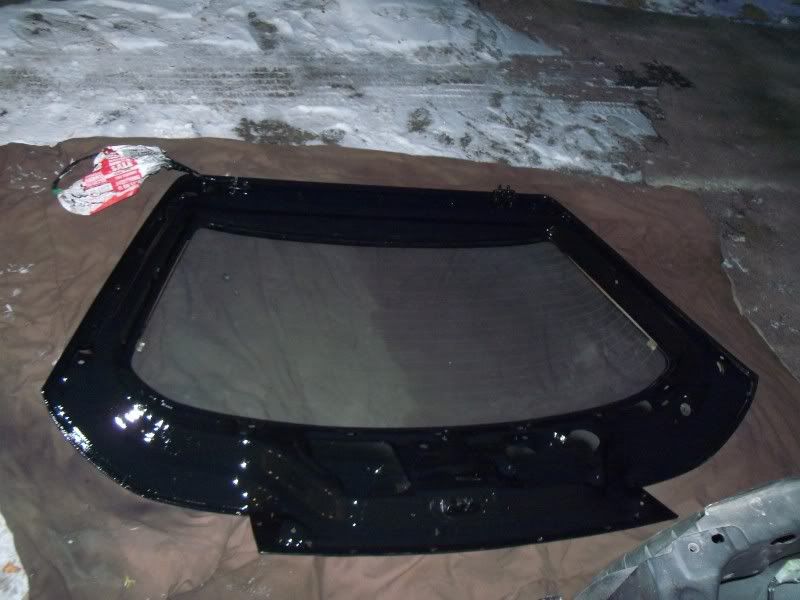
Patch welded into place

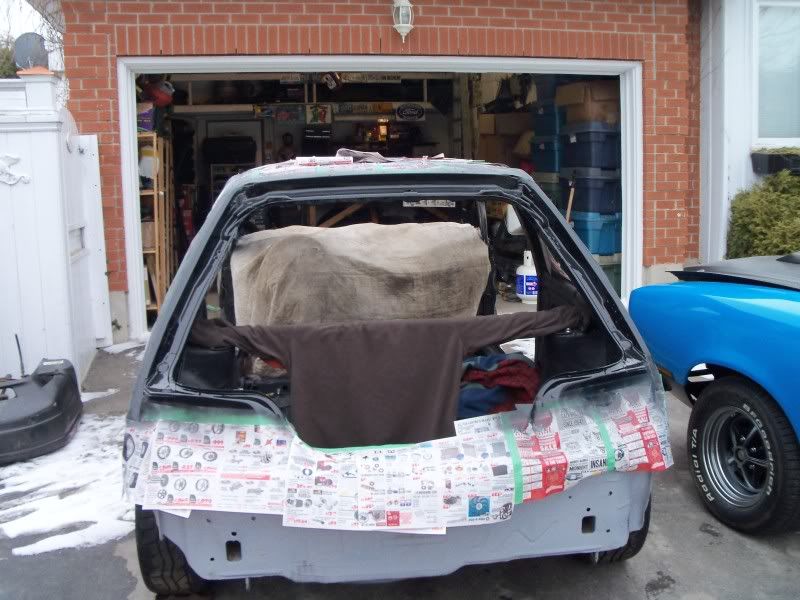
Hatch sitting on the car
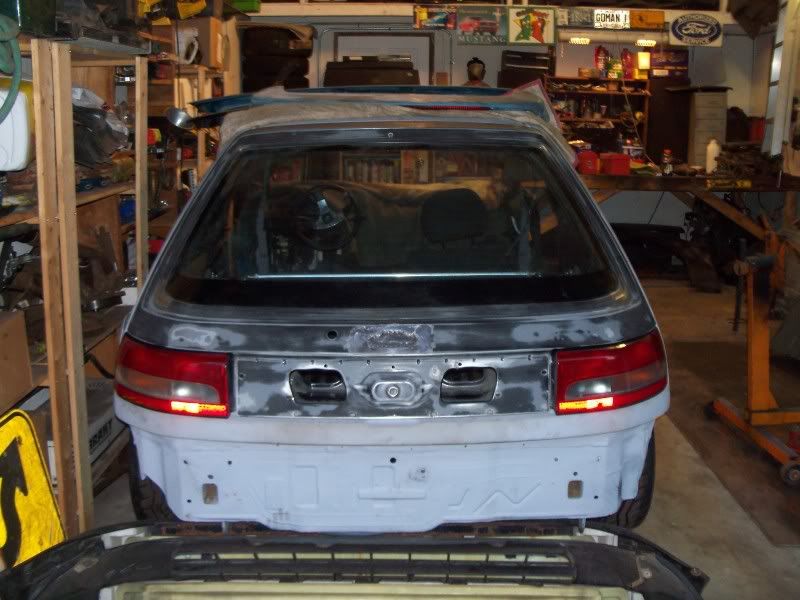
Glamour shot?!, and a reminder of the car I am actually working on. LOL
I have a spoiler like the one on my daily driver with a third brake light in it already. It came off the hatch of the soon to be V6 car. Every panel on that car was / is crap, so I chucked the hatch. Original panels = barely acceptable left fender & door LOL. I am told the spoiler only came on Canadian cars?
It gets confusing so here is the run down. I have (3) 323's (Now) Have had (4)
1)The flat black one I just took off the road. (going to use it for parts).
2)The grey one (my new daily driver)
3)My project car (To be KLZE powered)
4)Had a shiny black parts car 323 also. Many of the panels are on the V6 car and its engine is in the flat black car
A 323 door actually fits in the hatch of a 323! I thought for sure there would be bungee cords and hope involved.
My door and I on a romantic drive to the country
The door and I saw a beaver! Oh-Canada! (Not something you see everyday-even in Canada)
The door and I finally got to my parents house.
The drivers door looked to be in good shape, which is odd cause everything else is garbage LOL
I decided to remove the fender and take the door with the hinges, then replace it with my hole in the post door. I went to undo the fender bolt that you access when the door is open, when I noticed the door was rotted badly where the upper hinge bolts on. Mission aborted. Other then the hole in the post the other door was mint. Thinking a hole in the post is easier to fix then a hole where the hinge bolts on.
My door and I drove home. I decided to start body work on the hatch.
The hatch was off my shiny black parts car, it is mint.
Used the box garbage bags came in to make a template for a patch for the third brake light.
Patch made
Patch wedged into place using deep sockets.
Patch welded into place
Hatch sitting on the car
Glamour shot?!, and a reminder of the car I am actually working on. LOL
I have a spoiler like the one on my daily driver with a third brake light in it already. It came off the hatch of the soon to be V6 car. Every panel on that car was / is crap, so I chucked the hatch. Original panels = barely acceptable left fender & door LOL. I am told the spoiler only came on Canadian cars?
Dominic Toretto's whip is a MaZda and his cell phone number starts in "(323)"
My work log http://mx-3.com/phpBB3/viewtopic.php?f=46&t=72471
My work log http://mx-3.com/phpBB3/viewtopic.php?f=46&t=72471
-
Ryan

- Senior Member
- Posts: 7198
- Joined: April 7th, 2008, 1:06 pm
- antispam: ~SPAM*SUX~
- Location: Manitoba
Re: Project Jay-Spec MX-326GS
That spoiler only came on certain trim levels of the 323, Canadian or not.
Now with Moderator power!
Black '93 BP RS - wrecked, parted, scrapped.
Green GS - Sold.
Black GS - Summer DD/Race car - Fancy KLZE
Red GS - K8-ATX -> MTX-KLDE - Frakencar. Scrapped
White GS - Rusty. Parts. Scrapped
1997 BMW M3 - my summer baby
2002 BMW 325Xi - sold
2003 Forester Xti - EJ20K swapped.
Feedback
Black '93 BP RS - wrecked, parted, scrapped.
Green GS - Sold.
Black GS - Summer DD/Race car - Fancy KLZE
Red GS - K8-ATX -> MTX-KLDE - Frakencar. Scrapped
White GS - Rusty. Parts. Scrapped
1997 BMW M3 - my summer baby
2002 BMW 325Xi - sold
2003 Forester Xti - EJ20K swapped.
Feedback
-
IMACHU2
- Regular Member
- Posts: 559
- Joined: September 25th, 2008, 4:11 pm
- Location: Guelph Ontario Canada
Re: Project Jay-Spec MX-326GS
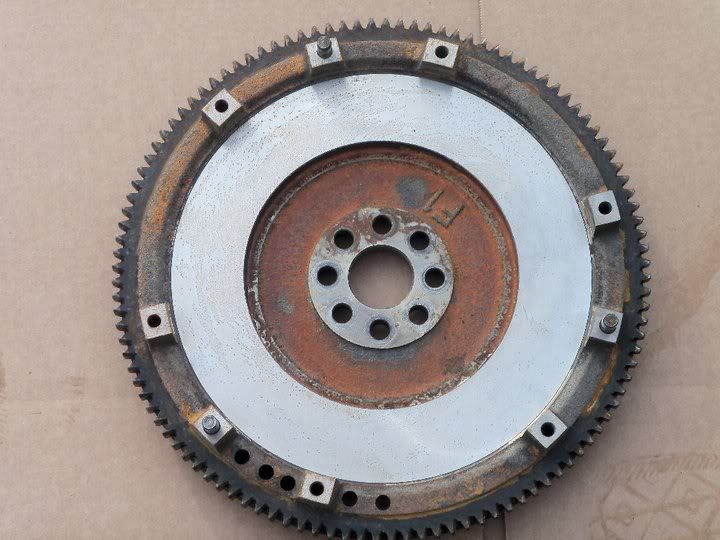
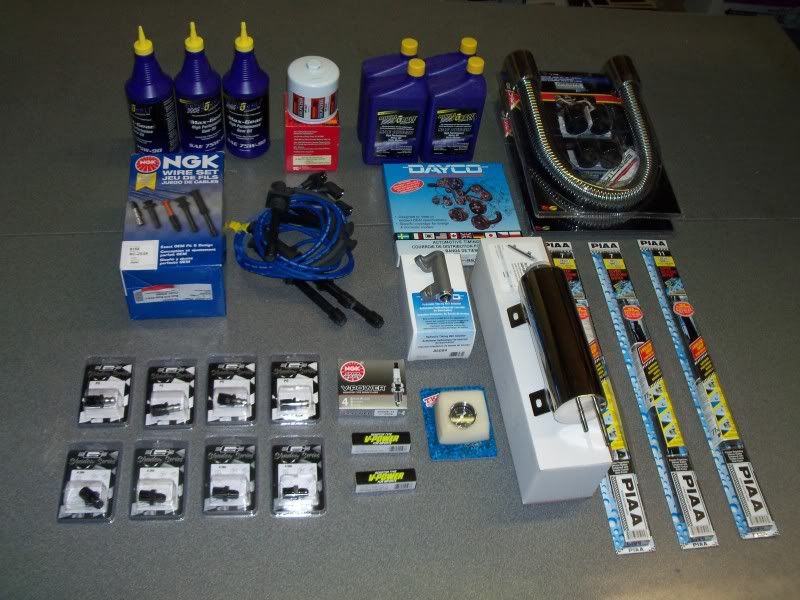
Got the flywheel turned the other day. I ordered a bunch of stuff for it too:
KE95214 (D35) TIMMING BELT
KE85004 (D35) BELT ACTUATOR
NK2262 NGK SPARK PLUGS
KNHP2007 K&N OIL FILTER (ZR1 CORVETTE FILTER)
RP01300 Royal Purple Transmission Fluid
RP21130 10W30 Royal Purple Motor Oil
NK8158 NGK WIRE SET
PI95045 PIAA WIPER BLADE (RIGHT & REAR)
PI95053 PIAA WIPER BLADE (LEFT)
SR7769 SPECTRA ALUMINUM RAD HOSES
AA2854 BILLET ALUMINUM COOLANT OVERFLOW BOTTLE
AA6211 FUEL PRESSURE GAGE
GAP6 -6 HOSE END(S)
GAA386 PIPE TO AN FITTING(S)
Photo of new MX-326GS Swag
Worked on the car this weekend.
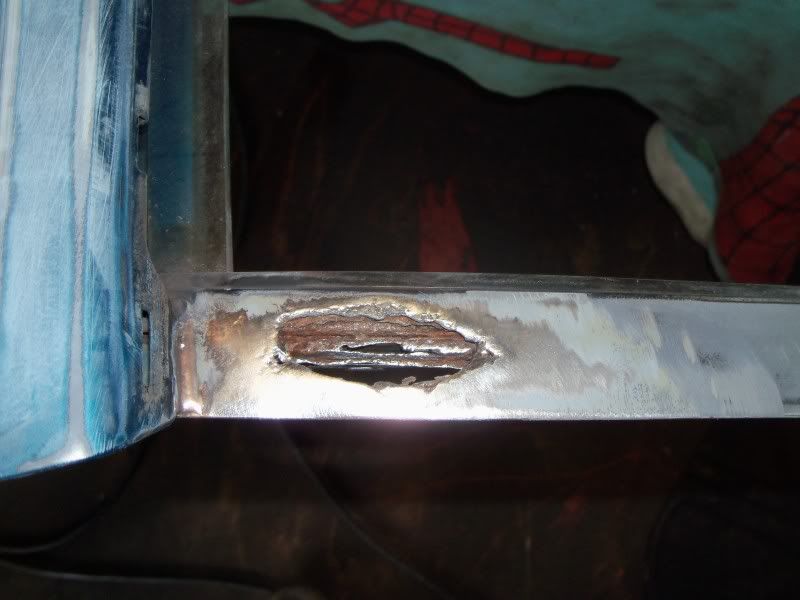
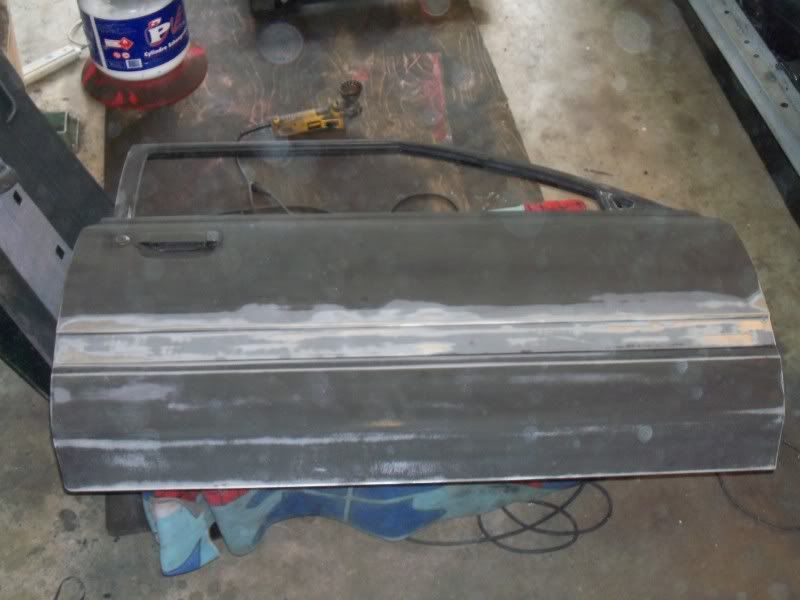
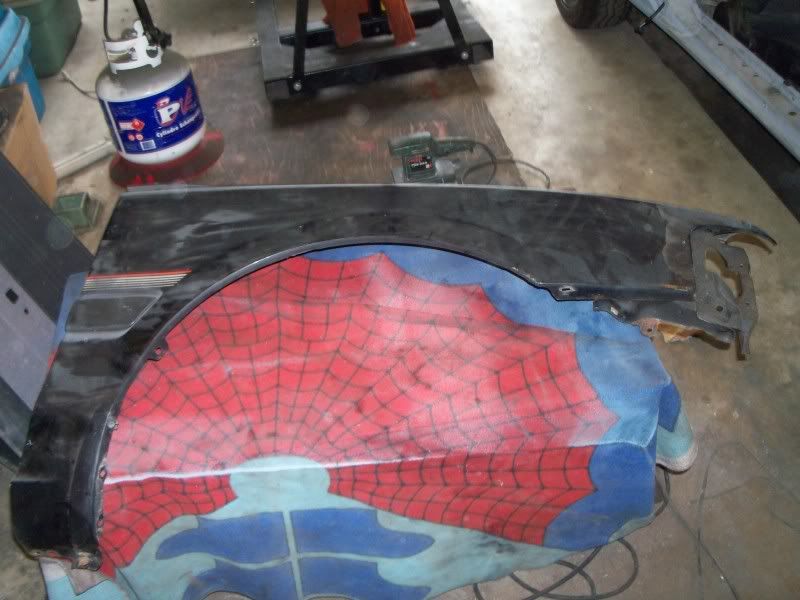
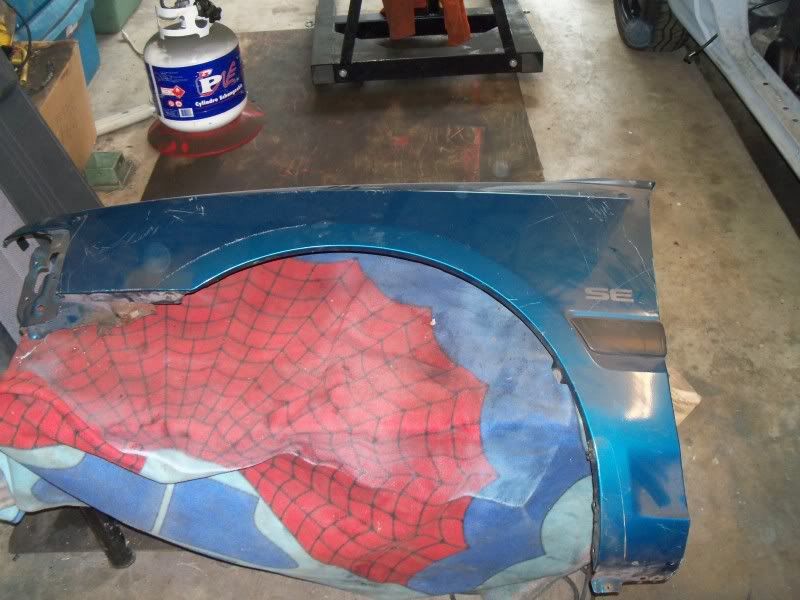
Fixed the door
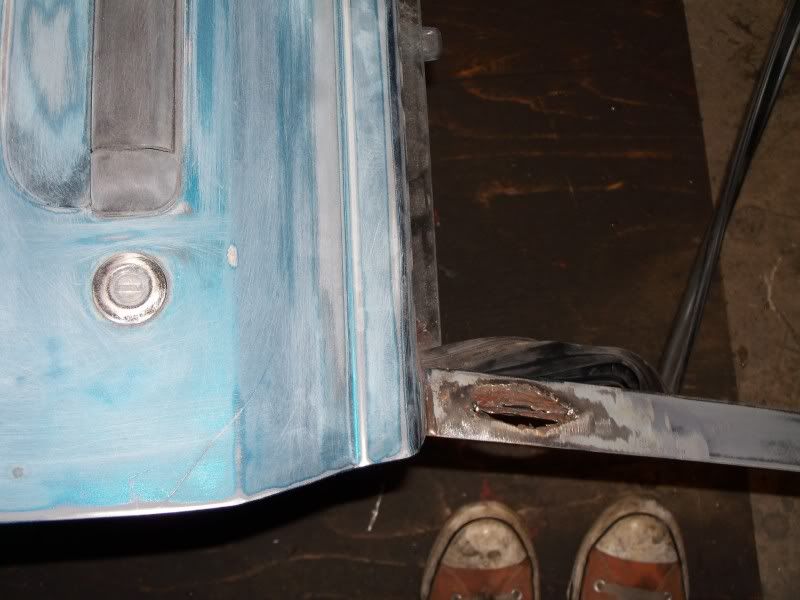
I Just fiber-glassed it. The door has some beefy metal in the window frame, this piece is really cosmetic, made out of really thin metal.
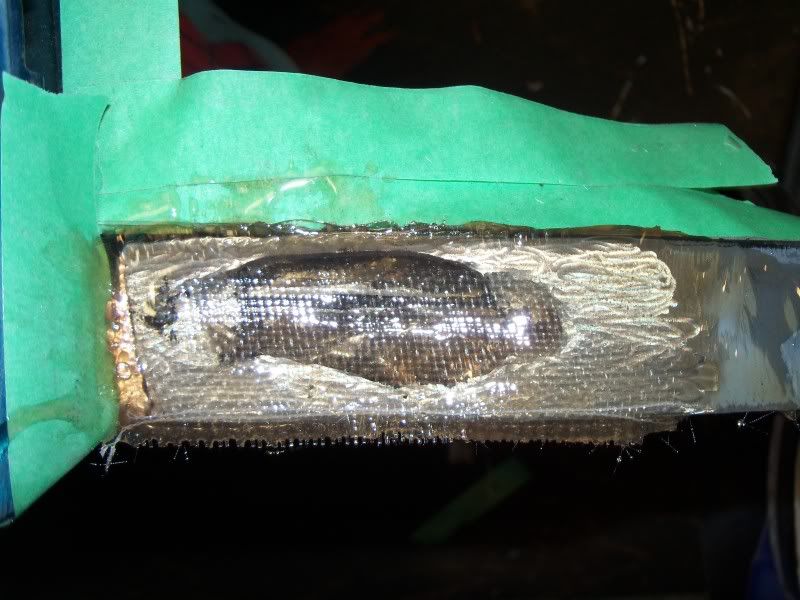
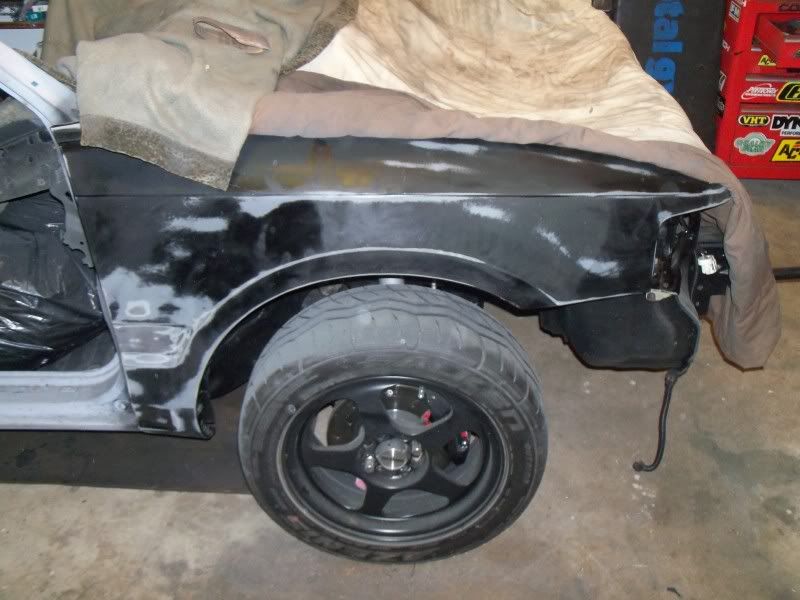
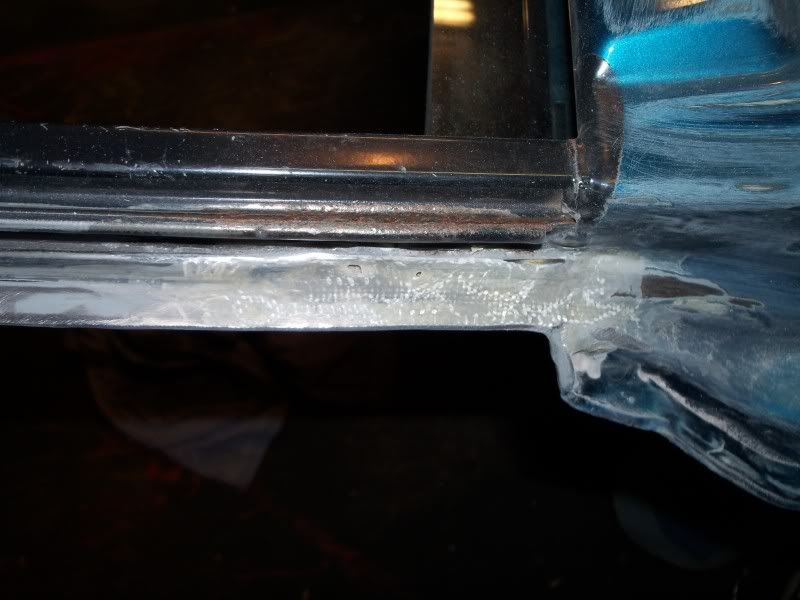
Spent forever on the body filler stage, looks good enough
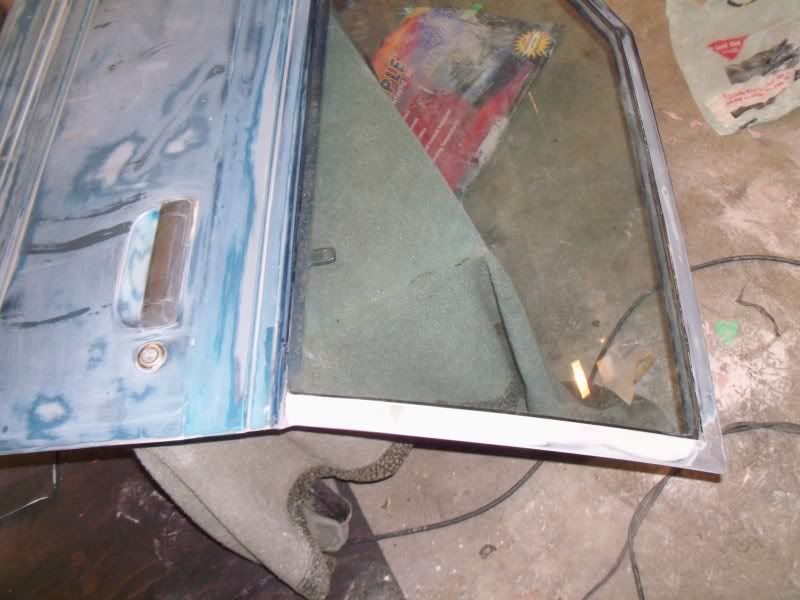
I finished the back of it too, cause I figure it would bug me to see the repair as I got out of the car. Just fiberglass in the picture, I smoothed it out with body filler on the inside too.
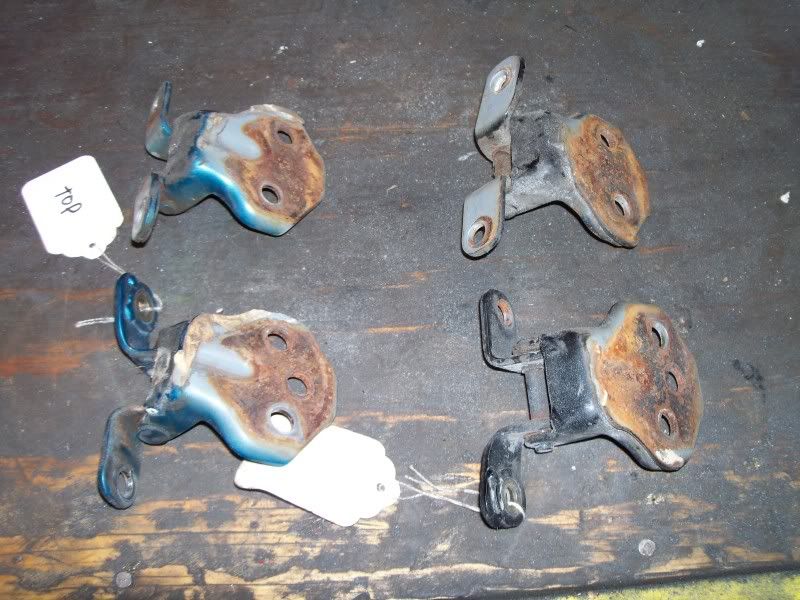
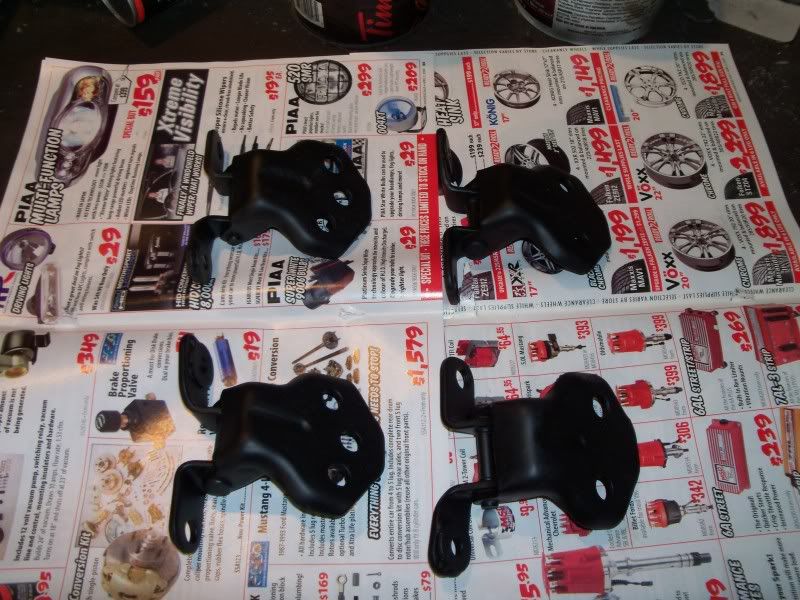
I painted the jams and the backs of the doors and hatch.
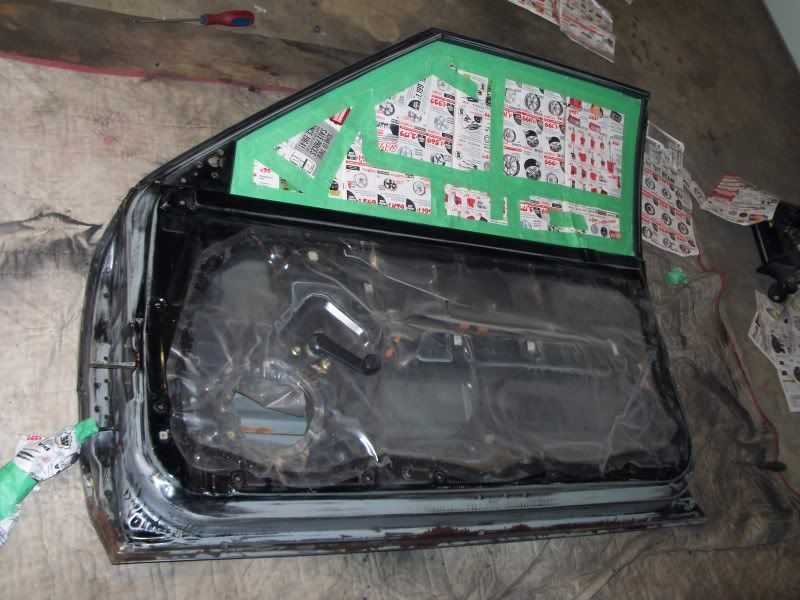
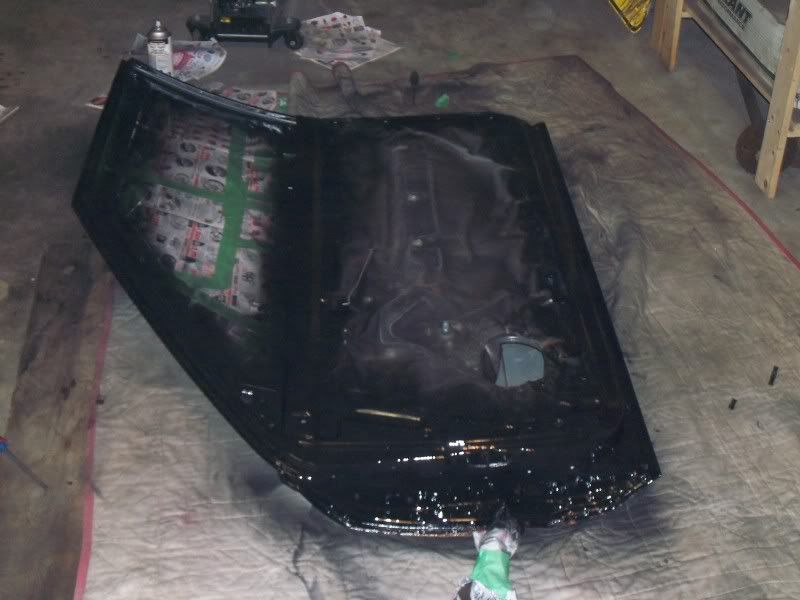
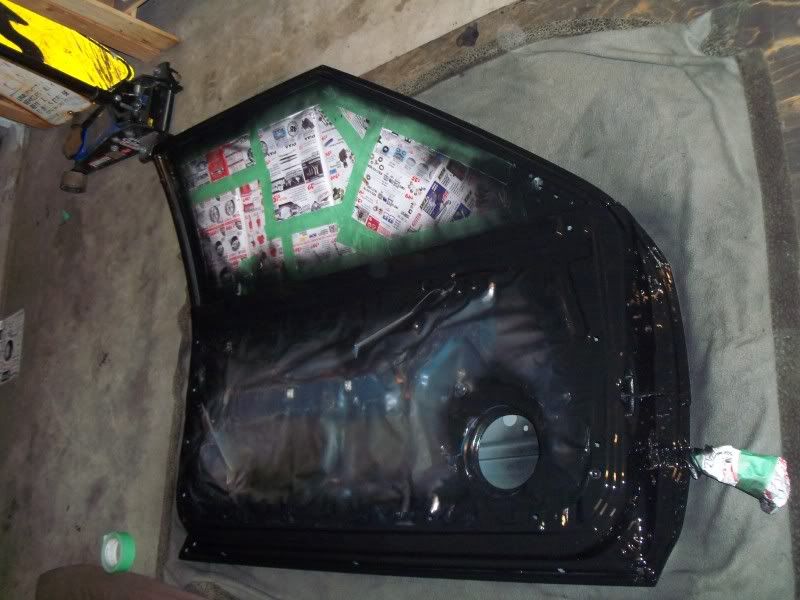
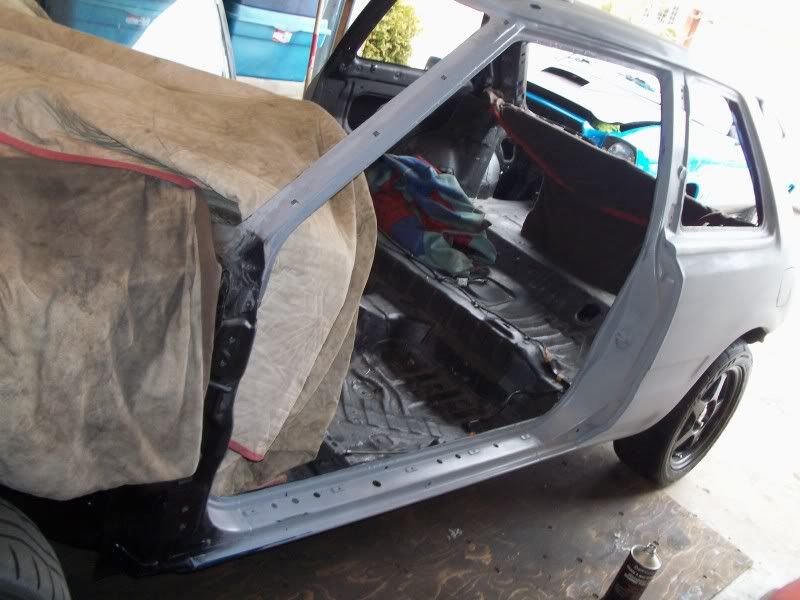
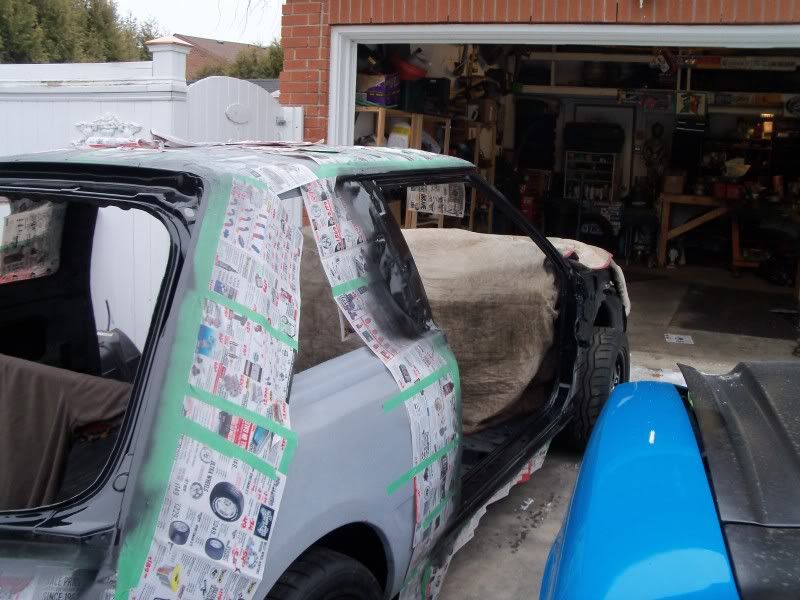
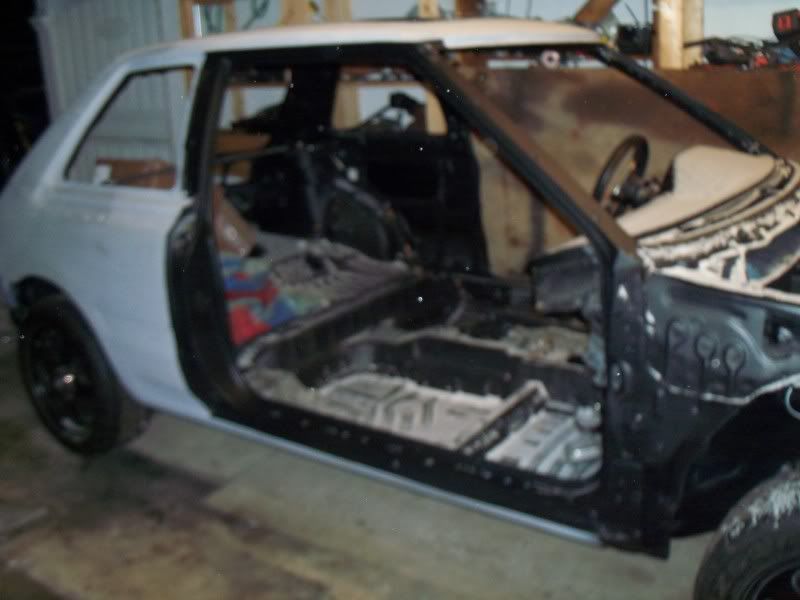
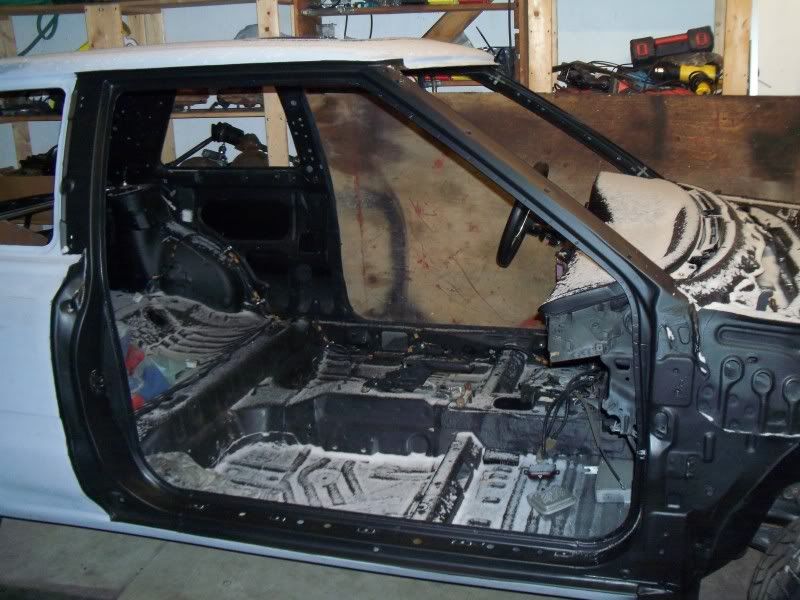
Cleaned up and painted the door hinges too
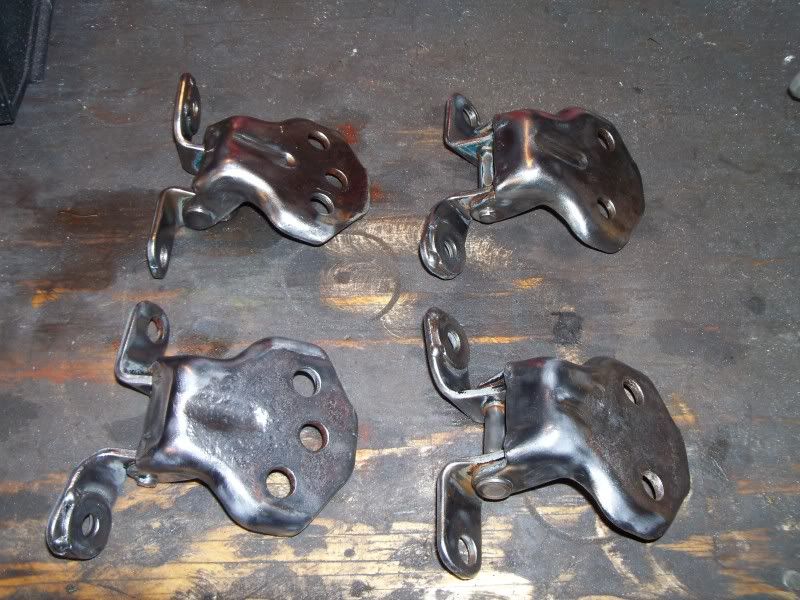
Thinkin' the next step will be to put the engine in it. Then bolt it all back together and paint it. Then paint the rest of the interior parts......but that's another story LOL
Dominic Toretto's whip is a MaZda and his cell phone number starts in "(323)"
My work log http://mx-3.com/phpBB3/viewtopic.php?f=46&t=72471
My work log http://mx-3.com/phpBB3/viewtopic.php?f=46&t=72471
Re: Project Jay-Spec MX-326GS
niiiiiiice.. i really like this build.. i see you have alot of knowlidge on everything car related.. looking forward for more updates and PICTURES!!!
-
marcdh

- Regular Member
- Posts: 1460
- Joined: July 26th, 2006, 3:54 pm
- Location: Belfast -Northern Ireland
- Contact:
Re: Project Jay-Spec MX-326GS
Great worklog, and extra points for the beaver!
AZ-3 1498cc Turbo! EVO 8 turbo and manifold, 5 stud swap, SSR Type C, DIYPNP seq Megasquirt
Mx-3 2.5 V6 Turbo 291 BHP 251 lbft @ 8psi - Retired due to rust and back at uni
View Worklog

Mx-3 2.5 V6 Turbo 291 BHP 251 lbft @ 8psi - Retired due to rust and back at uni
View Worklog