This is how I installed them. It was surprisingly easy:
First, remove your headlights.
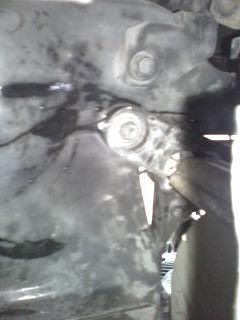
Take out the top bolts behind the lights, on the radiator support.
Take out your turn signals, and take the bulbs out (There is 1 screw. Once it's out, pull on that side to pivot the whole thing out).
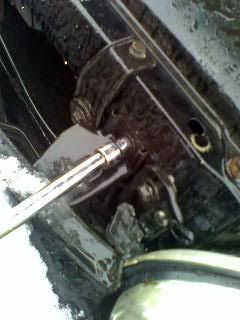
Look up inside the hole where the turn signal was, and toward the fender for this bolt:

Take it out. I used a ratchet wrench with a long extension (10mm).
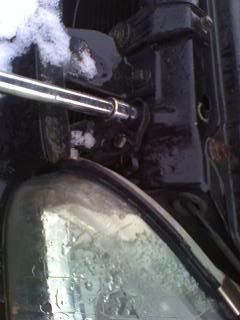
Take out the bumper bolt:
Then take out the headlight support bolt:
Pull the plug from the back of the headilghts by squeezing the sides, and pulling.
Now Wiggle, tug, and twist the lights out. I can't explain... but you'll need to pull the bumper out a little, too. That's why you took out that bolt.
I wired the halos, and LEDs with the running lights;
Cut 1mm of casing off all the wires, being careful not to cut any wire with it.
Twist the red (Halo wires, and the white (LED) wires together.
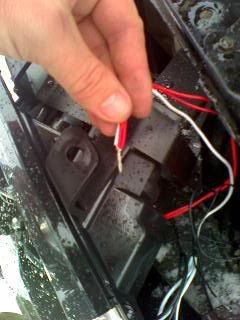
Get the following connectors (the kind that you slip onto a wire without cutting it, and you slip a pigtail into it, close it, and it taps, and secures a new wire into an existing one), and tap the white/ red wire combo into the Red/Green wire from your turn signal by sticking the Red/Green wire into the terminal, and sticking the REd/White pigtail into the other hole in the terminal. Hold the pigtail in place as you crimp the metal part with pliers. Then close the blue flap.
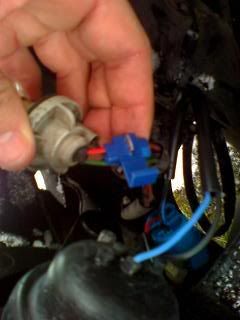
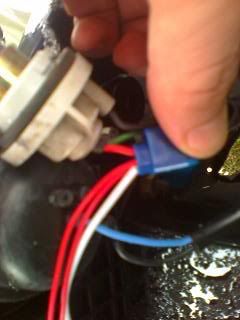
Tap this wire further away from the bulb than I did in this picture. I tapped the one on the other headlight as close to the harness sheath as I could, leaving more room to pull the turn signal bulb out, to screw it into the housing.
Then do this same procedure with the black wires, tapping them into the black wire coming out of the high beams. I did the high beams, since i'm going to take the other ones out to put in the HIDs.
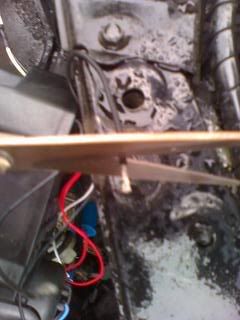
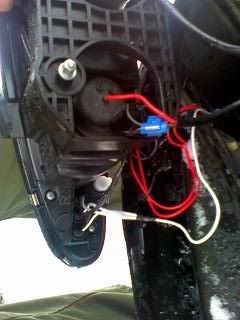
Here's the back, all wired up.
Now put the lights into place. It's easier than taking the other ones out, because they don't have the bolt that holds them to the radiator support.
Bolt and plug everything back together in reverse order, and you're done!
Against a wall at night, you can adjust the beams with the 8mm bolts on the back of the housings.
HID
The HID installation was MUCH easier than I thought it would be. I'm cautious around electricity ever since I sent 60,000 volts through my arm, and burnt a hole in my thumb checking for spark on a HEI system
Here's how I did the HIDs:
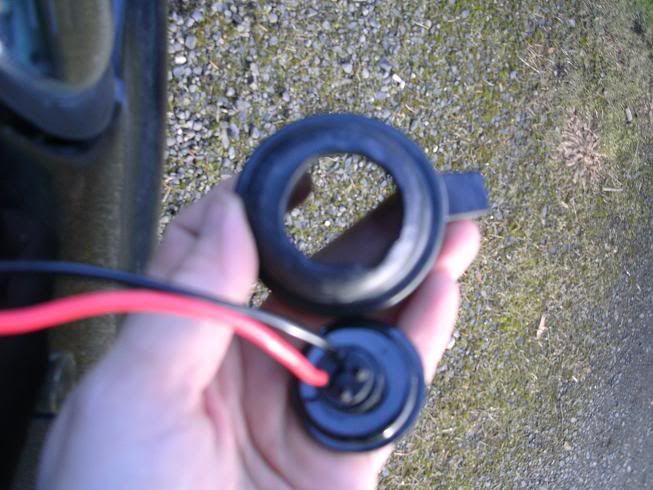
Just for reference, these are the wires you will connect later, in their original housings;
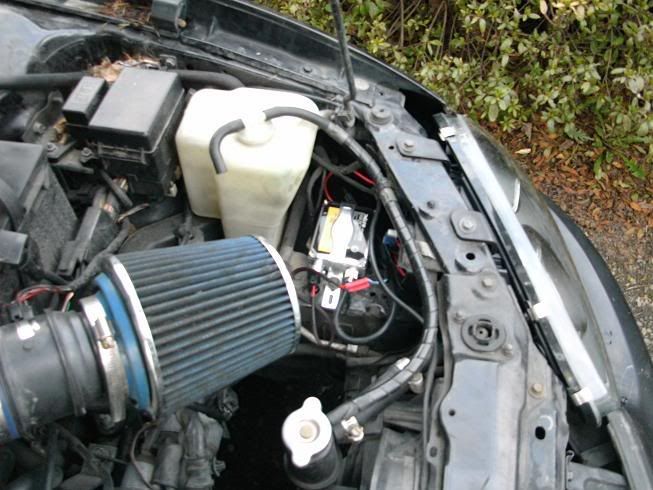
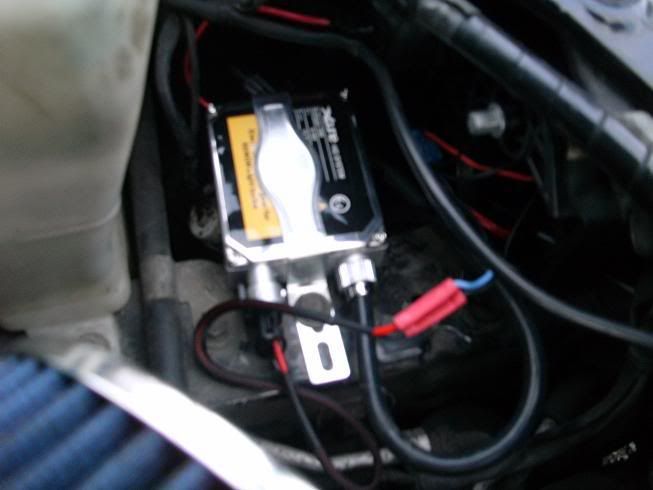
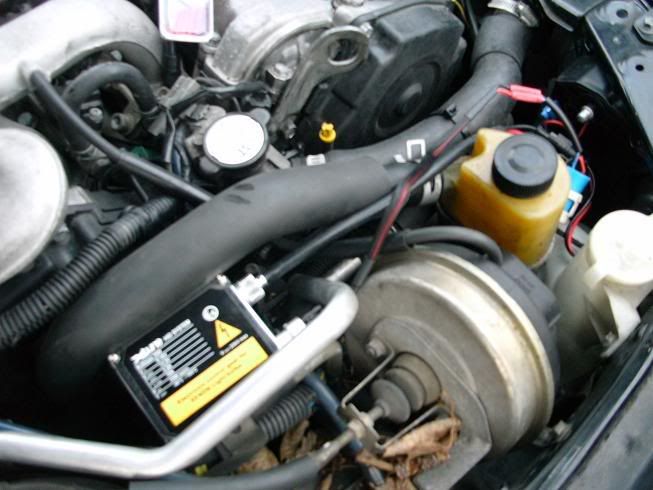
First, find where you're going to put your ballast boxes, and secure them, making sure the wires will reach. Here's where I put mine:
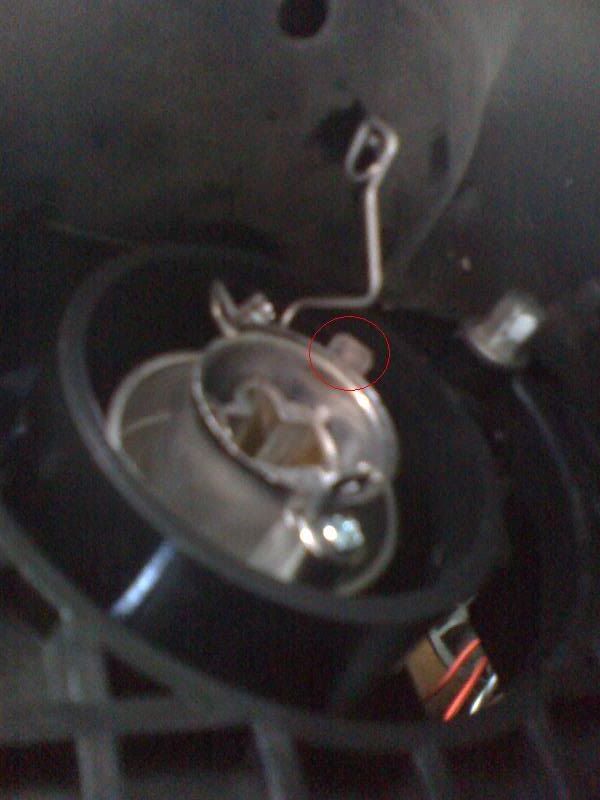
Start by pulling the seal off the back of the headlight assembly, and pull the wires out of the bulb, and housing. Then unclip the bulb retainer, and take the bulb out.
Here's the retainer clip (ignore the red circle
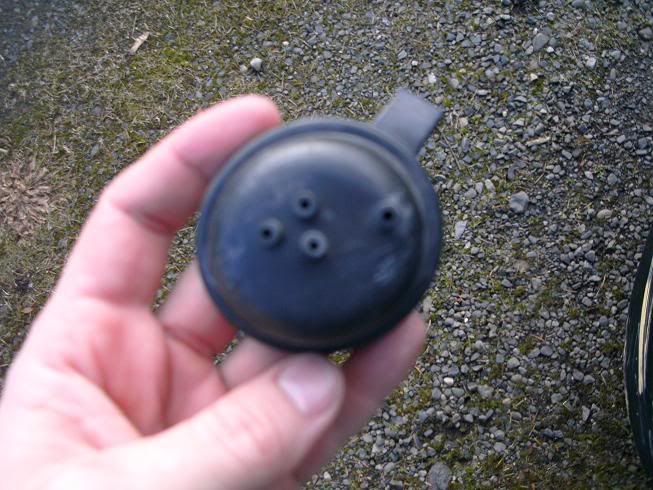
Then cut about 3 inches off of the wires that you just unplugged, and pull them out of the seal. The HID kit comes with it's own seal that you will plug into the other seal. Cut a hole in the projector seal just around these holes that are in it.
You want the hole you cut to be just smaller than the diameter of the seal on the HID kit as such (NOTE: I already cut the other 2 wires out of the seal that come from the ballast, but you will do it later):
That way, you can plug the HID seal into it, and have a good seal like this:
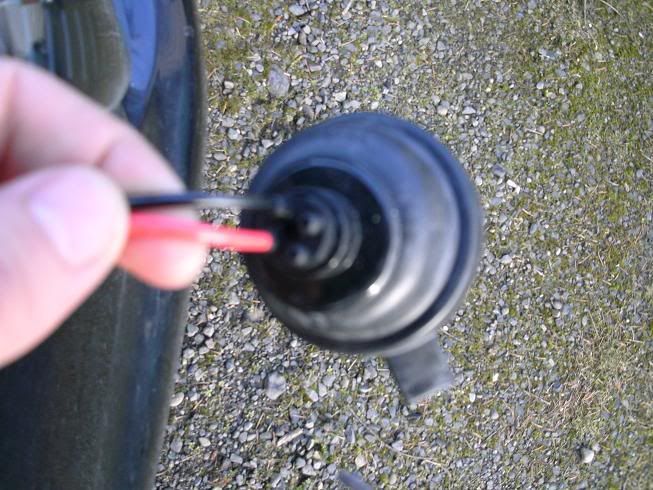

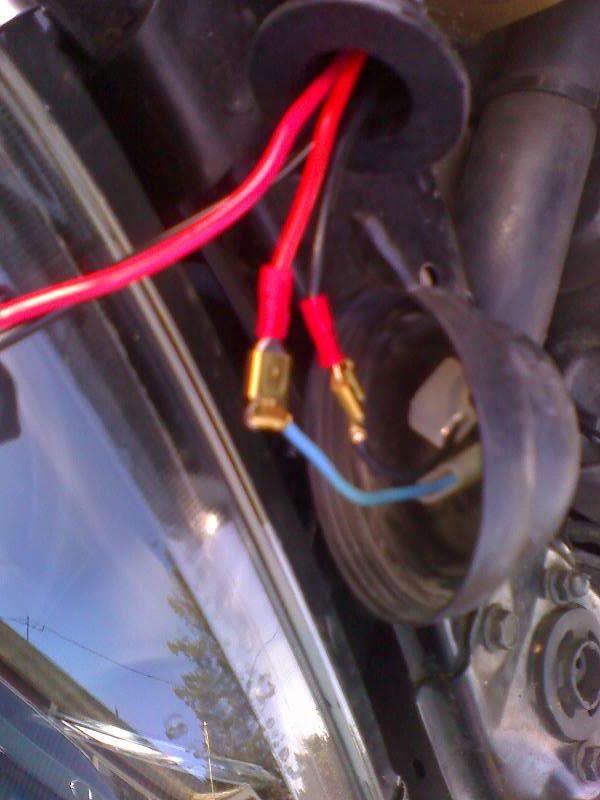
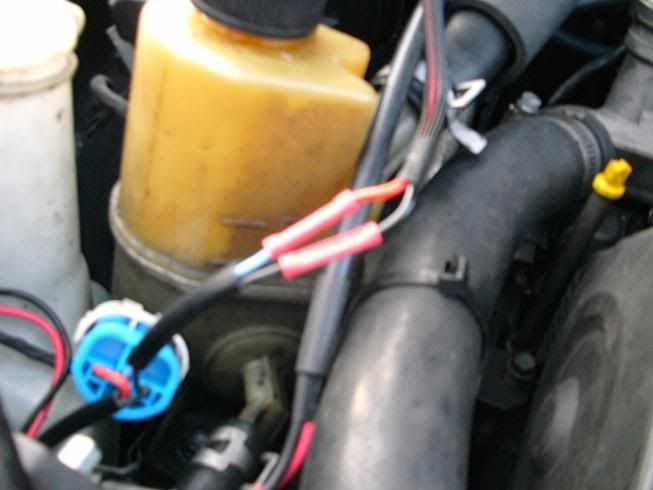
Now, cut the Red and Black wires coming from your ballast, to whatever length works, and pull them out of the seal. I wired them in with butt connectors, but you can use tabs, if you think you'll need to disconnect them.
Now you can put the HID bulb in, and pull the excess wires out from the seal. NOTE: Don't let the HID bulb touch anything. If it does, clean it with rubbing alcohol.
When putting the HID bulb in, make sure the flat part on the base of the bulb lines up with the tab on the housing you're plugging it into. It takes a little more effort to get the retainer clip to seat with the HID bulb.
Connect the black (ground) wires, and connect the red to the blue wire, and you're done!
Let me know if something isn't clear enough

