02/01/12 - Day 1:
Disassembly
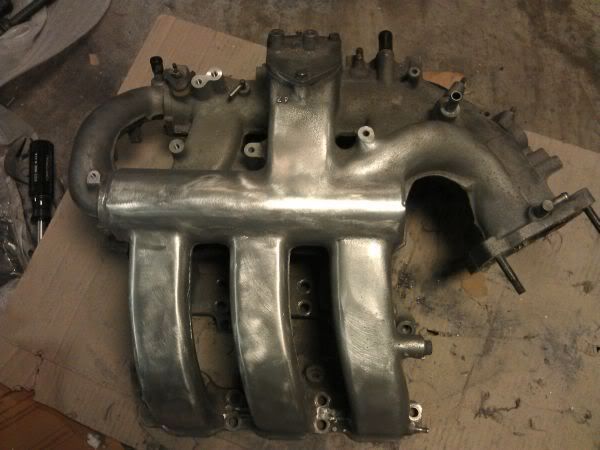
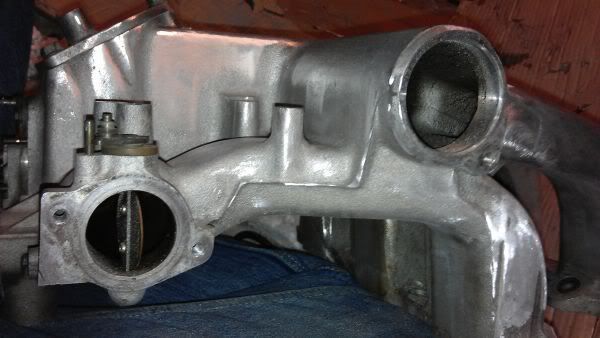
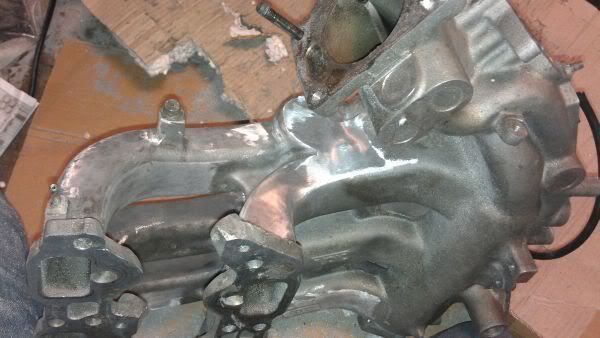
Pulled the Intake off the ZE:
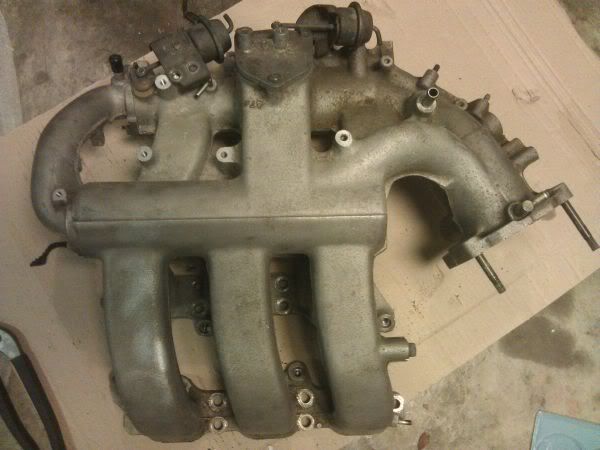
Cleaning
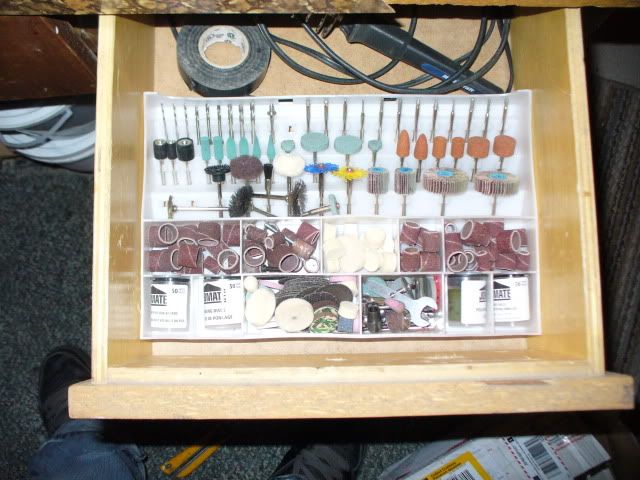
Cleaned with a wirebrush attachment on a drill
Began filing down seams
02/02/12 - Day 2:
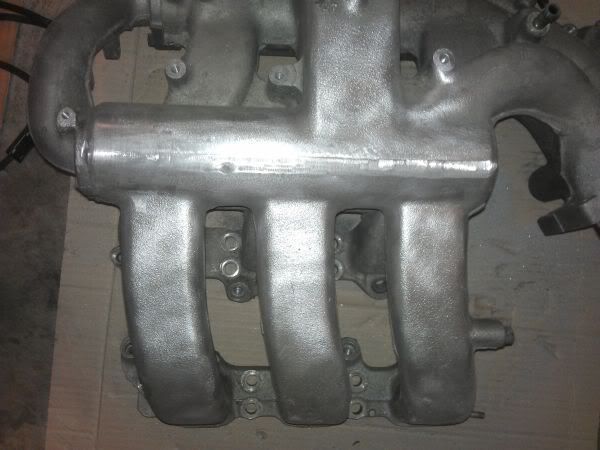
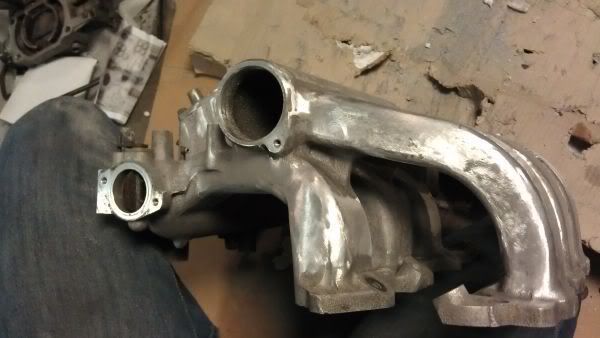
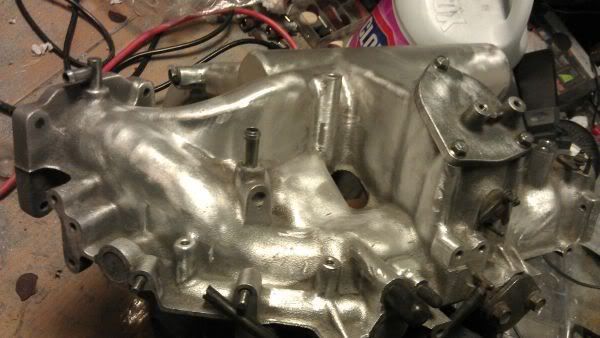
Smoothing
Cast aluminum has many ridges, often uneven. began smoothing with a combination of sandpaper, drill and dremel work.
02/03/12 - Day 3:
Seams
Before tackling the seams:
Ran out of time to finish it up:
End of day 3:
02/05/12 - Day 4:
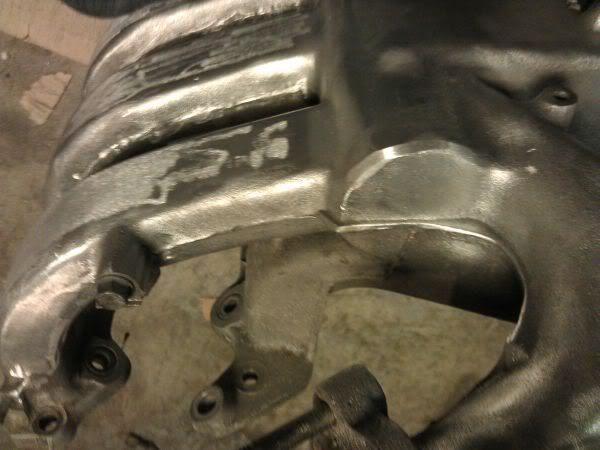
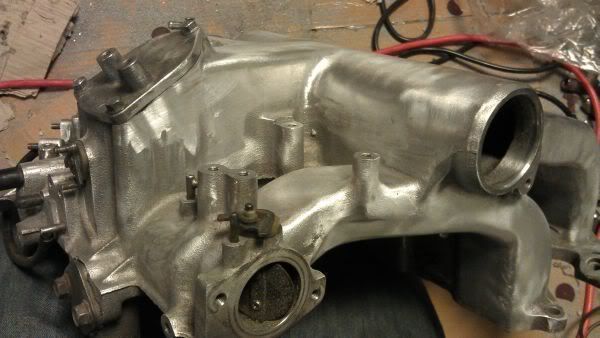
Between The Runners
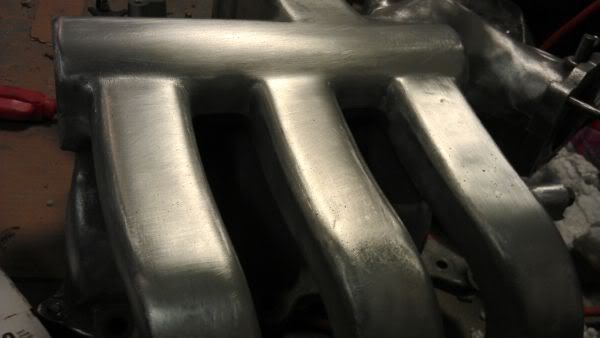
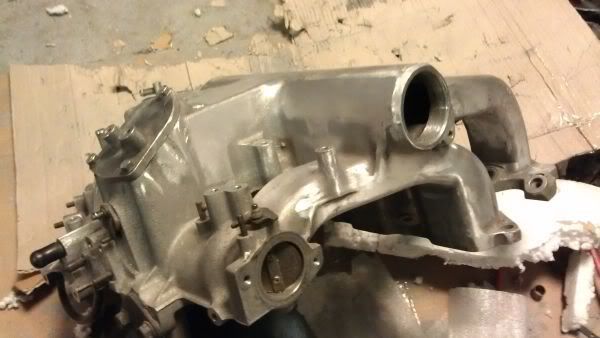
Working on the seams between the runners. Here's one already done, and about to work on the second runner:
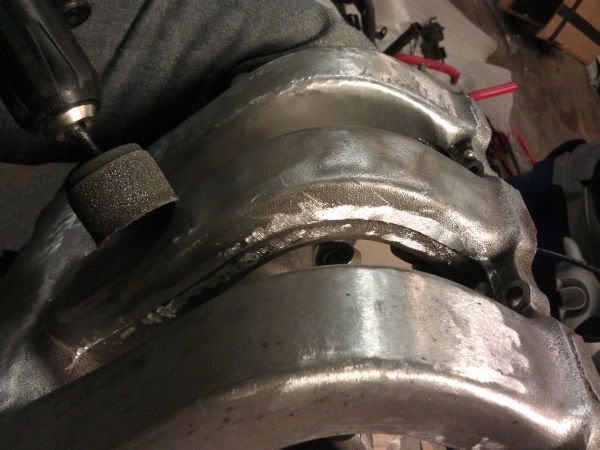
After smoothing out the runner:
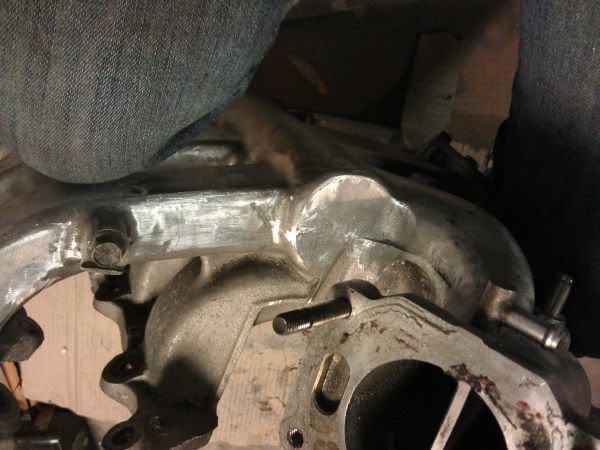
Working on the pipe by the VRIS as well:
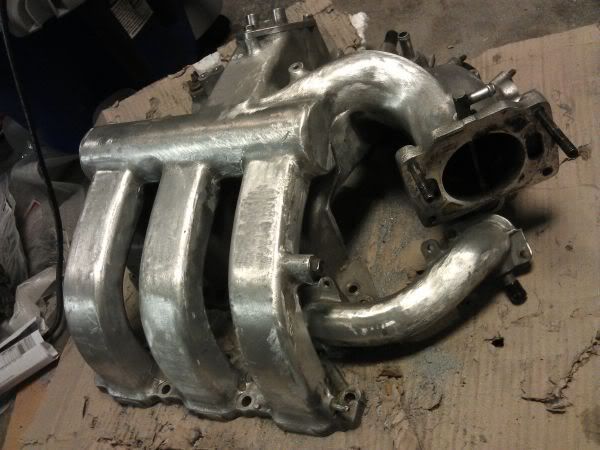
End of Day 4:
02/06/12 - Day 5:
Rear Runner Seams
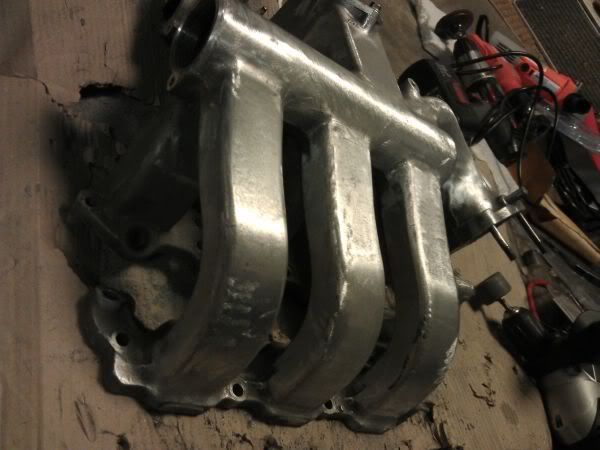
Working on the seams on the rear runners now. Here's where I started:
What I accomplished on this side:
Also tried smoothing some areas that I could reach with my wheel:
The other side is very complex so I will have to revert to my dremel before hand sanding:
Alternate side of the rear runners:
02/07/12 - Day 6:
Unproductive
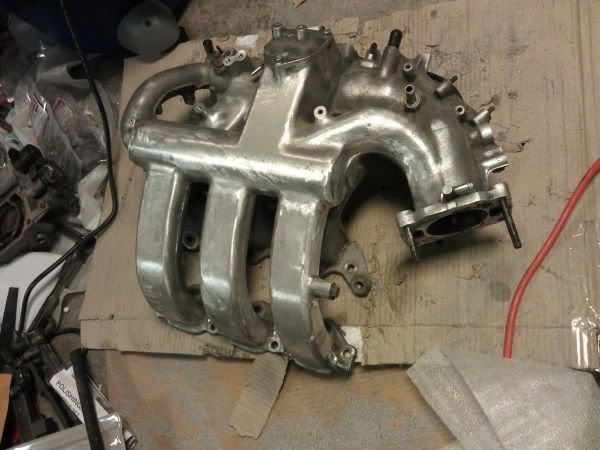
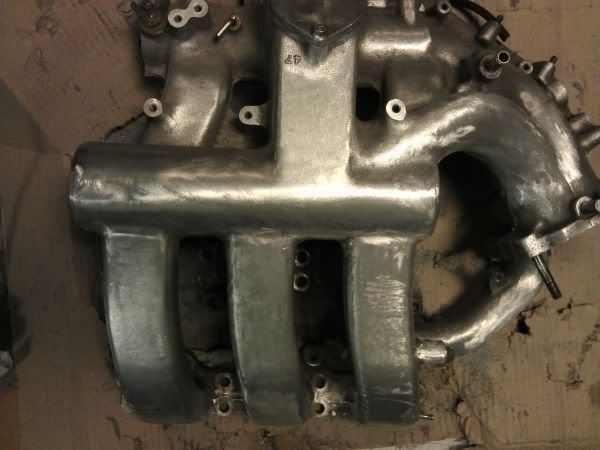
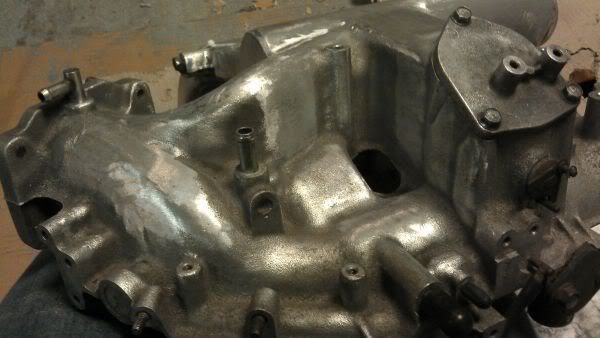
I am running out of areas I can reach with my dremel and drill, which is making it harder to get anything productive done.I tried smoothing out the waves that were caused by the drill and dremel, there is a lot of material I need to get rid of in order to get some of these dimples out, I found out. Sad...
End of Day 6. It is getting shinier. A lot of areas are now smoothed out too.

02/07/12 - Day 7:
Dimples!
Did a little hand sanding with some sandpaper I found in the garage.