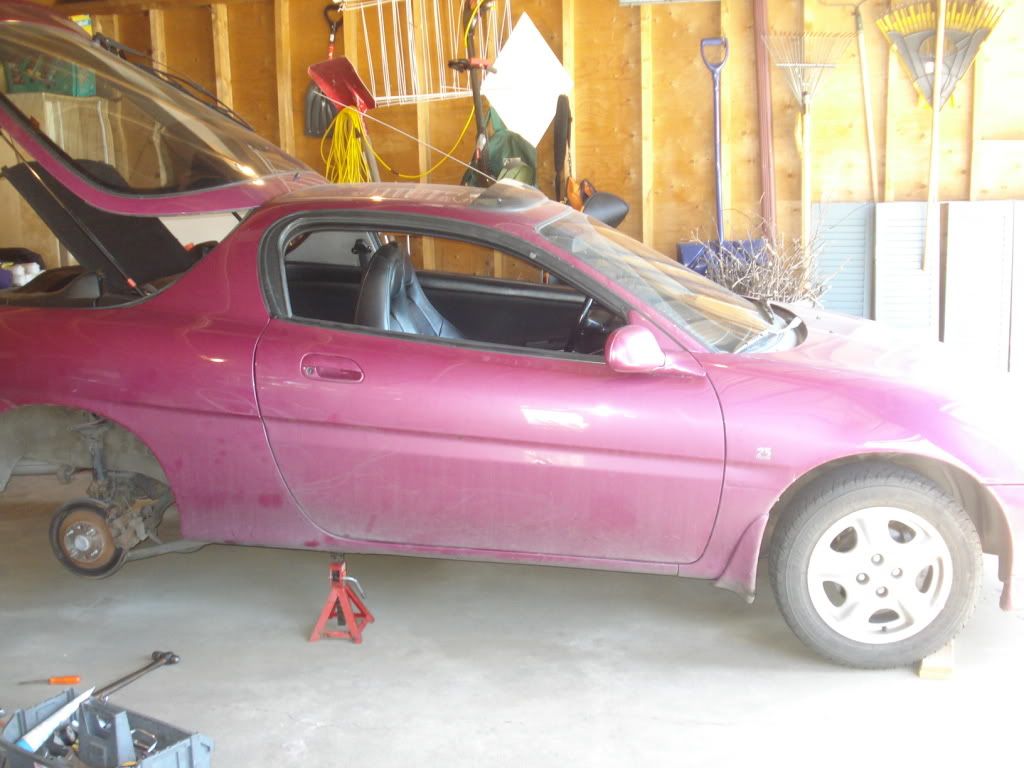
My installation may look a bit different than yours. I used a lot of new parts where many or most of you will be using your existing parts. I removed both sides of the rear suspension and left them intact so that I could reinstall them easily if necessary. I did need to reuse some of the existing parts so I did some disassembly that you probably won't be doing. Little things like ABS and the like will add a step for a few but not all. I will try to make this procedure as universal as I can. You may notice that my pictures are a bit out of order. I didn't actually do the disassembly in the order I'm writing it.
Rear End Disassembly
Get yourself a can of good penetrating lube. I recommend PB Blaster. It can save you a lot of frustration and time. It won't solve all of your problems with rusty suspension bolts but it will help with some and that's worth the $7 for a can. WD40 is not really very good for this. Penetrating and freeing corroded bolts is not it's forte. I started the day before my install with a decent shot of PB on pretty well every bolt in the rear end. The front end has never really given me a problem but the back end can be a nightmare. On the day of your install give them all another shot before you get started.
I'm going to state the obvious a few times throughout this thing because I don't want to assume people know things...although I'm pretty sure everyone will. Sorry if it annoys you.
Unless you are very lucky you need to remove the spindle with the Lateral Links attached to it. If you are very lucky you will be able to remove the long bolt that passes through the spindle and both Lateral Links. I don't think it can be done, but I wish you luck. Assuming that you all will have to remove the spindle...
Begin by putting the rear of the car on stands and removing the wheels. Loosen the wheel nuts before you lift the car. Make sure your chock the front wheels. Take this part seriously. You're going to be reefing on the suspension. If the car is not well supported it can hurt you real bad.
With the wheels off I began by unbolting the (2) 14mm caliper bolts from the spindle. You have to remove the caliper to get the spindle assembly off the car unless you want to disconnect the brake lines and bleed the brakes after re-assembly. On the passenger side I found that I had a broken E-brake cable but even on the driver side I undid the cable anyway just to allow me to get it up out of the way. Unclip the brake line from the shock body and tie the caliper up to the spring somehow and you'll have a bit more room to work with.
Removing the ABS sensor if you have them is a bit tricky. They are not extremely sturdy and they tend to seize in that little bore pretty good and require a bit of force to remove. I destroyed one during my disassembly. $176 at Rockauto.
They are held into the spindle with a single 12mm bolt from the back. Remove the bolt and use a punch or screwdriver to tap on the mounting tab. Don't hit the sensor part at all. If it turns reasonably easily in the bore you'll probably be able to work it out. If you hit it and it doesn't budge, you probably won't. If you want to leave it in you can but you have to remove the interior in the cargo area to get to the wire harness connector. Not the best design.
If you're reusing your spindle assembly as is you don't have to remove anything else. You can skip this next part.
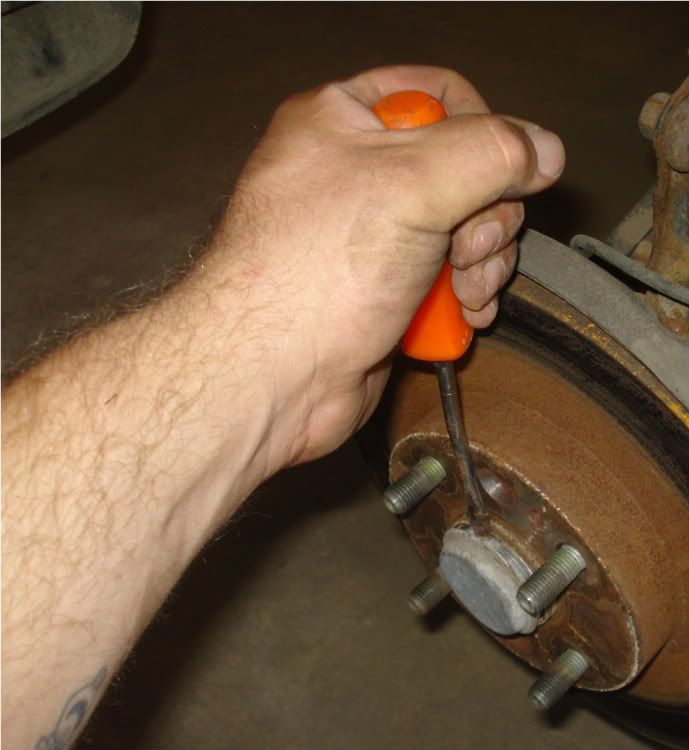
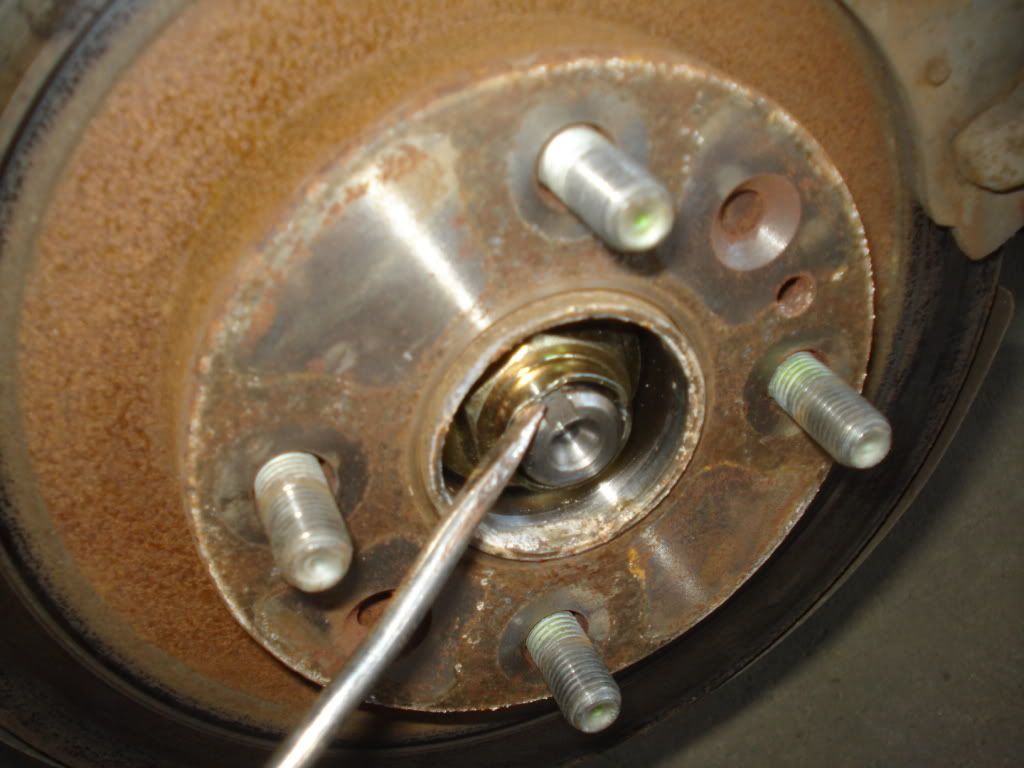
I'm replacing the rear spindles so I basically have to strip everything off the existing spindle. Hubs, dust shields, ABS sensors all have to come off and transfer over to the new spindles. I started by removing the hub cap. A gentle tap on a small screwdriver all around to get the cap started and then twist and it should pop right off.
Under it you will find the hub nut. Depending on how zealous the person who installed the nut, it will be staked anywhere from not at all to really really deeply. I was lucky...you may not be.
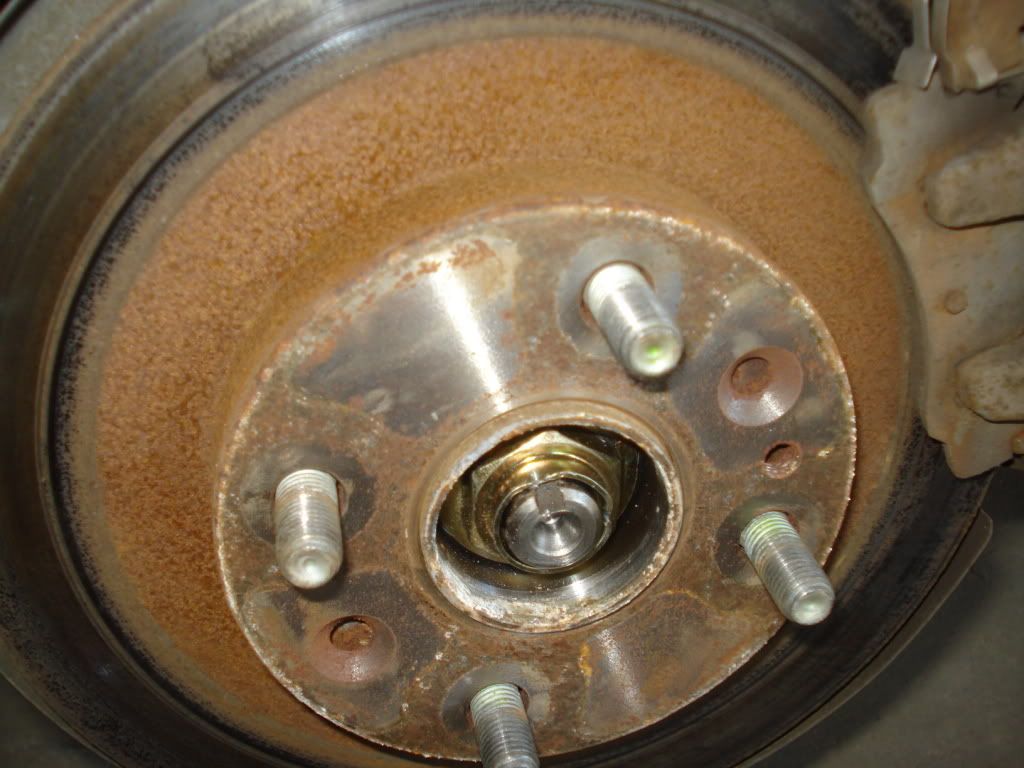
Unstaking the hub nut can be a real pisser. If it's staked real deep you may run into frustration finding the right tool to get under the lip to bend it up. If you're stuck, the pointy end of a small file sharpened on a bench grinder to a flat, chisel like edge works quite well. Files are made of tool steel so they are quite strong and can be used as a chisel in a pinch. Mine were not staked deeply so I was able to lift the lip easily with a small screwdriver.
After you get it unstaked you may also find that it is unbelievably tight. There's no secret here. Brute force is what you need. A good quality breaker bar should do it, but 3/4" drive tools with persuasion bars have been required in some cases.
Once the nut is off the hub slides off easily. It is not pressed on so if you have trouble getting it off there is likely a lot of rust in there. This probably means you will hurt the wheel bearings removing it. Be prepared for this if you're planning on doing this level of disassembly.
The heat shield is held on by (4) 14mm bolts. They're tight but break easily with a breaker bar. The heat shield should fall right off with the bolts removed.
Now you're down to just the spindle and the control arms. Before you remove anything else, loosen all the fasteners. It can be hard to break a stubborn bolt free when the part its in is no longer supported because you've already removed everything else. The long bolt through the subframe, the front and rear of the trailing arm, the strut bolts, the (2) 14mm bolts that secure the subframe to the body should all break pretty easily.
The long bolt through the spindle and both lateral links is usually a write off. I suppose it might not be in certain climates, but in all my experiences they just do not come out. Unless they've been replaced in the last few years for some reason you should plan from the beginning to replace them as you're going to have to cut them to remove the lateral links from the spindle. I know that Mazda still makes them. They would likely be the same as a Escort ZX2 and are probably the same on the Escort GT as well. At any rate I got them from Mazda for about $28 each. Save your stock washers as you remove them. You will need to reuse them.
The front Trailing Arm bolt can also be a problem. The nut that the bolt threads into is not a weld nut. It's a captured nut in a cage that is spot welded to the back of the bracket.
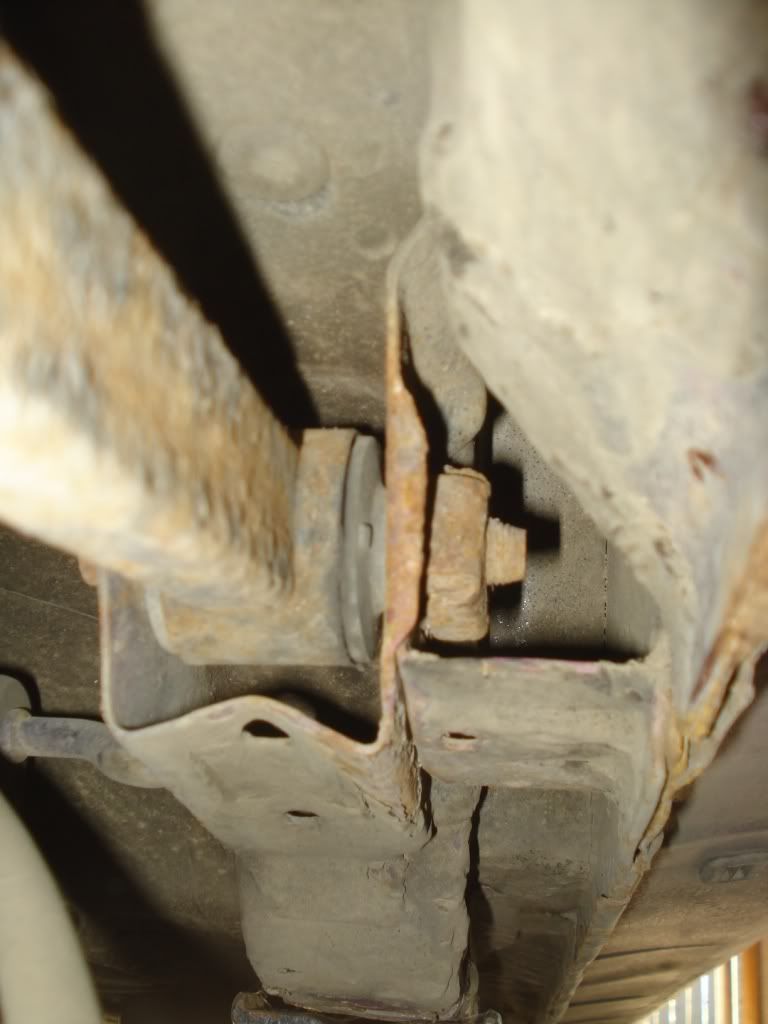
What often happens to me is that the bolt breaks free easily enough but because it's badly corroded it starts to get really tight after about 3 turns. Once it starts that, the nut pushes out the sides of its cage and starts to spin. At that point you're sunk. The only way to get that bolt out of there at that point is to cut. But you have to cut the back side cuz even if you cut the head off the bolt you still won't be able to get it out. My passenger side came off fine, but the driver side spun. Here's what I did...
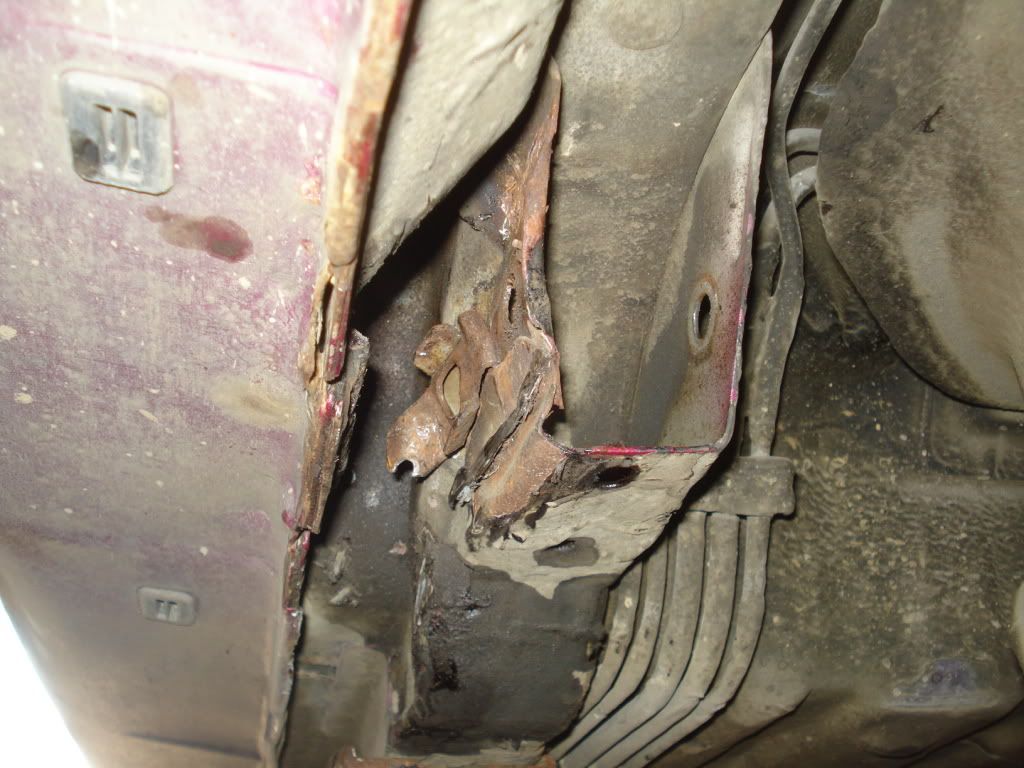
With an angle grinder I cut out the metal plate that connects the Trailing Arm bracket to the body. I then break the spot weld on the cage and pull it back out of the way. I then used my dremel to cut through the nut on both sides. Then take a chisel and whack it and the nut will split. I will have to weld a small piece of steel in there later to give that bracket back it's support but for now it's the only way to remove that trailing arm. I removed the cage completely and cleaned all that up so that it's straight. I find that these brackets are usually bent from a rock hit or what have you. Just straighten it if you can with a large pair of pliers.
Unbolt the little bracket that holds the E-brake cable to the trailing arm. These can be surprisingly difficult. I've had ones that wouldn't come off and wound up grinding the tab off of the Trailing Arm and using a zip tie to hold it down after. The bolt that holds the Trailing Arm to the spindle is usually no problem.
With the Trailing Arm off there are 2 remaining hurdles. The long bolt through the sub frame and the Anti-Sway bar.
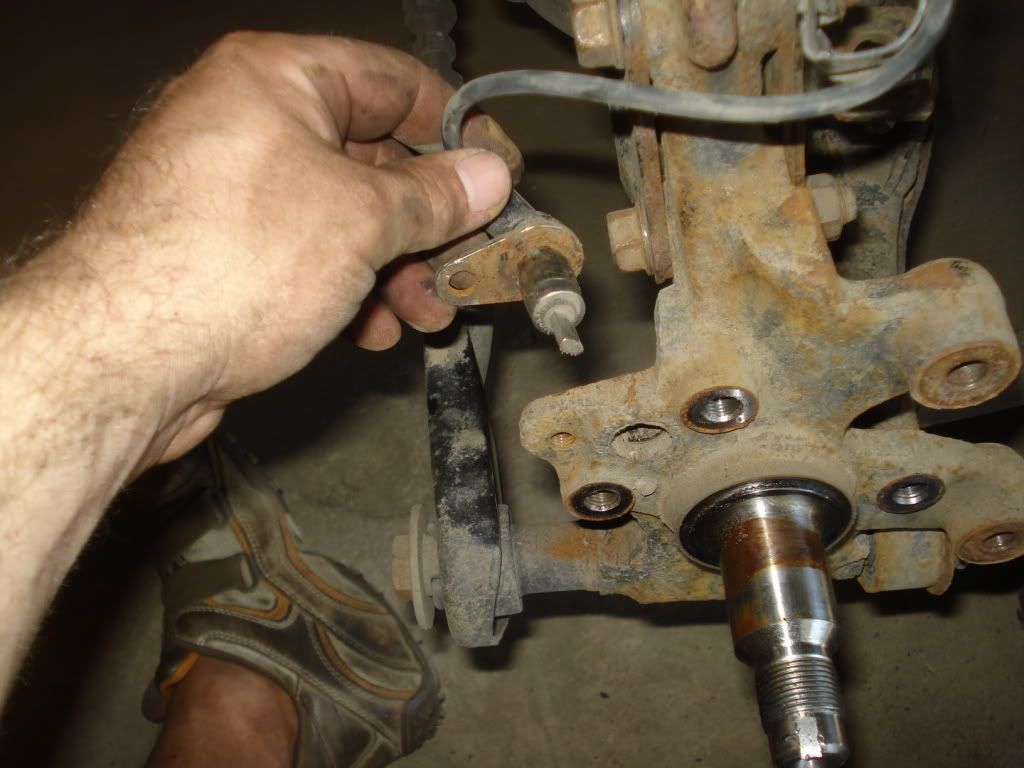
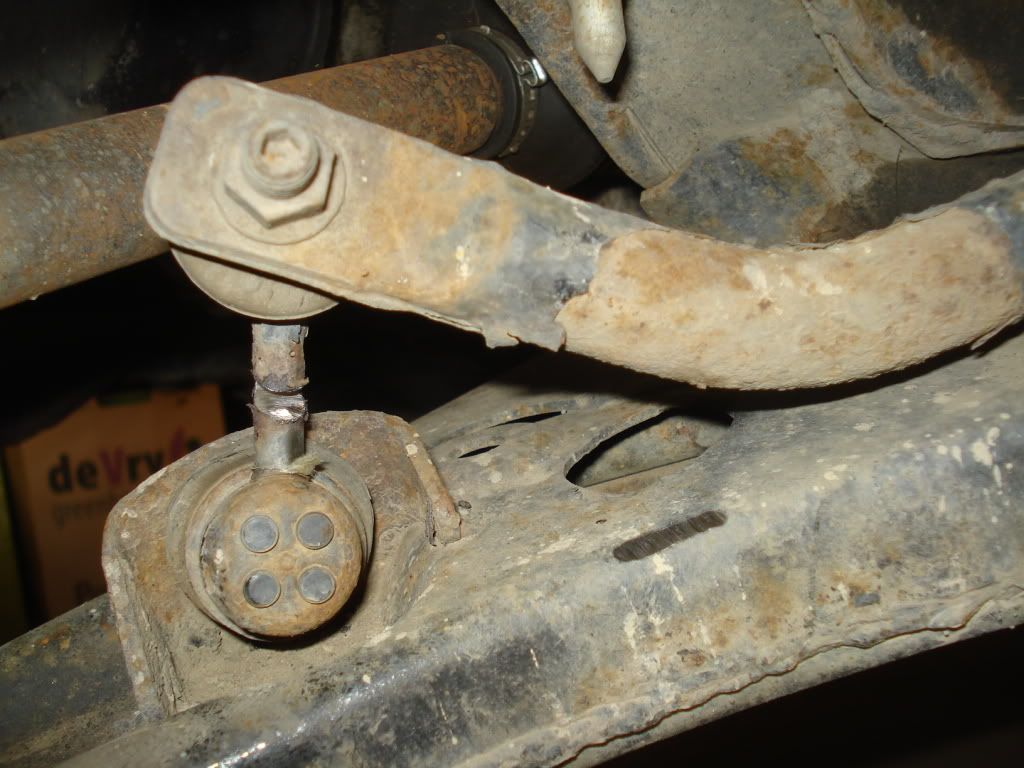
We'll do the Anti-Sway bar first. The stock end links are like the long spindle bolt. In my experience, more often than not they do not come off. There is a 5mm hex socket in the end of each stud which WOULD allow you to hold the stud as you remove the 12mm nut if it wasn't so rusted that the hex key just spins in the socket. Here's a close up of a front one...
Again I would just plan to replace the end links. The hassle of getting them off intact is too great and the likelyhood of success is too slight. Just buy some new ones on EBAY and have your grinder ready on install day. At this point I usually just cut the link in half and leave one stud attached to the Lateral Link and the other attached to the Anti-Sway bar. They can be ground off later. If you don't have a grinder you can just hit the link with a big hammer and the joints will break. You're going to have a hard time getting the studs out of the control arms without a grinder though. I would rent or buy one if I had to.
To remove the long bolt through the sub frame you have to drop the sub frame. You don't have to completely remove it, you just have to lower it enough to get the bolt out past the fuel tank. If you loosen all four of the 14mm bolts that hold it up (2 on each side of the car) then remove the 2 on the side you're working on it will drop far enough to remove the bolt. You may want to support the sub frame from below so that it doesn't just hang from the 2 bolts on the other side. This long bolt will come out, I've never had one that didn't, but it may argue. If you hit the threaded end of the bolt with a hammer to remove it you will probably wreck the threads. Just be careful. Those bolts are pricey too and you don't want to replace them if you don't have to.
The final step is to unbolt the spindle from the strut. You loosened the strut bolts earlier right? If you didn't you're going to have a hard time breaking them now that the spindle isn't connected to anything else. If they're already loose, just pop them out and the spindle will come out with the lateral links still attached to it. If you didn't, you may have to reinstall some parts to support it while you reef on those bolts.

Now you have the spindle and Lateral Links off the car. But you still have to get the Lateral Links off the spindle. Careful grinding is the best way. Use a Zip disk if you can (Zip is a brand name of cutting wheel).
Of the 2 bushings bolted to the spindle, one is long and the other is short. You can just grind right through the long one, but on the other side you have to be quite careful not to grind on either the spindle or the Lateral Link. A second set of hands is helpful here. Have someone hold the Lateral Link back while you grind. This makes it easier to get the grinder in that tight space without accidentally grinding the spindle.
Grind right through this one...
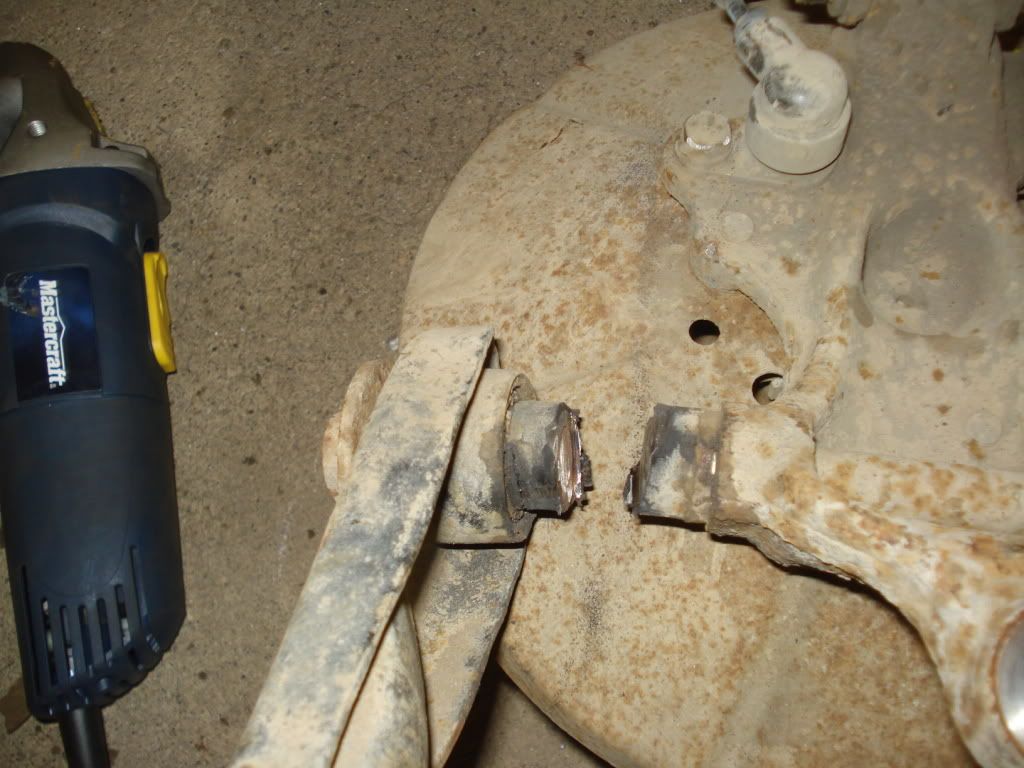
...but be very careful with this one...

You're going to have to get that bolt out of there too. I would also grind through the bolt where it's visible in the middle of the spindle. This way, when I'm pressing the bolt out, I only have to press 2 small pieces of the bolt out, not a 5" long piece.
We'll discuss the front end and the poly bushing installation in part 2.
