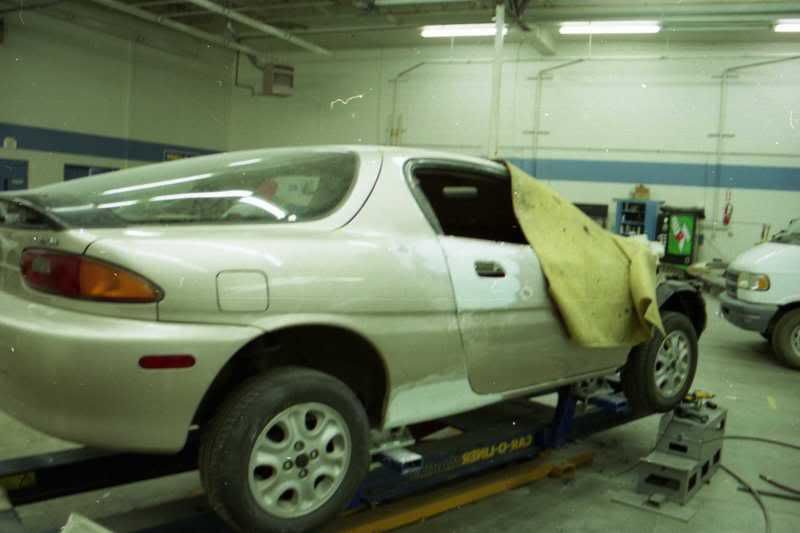
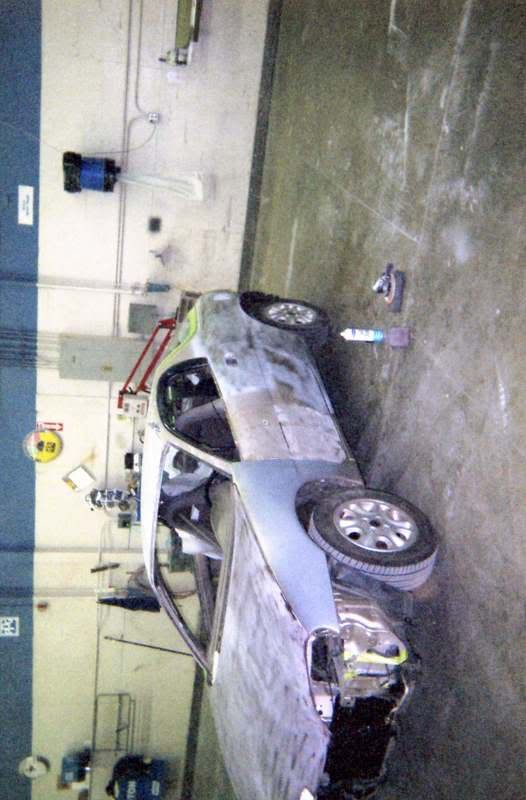
$500 total bought at Spaldings, took out the hood, fender, damaged door, roof, quarter, and some front end components.
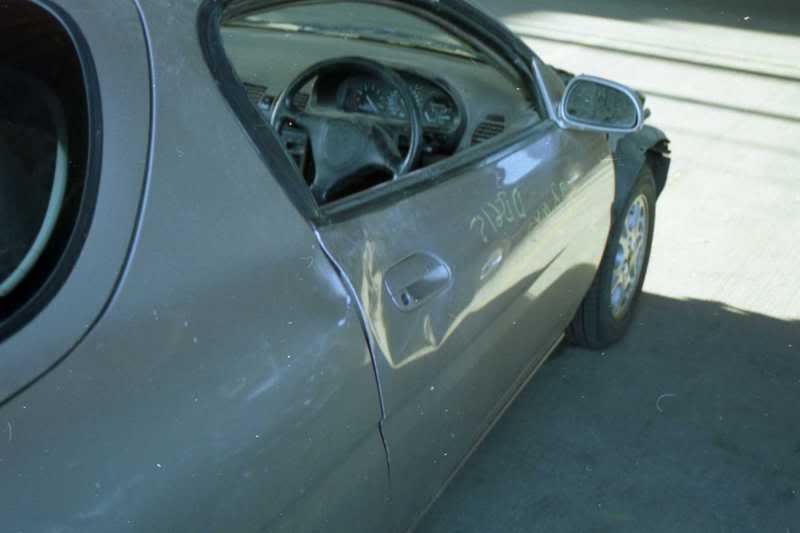
1. I have now spent about six hours straightening the door and quarter dents. The door has taken the longest because it's hard making a door handle fit right after it's been dented into the door two inches
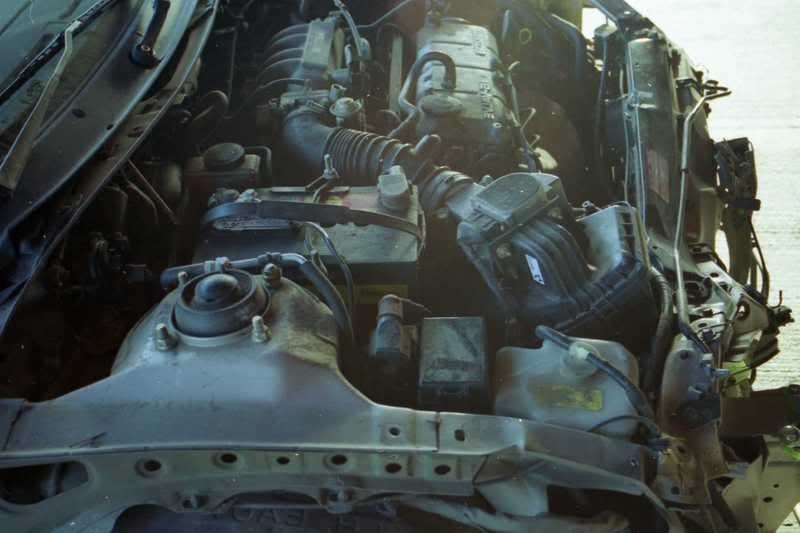
2. bought a core support to repair the front end damage. Out of the whole piece I'm only using the upper tie bar and part of the left side core support. Everything trammed out correctly and the car tracks straight but after everything's done it will get an alignment to make sure it's in spec.
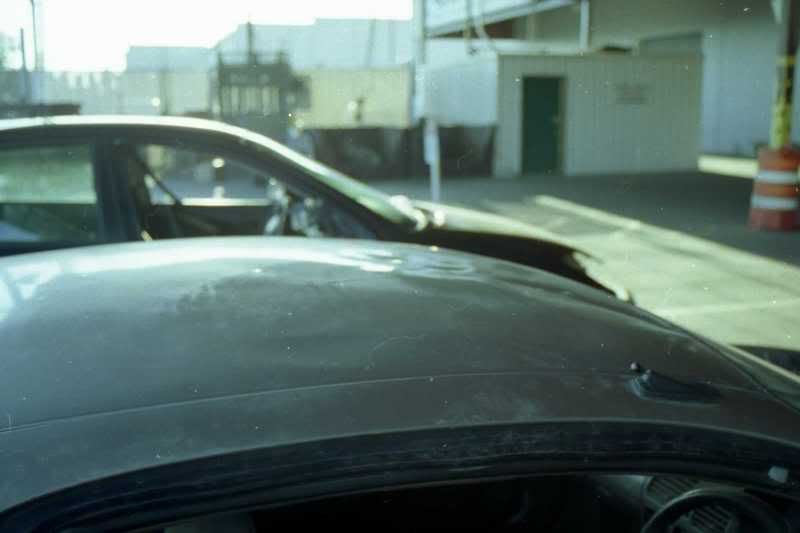
3. The hood flew up and hit the roof so next in line will be probably eight hours of straightening the roof.
Eric Hooper- 92 MX3
-
Eric Hooper
- Regular Member
- Posts: 74
- Joined: August 27th, 2006, 12:54 pm
- Location: Spokane Wa
-
Eric Hooper
- Regular Member
- Posts: 74
- Joined: August 27th, 2006, 12:54 pm
- Location: Spokane Wa
Update!
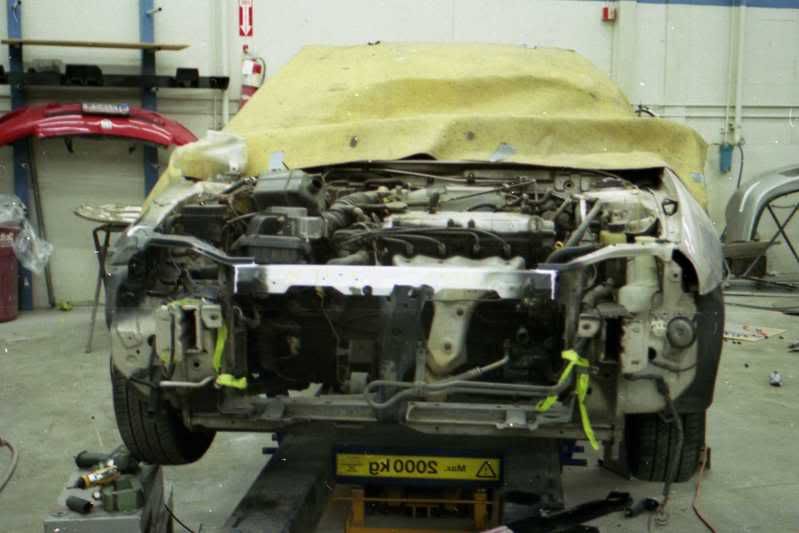
The core support is in and a new hood and radiator have been fitted. The door dents are done, a rocker dent is done, passenger fender had to be worked on more than I thought, but I still have the roof to tackle. Soon I will be getting my right front fender and then after the roof is fixed I get to start prepping the car for primer.
Soon I will have pictures to show the progress.
-
mitmaks

- Senior Member
- Posts: 8704
- Joined: September 10th, 2001, 2:01 am
- antispam: ~SPAM*SUX~
- Location: Spokane, WA
- Contact:
are you doing bodywork yourself? btw check out http://www.spokanespeed.net
Magnum s/s lines, strut bars, carbon fiber bezel, indiglow gauge, Sony Xplod, inverted c/f hood, SRD lower tie bar '93 GS SE '95 Cobra SVT #2722 '68 Charger R/T 440
http://www.cardomain.com/id/mitmaks

http://www.cardomain.com/id/mitmaks
-
Eric Hooper
- Regular Member
- Posts: 74
- Joined: August 27th, 2006, 12:54 pm
- Location: Spokane Wa
-
Eric Hooper
- Regular Member
- Posts: 74
- Joined: August 27th, 2006, 12:54 pm
- Location: Spokane Wa
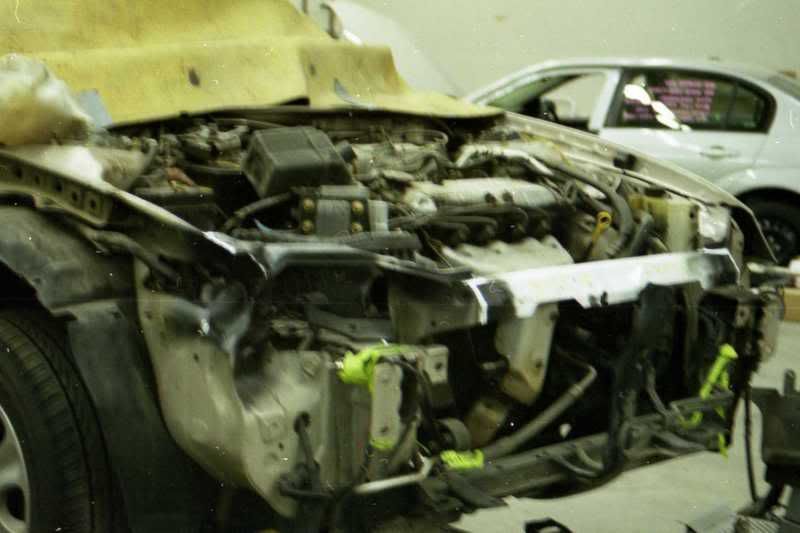
More pics will come eventually BUT, currently the front end has been put together(to check fit). The hood, fenders(I got one from ebay), and lights fit very well. The bumper would fit well except that though the bumper cover somehow survived the crash it's brackets were distorted and in one spot broken. I've got it fitting decently but still have some work to make it fit like stock. I've got a little bit more bodywork to do on the fenders and hood(two small spots on the hood and two small spots on the passenger fender,), and a ton more bodywork on the roof. I've got the roof fairly sturdy but it still oil-cans in spots so I've got more metal work to do before I even think of doing bondo work. Oh yeah, the radiator and AC condensor both also fit well.
Anyway, Mitmaks; is it nice seeing your hood put to good use
Anyway, Mitmaks; is it nice seeing your hood put to good use
-
mitmaks
- Senior Member
- Posts: 8704
- Joined: September 10th, 2001, 2:01 am
- antispam: ~SPAM*SUX~
- Location: Spokane, WA
- Contact:
glad I could help you out
Magnum s/s lines, strut bars, carbon fiber bezel, indiglow gauge, Sony Xplod, inverted c/f hood, SRD lower tie bar '93 GS SE '95 Cobra SVT #2722 '68 Charger R/T 440
http://www.cardomain.com/id/mitmaks
http://www.cardomain.com/id/mitmaks
-
Eric Hooper
- Regular Member
- Posts: 74
- Joined: August 27th, 2006, 12:54 pm
- Location: Spokane Wa
Well, I've got updates.
1)found that the roof was un-repairable (I ended up chasing the dent all over and oil-canning wouldn't cease). Rather than spend more time shrinking, stretching, shrinking, and stretching the panel till I found the right combo I decided it would be quicker to hack it off and stick on a new one(not the cheap way though )
)
2)My shop's glass company took out the window but un-surprisingly the glass broke due to age and bad condition so I'm going to buy pretty new glass for my pretty new paint job to go with my now pretty and cosmetically new looking car(with a cracked antenna piece ). The good thing about this is the paint job will be done right without the glass in.
3) I bought a roof assembly from Spaulding's for 150 with good used cowl piece(they don't really go together but the counter guy was nice).
4) It took me six hours to free the roof skin from the roof assembly... which is incredibly boring because in order to not distort the skin and make welding easy you have to drill out the spot welds to just the right size to have the let go freely... while still trying to keep them small enough for easy welding.
5) After getting through the boring stuff I finally got to the fun stuff and take the old roof skin off my car. It took me about five minutes to take most of it off(I used a cut off wheel). To get the flanges off took me about an hour using a grinder to get rid of the spot welds and a sizeable screw-driver. After the flanges were off I set the new roof skin on and it fit well. New I got to prep the flanges for welding which includes some special paint, zip screws, hammering, and welding... but that's for next week
6)After the roof I will take off the bumper, lights, fender, and hood. The fender is going to be stripped on the front side to bare metal and the hood is going to be painted on the underside to match the car. After that they're going to be put on the car again and final fitment will occur and I will do a little more bondo work and take the rear bumper and lights out. After that I get to start prepping for paint.
I'm going to try and get some pics of the MX-3 hatchless and roofless, it's sort of cool. I actually think it'd be fun to turn one of these cars into a mini-pickup.
1)found that the roof was un-repairable (I ended up chasing the dent all over and oil-canning wouldn't cease). Rather than spend more time shrinking, stretching, shrinking, and stretching the panel till I found the right combo I decided it would be quicker to hack it off and stick on a new one(not the cheap way though
2)My shop's glass company took out the window but un-surprisingly the glass broke due to age and bad condition so I'm going to buy pretty new glass for my pretty new paint job to go with my now pretty and cosmetically new looking car(with a cracked antenna piece
3) I bought a roof assembly from Spaulding's for 150 with good used cowl piece(they don't really go together but the counter guy was nice).
4) It took me six hours to free the roof skin from the roof assembly... which is incredibly boring because in order to not distort the skin and make welding easy you have to drill out the spot welds to just the right size to have the let go freely... while still trying to keep them small enough for easy welding.
5) After getting through the boring stuff I finally got to the fun stuff and take the old roof skin off my car. It took me about five minutes to take most of it off(I used a cut off wheel). To get the flanges off took me about an hour using a grinder to get rid of the spot welds and a sizeable screw-driver. After the flanges were off I set the new roof skin on and it fit well. New I got to prep the flanges for welding which includes some special paint, zip screws, hammering, and welding... but that's for next week
6)After the roof I will take off the bumper, lights, fender, and hood. The fender is going to be stripped on the front side to bare metal and the hood is going to be painted on the underside to match the car. After that they're going to be put on the car again and final fitment will occur and I will do a little more bondo work and take the rear bumper and lights out. After that I get to start prepping for paint.
I'm going to try and get some pics of the MX-3 hatchless and roofless, it's sort of cool. I actually think it'd be fun to turn one of these cars into a mini-pickup.
-
mitmaks
- Senior Member
- Posts: 8704
- Joined: September 10th, 2001, 2:01 am
- antispam: ~SPAM*SUX~
- Location: Spokane, WA
- Contact:
those inverted pics make car look JDM
Magnum s/s lines, strut bars, carbon fiber bezel, indiglow gauge, Sony Xplod, inverted c/f hood, SRD lower tie bar '93 GS SE '95 Cobra SVT #2722 '68 Charger R/T 440
http://www.cardomain.com/id/mitmaks
http://www.cardomain.com/id/mitmaks
-
Eric Hooper
- Regular Member
- Posts: 74
- Joined: August 27th, 2006, 12:54 pm
- Location: Spokane Wa
-
Eric Hooper
- Regular Member
- Posts: 74
- Joined: August 27th, 2006, 12:54 pm
- Location: Spokane Wa
Well, the used roof is on. Rather than weld it on my manager suggested gluing the roof on and welding it at the corners which I ended up doing. The glue I used was a special metal bonding glue with more holding power than a weld. One of the clamps I used to hold the roof on almost became a permanent fixture on the roof... and the clamp was dirty and un-prepped.
I then used seam sealer to hide the holes from taking the roof off the old assembly(it's a two part that won't shrink... as close as you can get to OEM as possible).
I got the hood, hinges, and core support prepped for paint and plan on painting the core support Monday. The fender has been stripped and I'm pleasantly suprised that it had no bondo on it (if I'm not mistaken it's the only panel on my car that will have no bondo). If everything goes well I could/might have the car primered this or next week.
By the way, most of the materials I'm using are only available through automotive paints suppliers... you won't find the metal bonding glue I'm using at Walmart. Most of these products are produced by fusor and are two part so they won't shrink. I've seen tests done with the glue and the metal will tear apart before the glue does which is pretty dang cool.
-
mr1in6billion

- Supporting Member
- Posts: 961
- Joined: August 28th, 2005, 9:06 pm
- Location: Fog City
-
Eric Hooper
- Regular Member
- Posts: 74
- Joined: August 27th, 2006, 12:54 pm
- Location: Spokane Wa
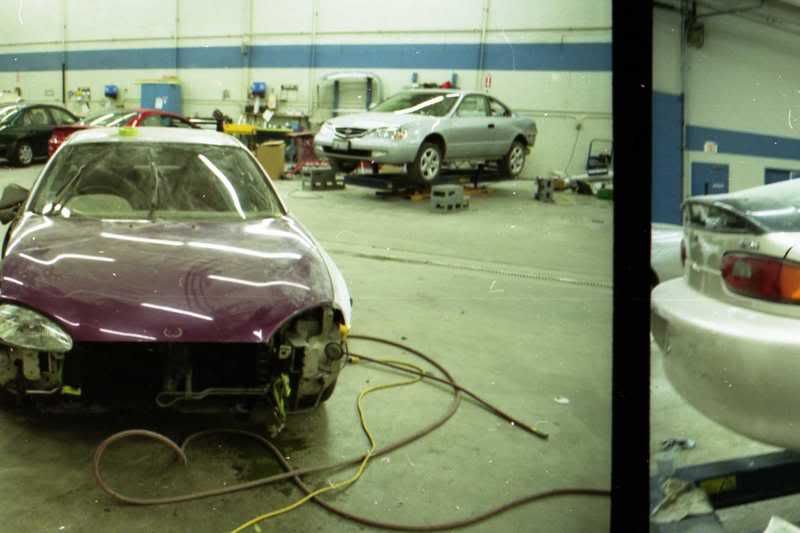
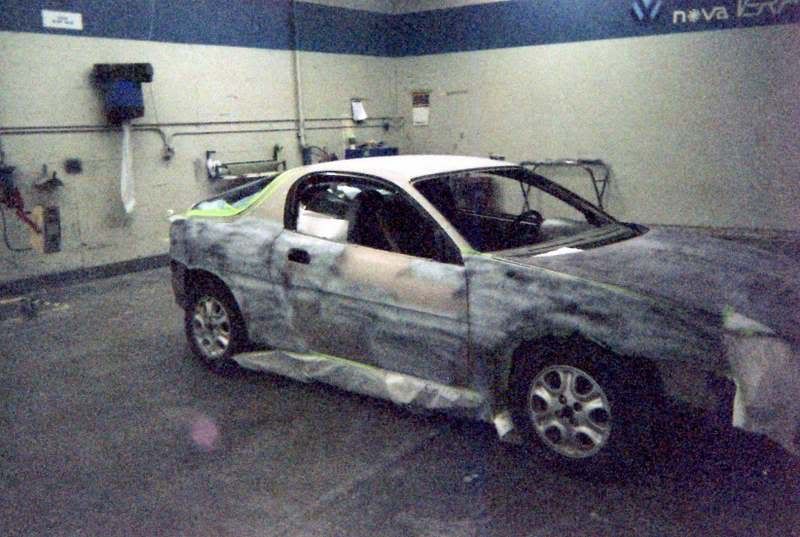
The car's engine compartment is painted and now the major repair section have been primered. I'm going to block out the primered sections and make sure they're straight then I'm going to put a couple coats of primer over the whole car. After that the car should be pretty dang straight and be a real good base for color(which will be the next job). I didn't get pics of the car with the hatch off but did get some during primering and aftwerwards... I still have fifteen pics before the roll is used so it will be a while before I post them.
-
Eric Hooper
- Regular Member
- Posts: 74
- Joined: August 27th, 2006, 12:54 pm
- Location: Spokane Wa

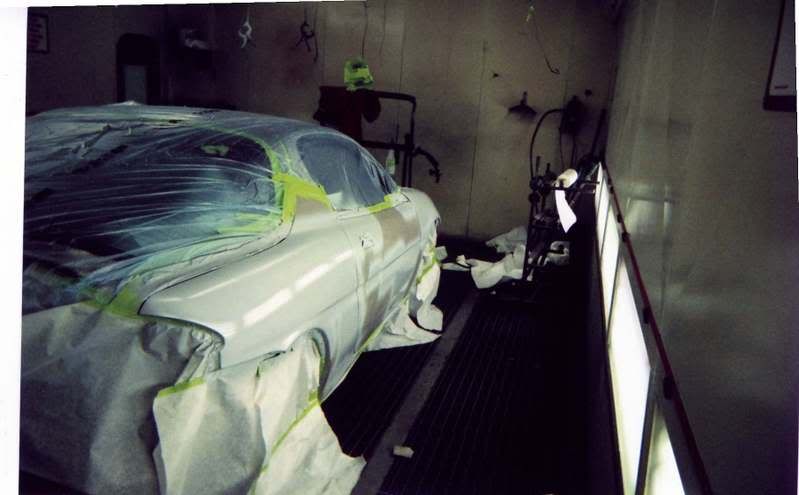
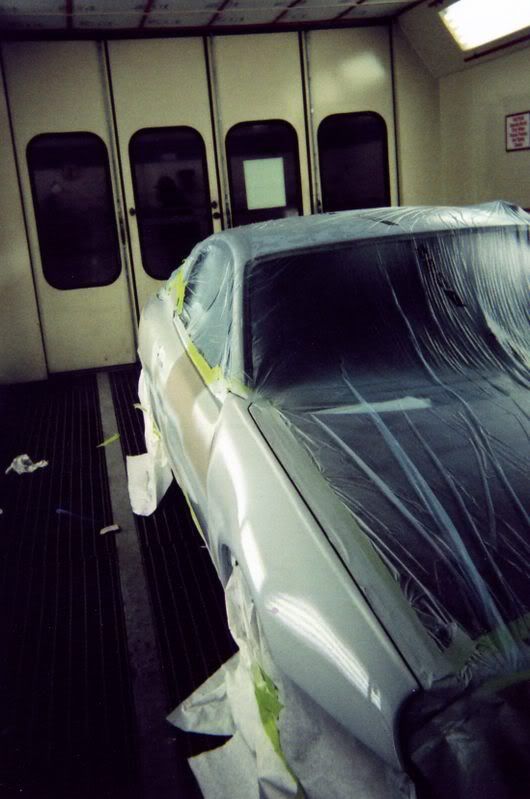
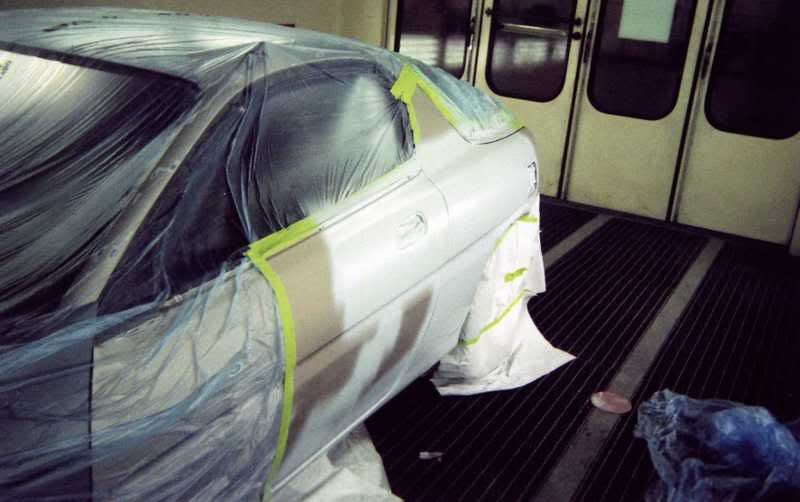


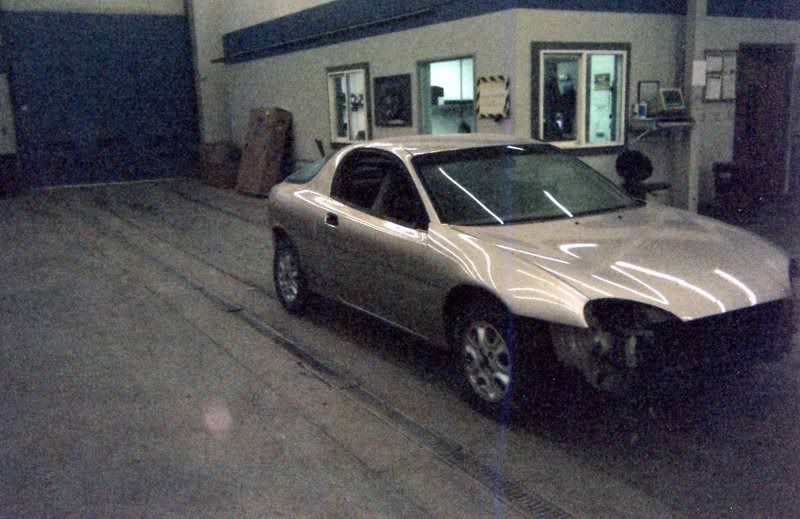
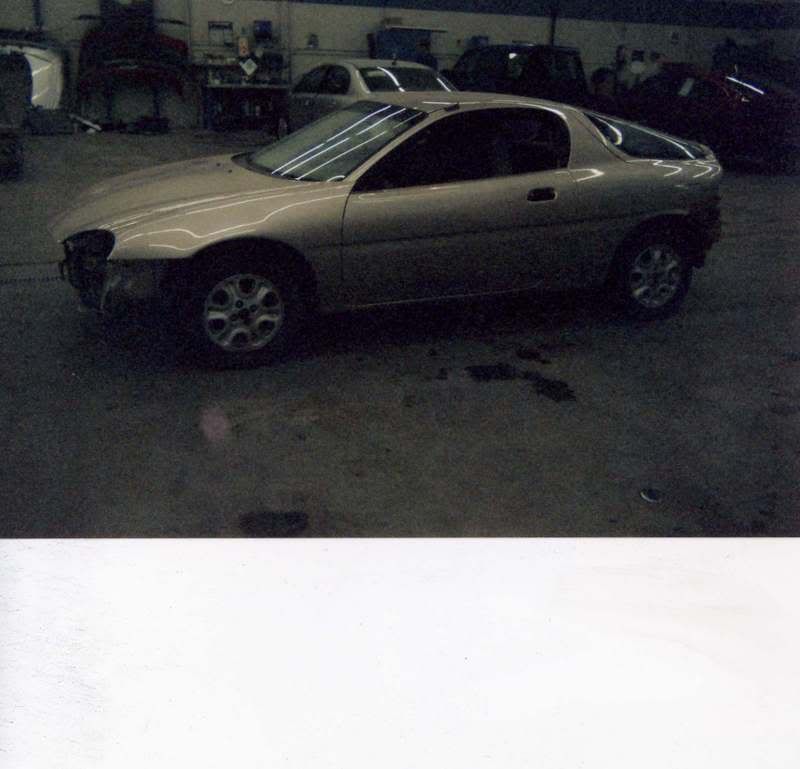
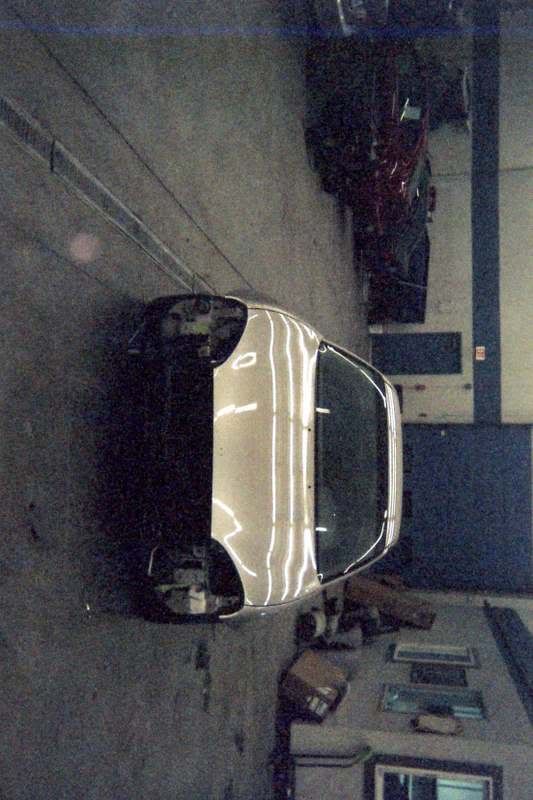
I finished getting the car painted, now I'm currently working on the bumpers. The rear bumper was in fairly decent condition but the front was badly rock-chipped from almost 200,000 miles of driving. The rear is keeping it's original paint with only a few spots getting primered but the front bumper got stripped to bare plastic and then hit with many coats of primer. It's coming together little by little as I get the time....
-
mitmaks
- Senior Member
- Posts: 8704
- Joined: September 10th, 2001, 2:01 am
- antispam: ~SPAM*SUX~
- Location: Spokane, WA
- Contact:
nice progress, looks good. I was wondering if you ever got to finish it the other day. Is that at Foothhills mazda body shop btw?
Magnum s/s lines, strut bars, carbon fiber bezel, indiglow gauge, Sony Xplod, inverted c/f hood, SRD lower tie bar '93 GS SE '95 Cobra SVT #2722 '68 Charger R/T 440
http://www.cardomain.com/id/mitmaks
http://www.cardomain.com/id/mitmaks