Page 5 of 5
Re: mazdags94 - 1994 MX-3 GS
Posted: March 15th, 2010, 10:15 am
by mazdags94
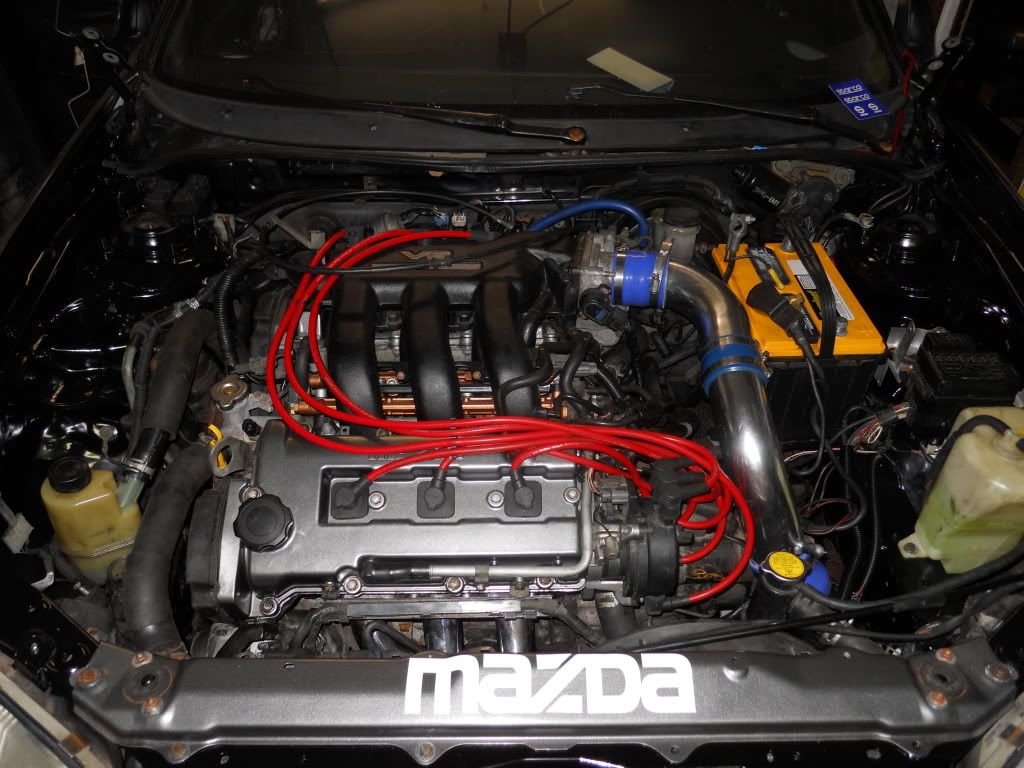
Did some painting, relocating, and looming:

Also purchased:
- DS CV Axle
- Clutch Master Cylinder
- New Clutch Lines
- MTX tranny bracket (thanks to NdfSpdSE-- I think that's how he spells it

)
Completed tasks:
- resoldered ecu
- steering wheel bracket install
Need to complete:
- modify cat back exhaust to fit headers
- new drivers side axle
- refinish 3 remaining rims
- Clutch master cyl intstall and clutch line (bleed)
- install front/rear rotors/pads
- install lower ball joints
- Install tire rod ends
Re: mazdags94 - 1994 MX-3 GS DE -- now for sale :(
Posted: April 12th, 2010, 2:27 pm
by mazdags94
Car is now officially for sale. You can check the FS section for more details.
I have had time to complete more work:
- new drivers side axle
- install front rotors/pads
She still needs:
- lower ball joints
- tire rod ends
- modify cat back exhaust to fit headers (will be doing this soon)
- install CMC and line
- bleed clutch line
I would REALLY like to see this car go to a nice home. Let me know if anyone wants underbody pics or of anywhere else on the car.
Thanks
Re: mazdags94 - 1994 MX-3 GS DE -- now for sale :(
Posted: June 23rd, 2010, 12:04 pm
by mazdags94
Update:
Installed clutch push rod, CMC, and new hard line to SS flex line.
Bled the clutch line (pedal is nice and stiff)
Installed DS rotor/pads
In progress:
PS axle install
Intermediate Shaft install (3-bolt)
PS rotor/pads
Bleed brake lines
Modify exhaust (see previous post)
Take her for a test drive

Still needs:
Tie rod ends
PS pressure hose
Lower ball joints
Re: mazdags94 - 1994 MX-3 GS DE -- now for sale :(
Posted: August 14th, 2010, 11:35 pm
by johnmx3ze
hey, very nice clean mx3!
im trying to do a custom switch panel in mine, and i was wondering what you use to make your? i was thinking of doing like your but black, or stainless...
thx
Re: mazdags94 - 1994 MX-3 GS DE -- now for sale :(
Posted: September 1st, 2010, 10:04 am
by mazdags94
Thanks for your comment John. The switch plate was made from a piece of aluminum (on the thicker side) and was then attached to the plastic (the "filler" area under the radio). It was very easy to do actually.
Then I painted it a silver metallic to match the interior.