Page 20 of 22
Re: Project Jay-Spec MX-326GS
Posted: March 31st, 2012, 10:27 am
by Nd4SpdSe
IMACHU2 wrote:I have decided to make lemonade out of lemons
http://www.youtube.com/watch?v=Dt6iTwVIiMM
Re: Project Jay-Spec MX-326GS
Posted: March 31st, 2012, 2:10 pm
by Mooneggs
LOL

but seriously when i saw you wrote this i was like no.... he didn't pick up all the broken pieces and... no there's no way... he couldn't glue them together, could he?

It's cool to see this car so close to completion (finally)! I'm always yearning for more updates out of this worklog!


Re: Project Jay-Spec MX-326GS
Posted: March 31st, 2012, 5:20 pm
by mx3matt
i've been following this build for so long now. cant wait to see it up and running.
congrats on the lil bambina! i'm surprised you get anything accomplished on the car lol, its funny now my son has begun helping me with mine... i remember helping my dad keep bolts organized.
Re: Project Jay-Spec MX-326GS
Posted: March 31st, 2012, 7:02 pm
by fowljesse
Congratulations! On many fronts
Re: Project Jay-Spec MX-326GS
Posted: April 2nd, 2012, 5:14 pm
by IMACHU2
Thanks for your support and the funny lemon video
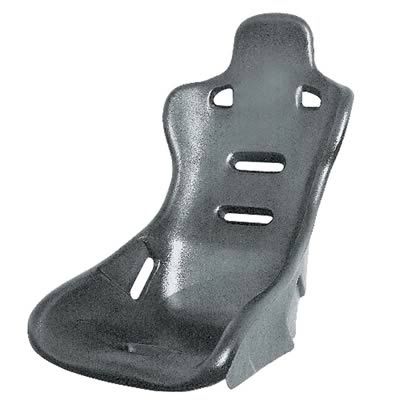
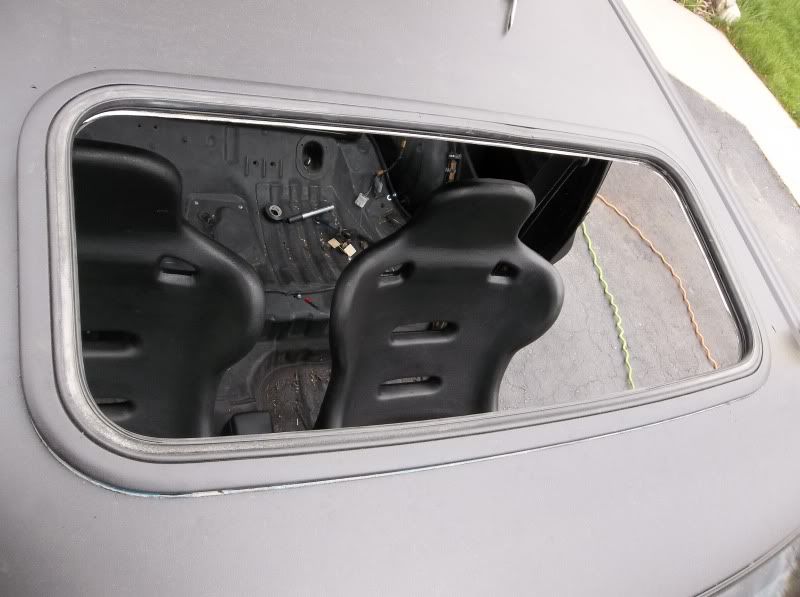
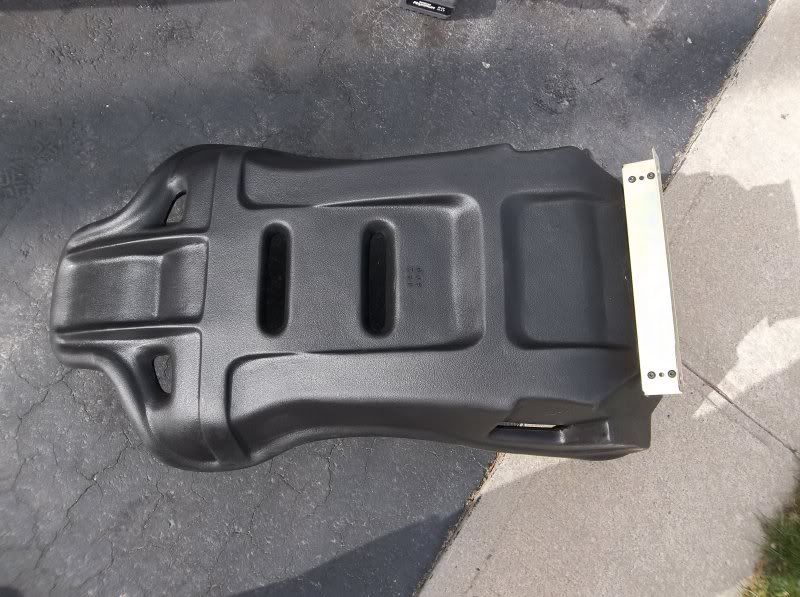
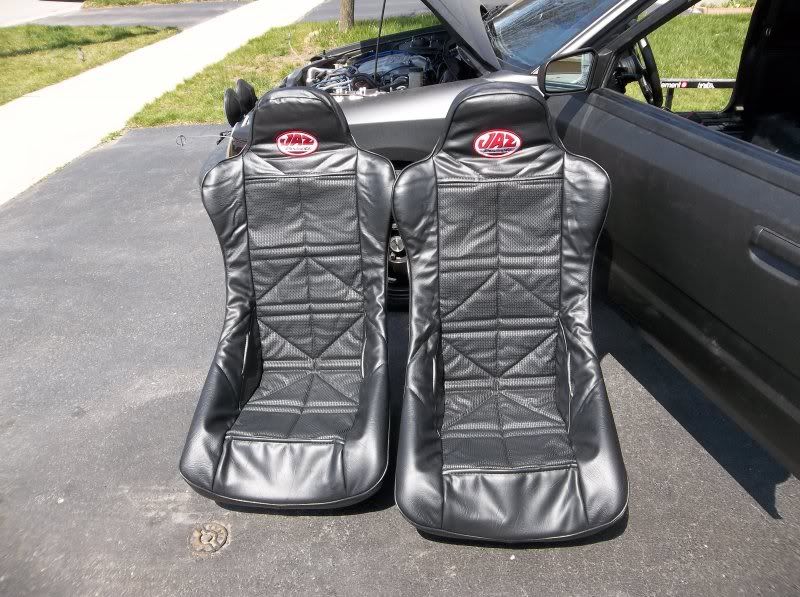
I ordered some inexpensive seats today. Not unlike those bolted to a arcade game driving simulator LOL. I wanted something cheap, safe and new. The Jaz seats fit the bill. I can toss my nearly rusted through stock seat brackets and torn-up Mazda seat collection out now too. I have decided to just put two seats in it, as I will likely be the only one ever in it. (I have a stock 323, and a stock Civic sedan if I need to cart people around). I am poor, so I just ordered the seats and the brackets. I will order the seat covers later. (The covers snap onto the seats and have foam in them). I have to buy a sunroof after all

Seat
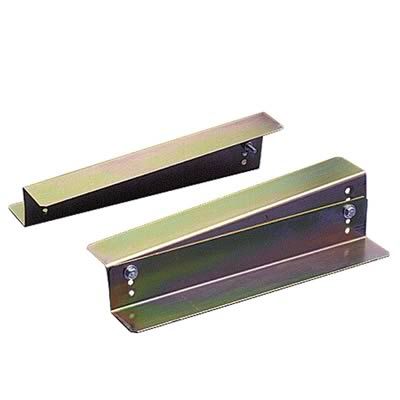
Bracket
Cover

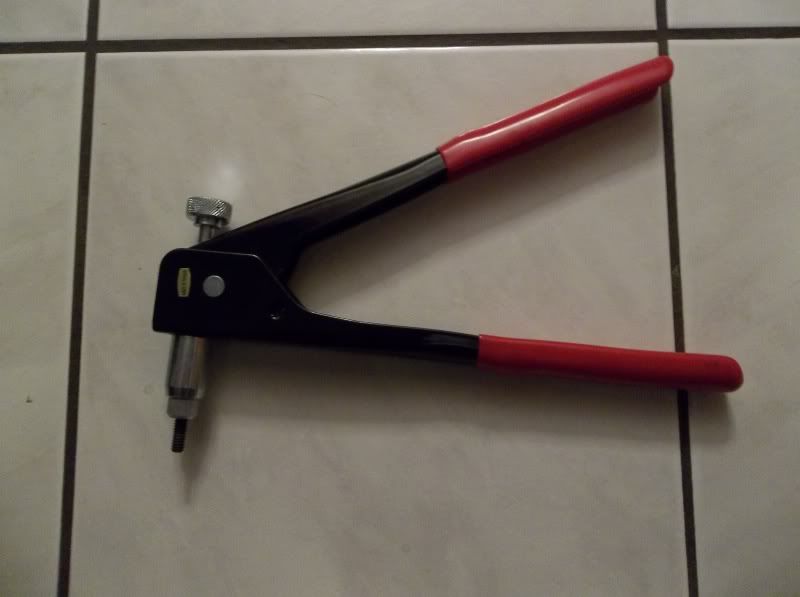
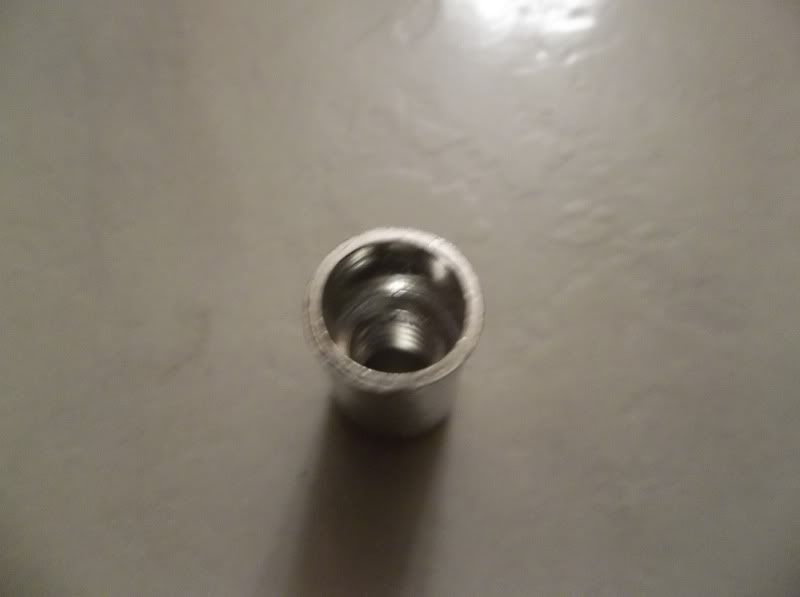
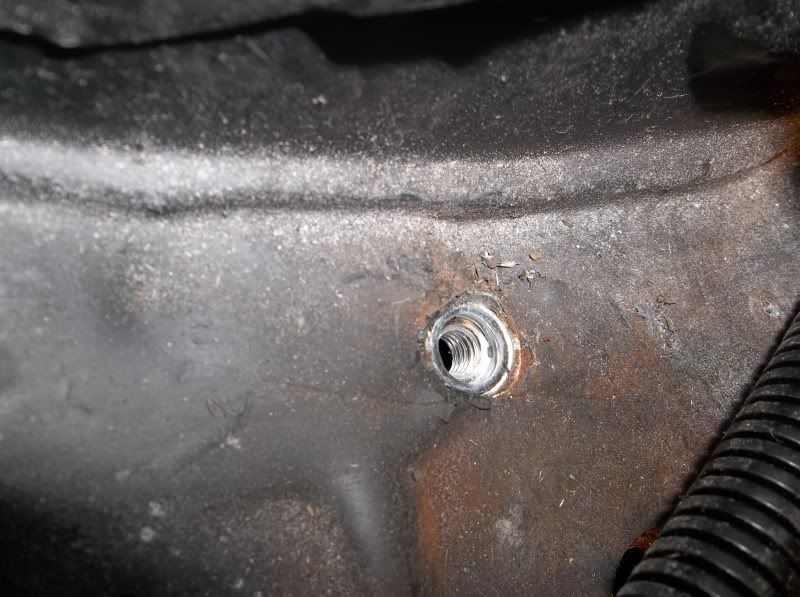
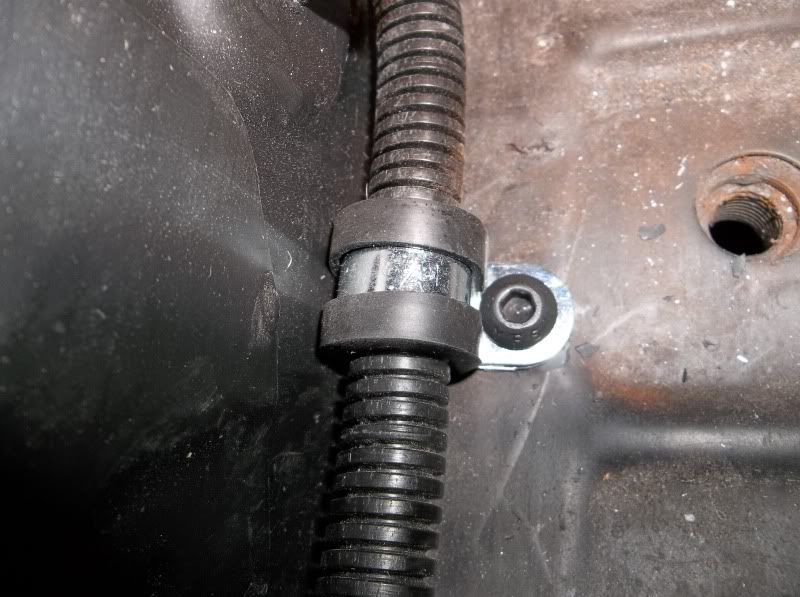
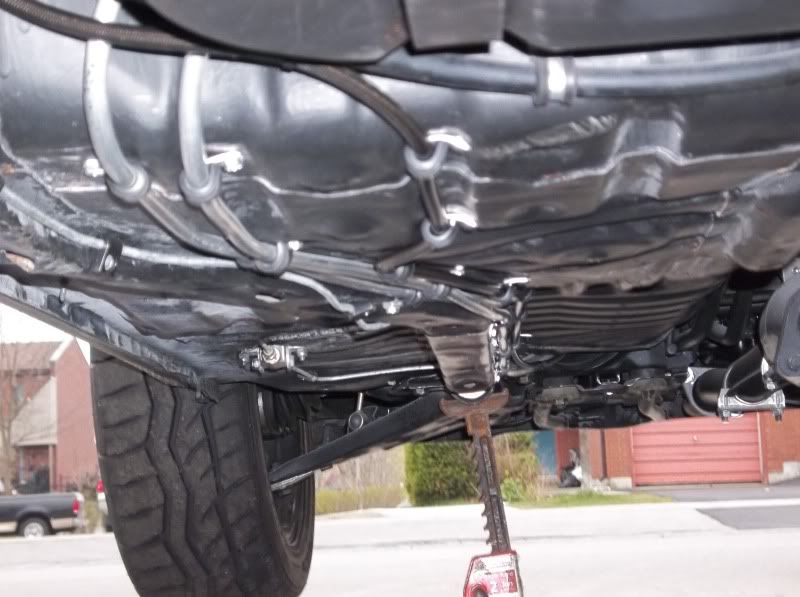
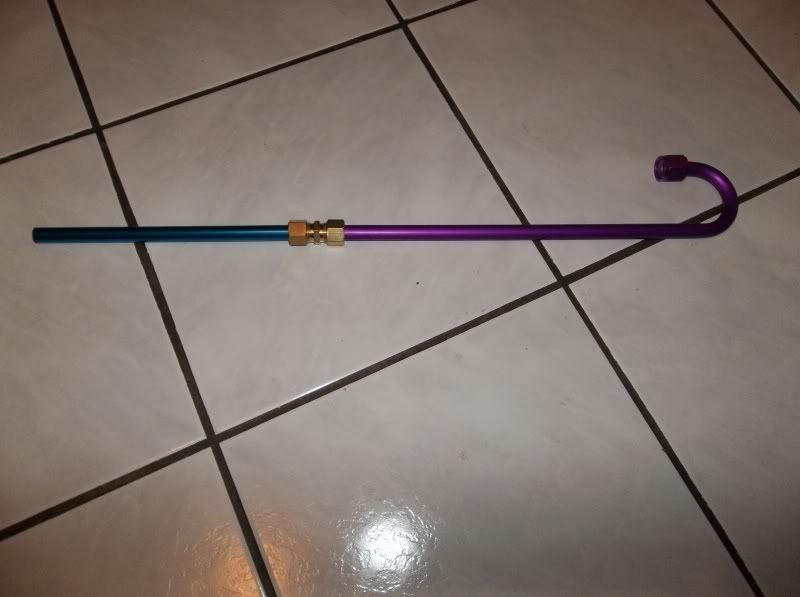
I bought a Rivet nut tool today too. I am going to rivet threads into the frame so I can bolt down all the wires and the nitrous line. I bought button head allen bolts to go in the nut-certs to hold all the cable and line clamps down.
Re: Project Jay-Spec MX-326GS
Posted: April 2nd, 2012, 6:29 pm
by wytbishop
IMACHU2 wrote:I bought a Rivet nut tool today too. I am going to rivet threads into the frame so I can bolt down all the wires and the nitrous line. I bought button head allen bolts to go in the nut-certs to hold all the cable and line clamps down.
Pictures of that please. Love the cheap seats. Cheap is awesome sometimes.
Re: Project Jay-Spec MX-326GS
Posted: April 16th, 2012, 9:43 pm
by IMACHU2
Re: Project Jay-Spec MX-326GS
Posted: April 16th, 2012, 10:16 pm
by IMACHU2
Re: Project Jay-Spec MX-326GS
Posted: April 16th, 2012, 11:38 pm
by wytbishop
OMFG WE NEED THIS!!! WE NEEEEEEDSSSSS IT PRECIOUS!!!
Re: Project Jay-Spec MX-326GS
Posted: April 17th, 2012, 12:23 am
by Calg_93GS
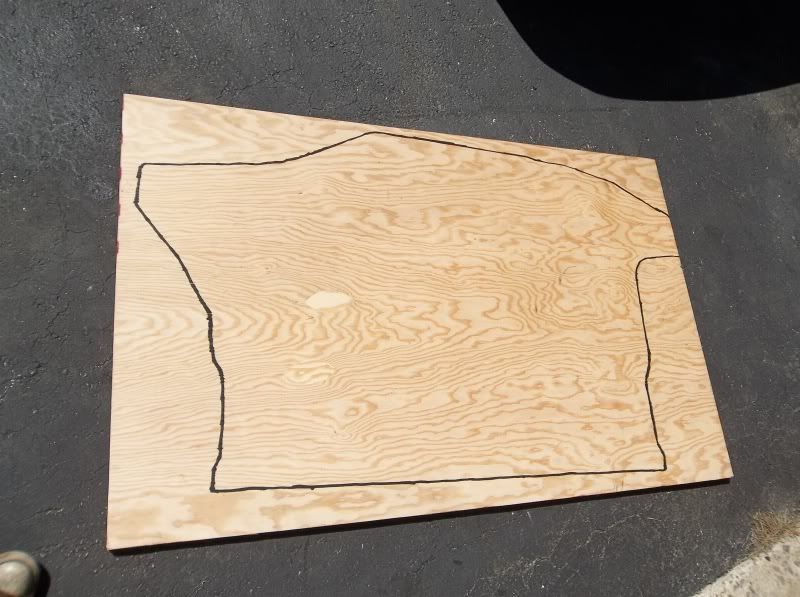
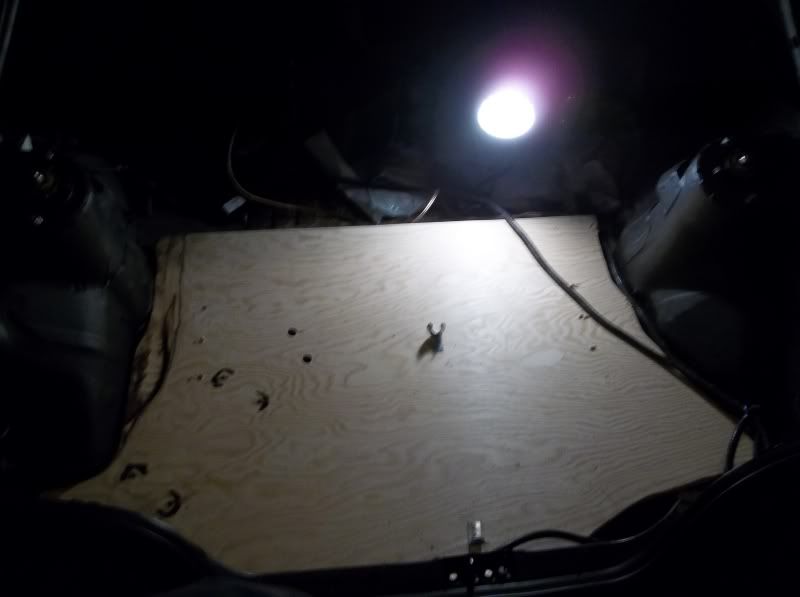
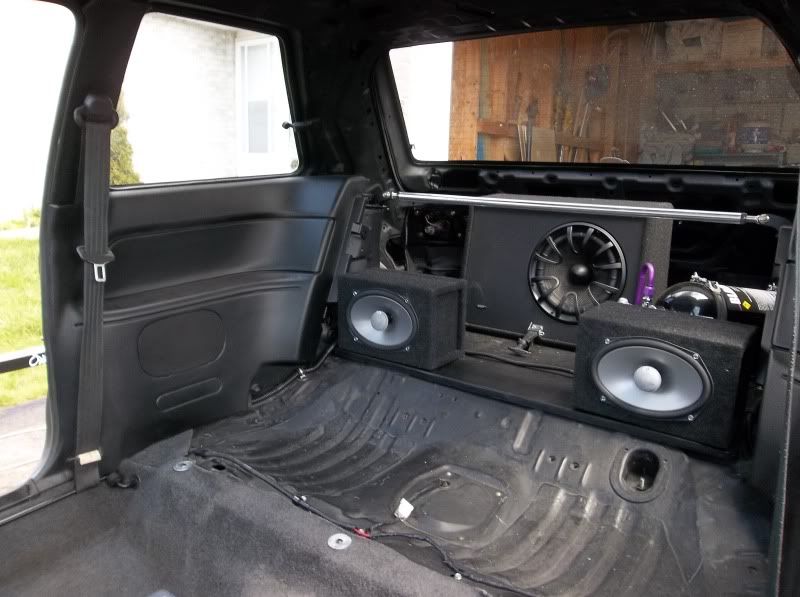
definitely thinking about picking up one of those rivet tools, suggestion tho on the trunk, flip your sub around so its facing the rear of the car, some may argue this but i can attest that having the sub pointed to the rear will give you more boom for your buck so to speak
Re: Project Jay-Spec MX-326GS
Posted: April 18th, 2012, 1:41 am
by IMACHU2
Hard to see but the sub box is held down with fastners like on a Snowmobile or lawn tractor hood, so turning it around would be super easy.

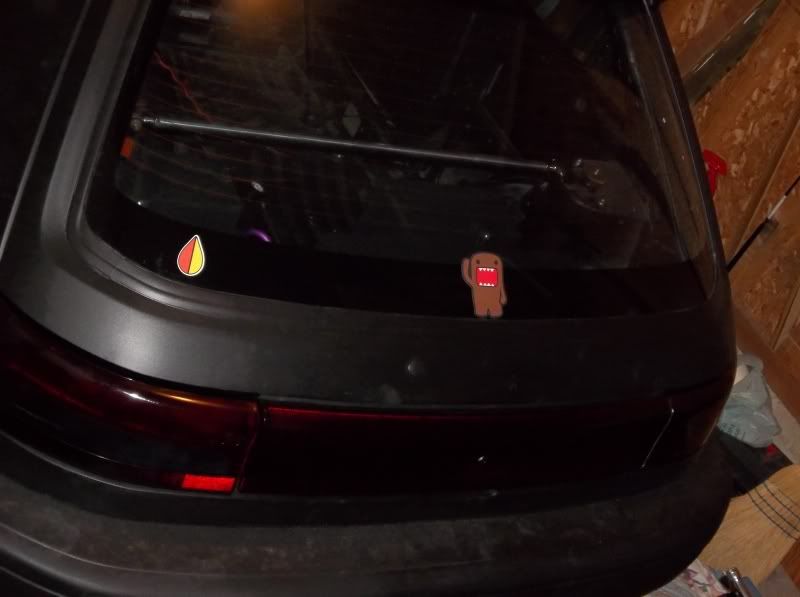
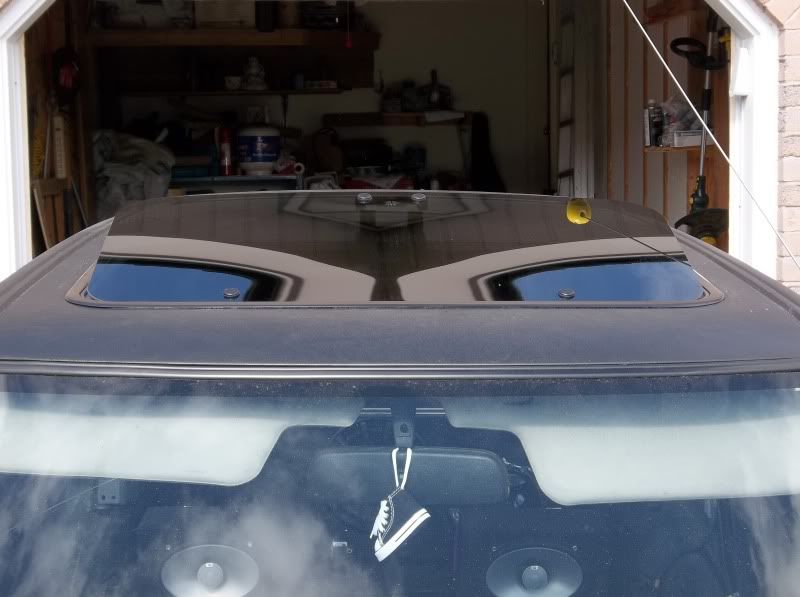
Tinted and bolted up the reflector.
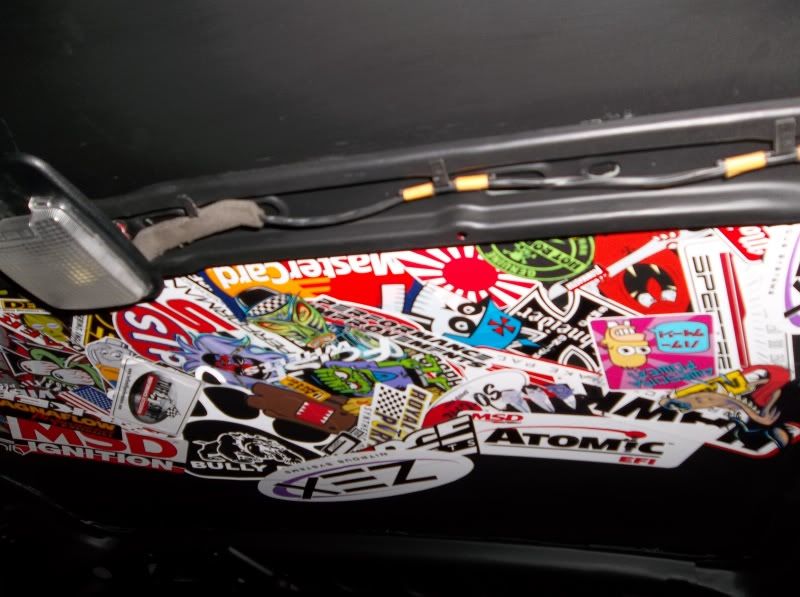
Did some interior decorating. (Interior roof).
Re: Project Jay-Spec MX-326GS
Posted: April 18th, 2012, 4:15 am
by Evo_Spec
MISUTA SPAKURU!
Re: Project Jay-Spec MX-326GS
Posted: April 18th, 2012, 12:48 pm
by MrMazda92
I want a badass headliner now, this just made me think of a super thin fiberglass headliner, and putting some stickers on it
I would actually do that.
Re: Project Jay-Spec MX-326GS
Posted: May 1st, 2012, 12:33 am
by IMACHU2
Been working on the 326 here and there. I have enough pics for an update!
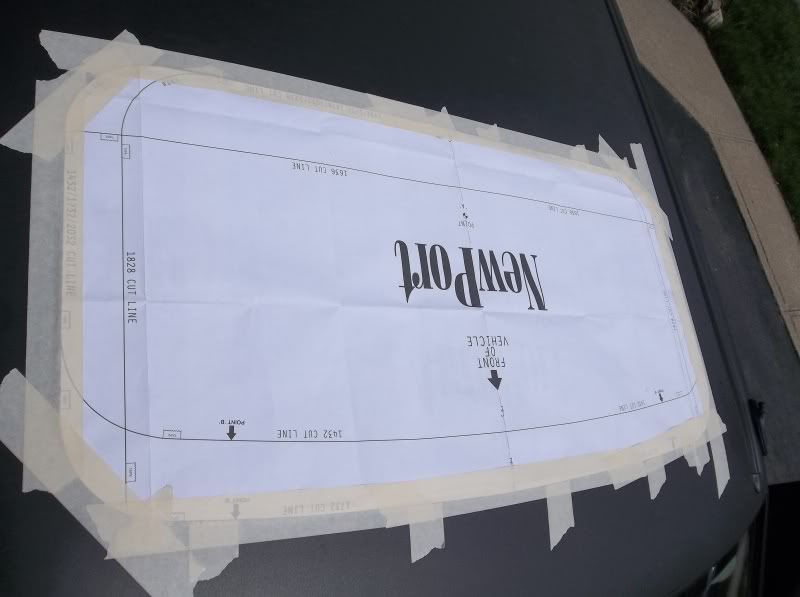
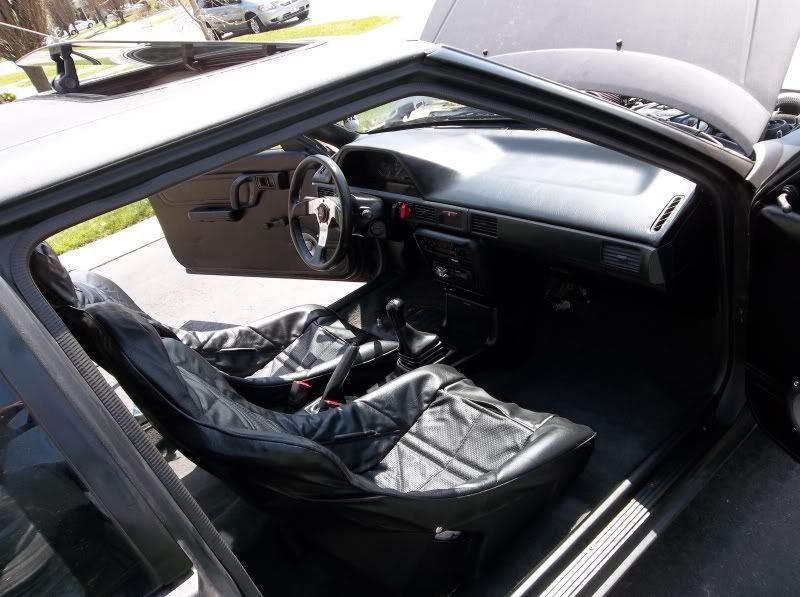
I took care of my sunroof....um issue. LOL
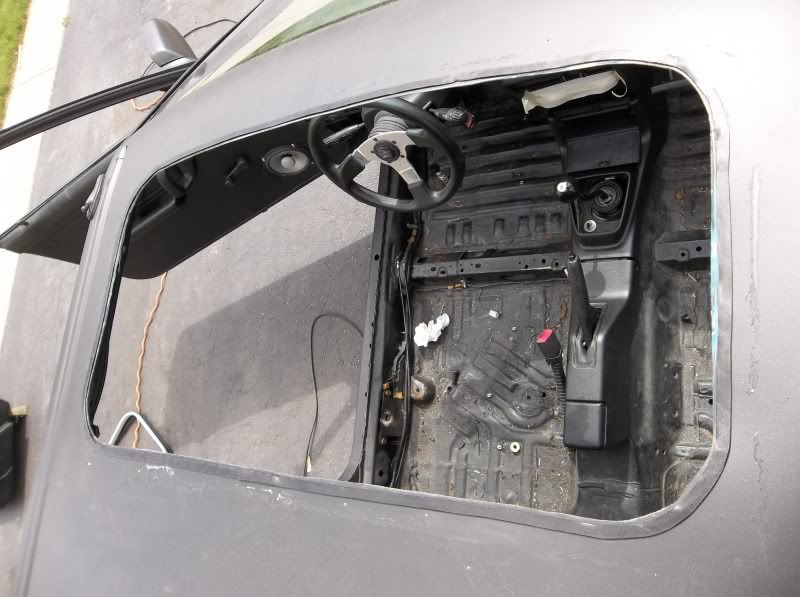
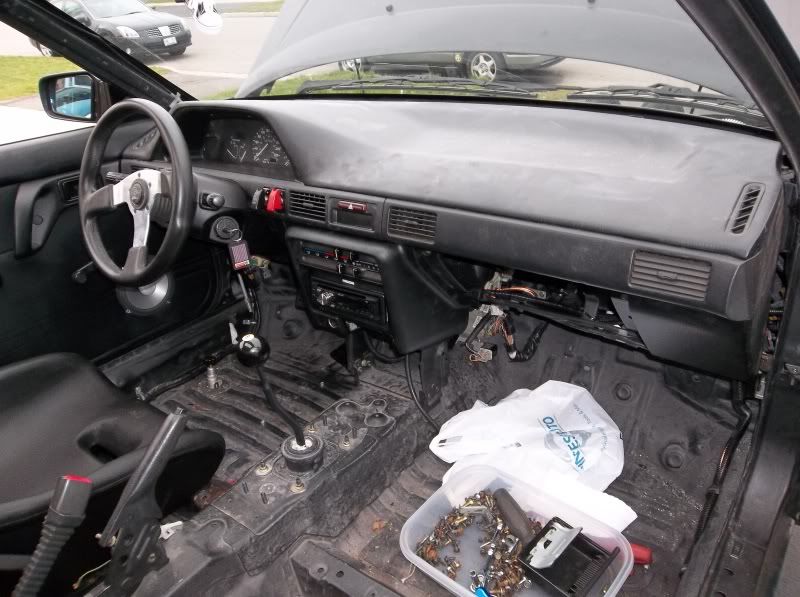
I put the carpet back in and cleaned it.
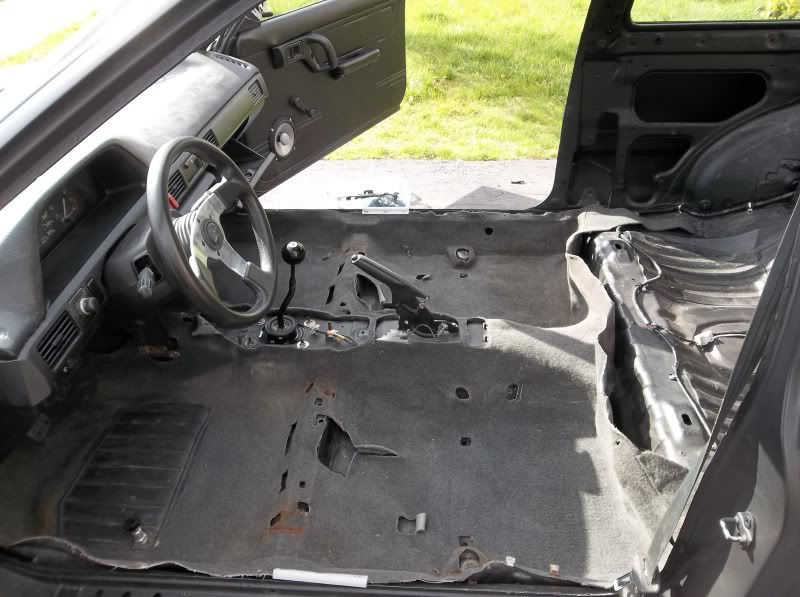
I put the seats in. I added ARP stainless steel studs (ment for V8 carburetor mounting) to bolt them directly to the floor. I slightly enlarged the factory access holes in the front floor support bar, so I could swing a gear wrench in there. I used the universal seat mounts to anchor the rear of the seats to the floor.

The covers for the seats arrived just in time to install the seats. (I though they would take a month or so, but they took just a few days to come in)
The seats bolted in. I used huge button head allen bolts and massive washers to anchor the rear seat bracket. If they pull through a huge hunk of floor is coming with them. LOL
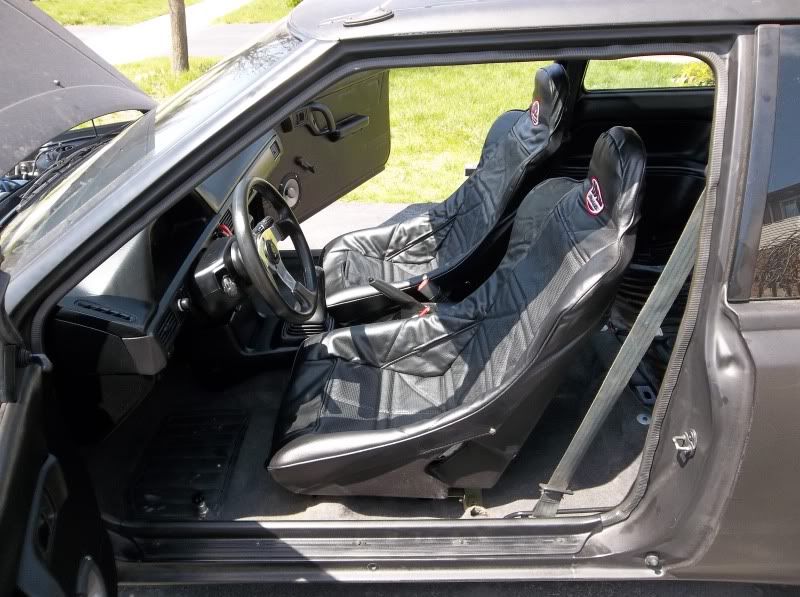
The seats are actually quite comfy.
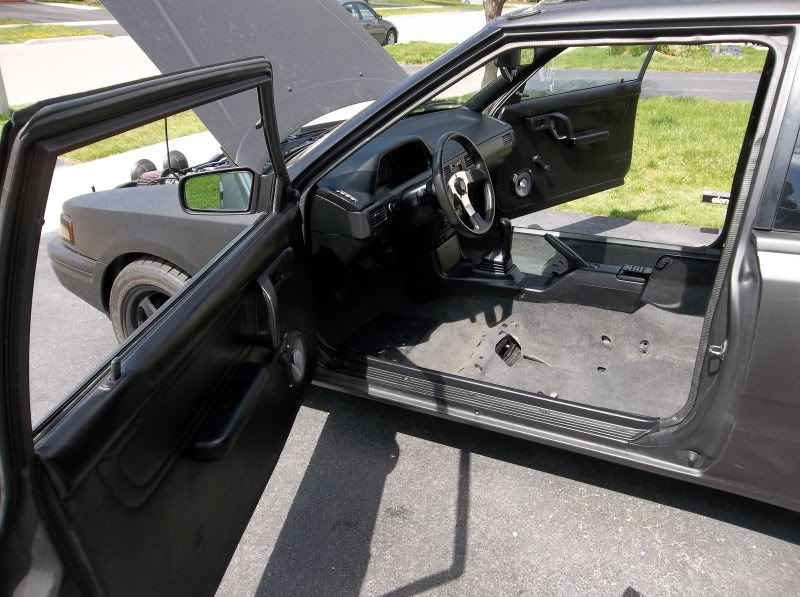
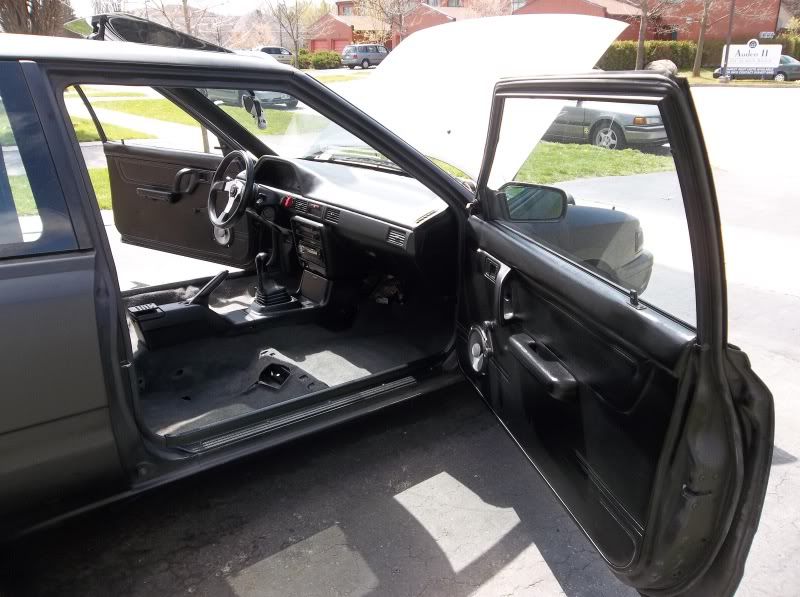
I installed most of the interior panels. I need to find the bracket that hold the trim panels that cover the ECM still.
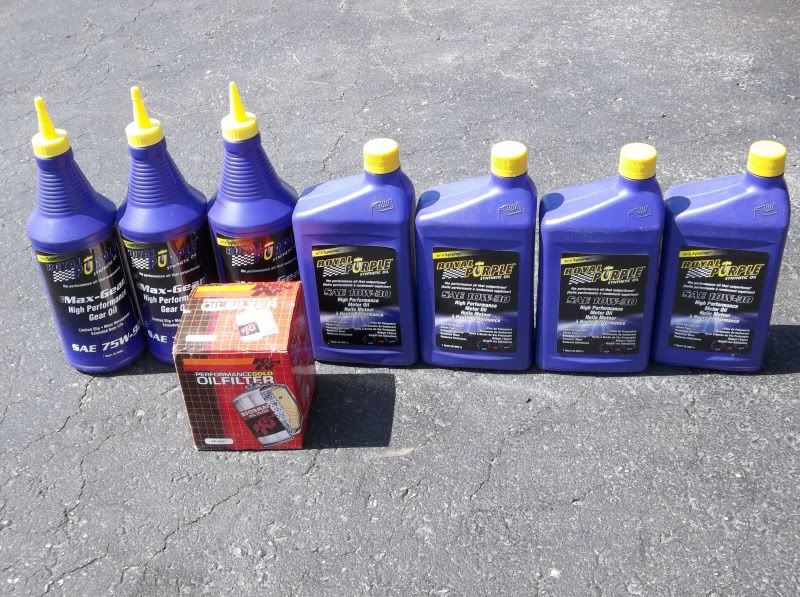
I changed the oil and transmission fluid to Royal purple.
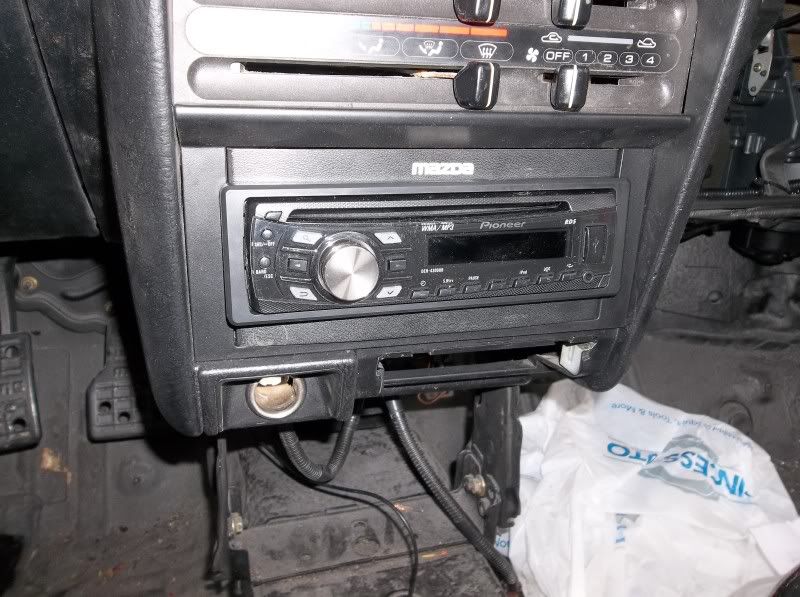
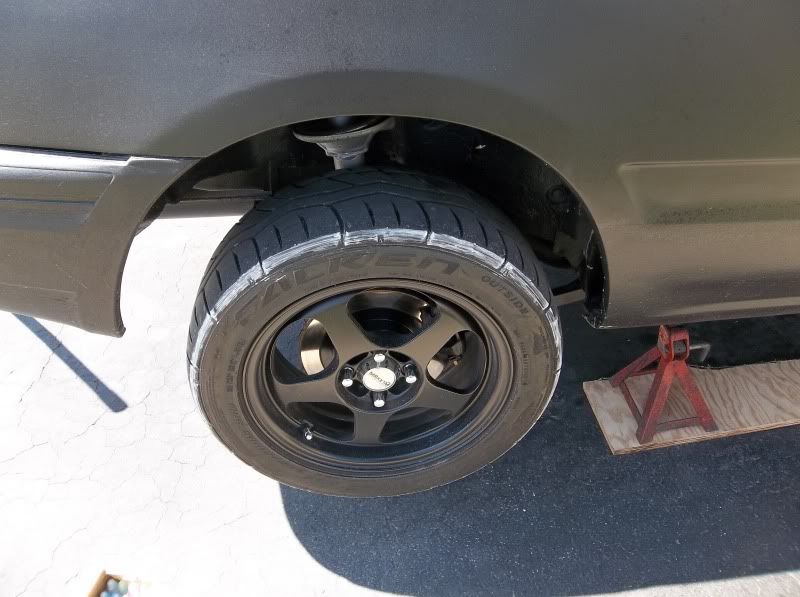
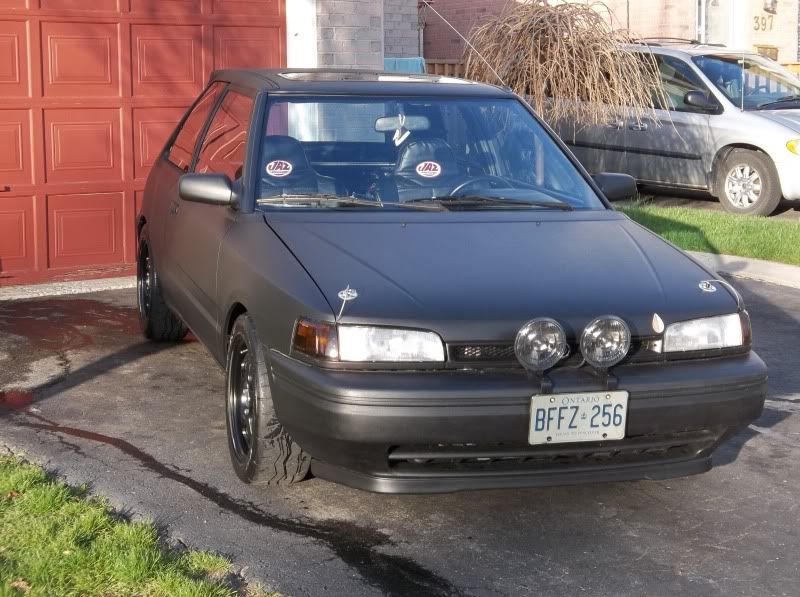
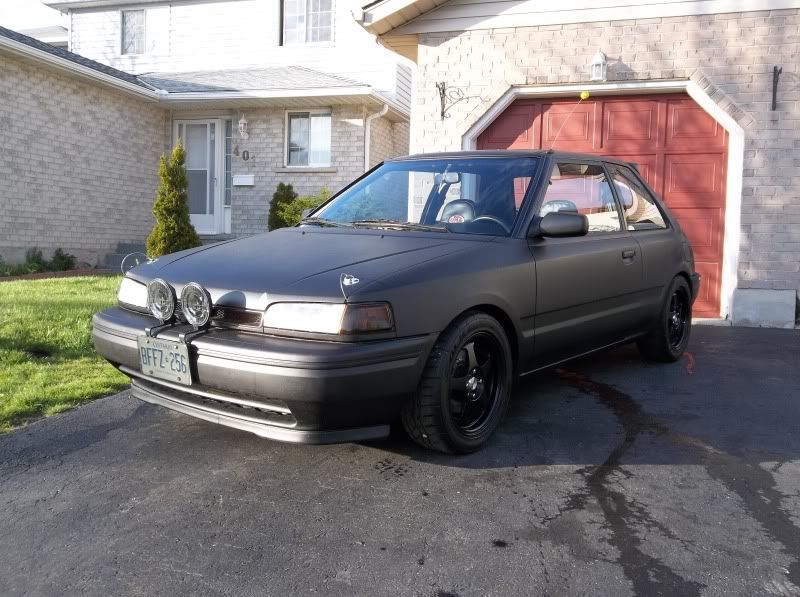
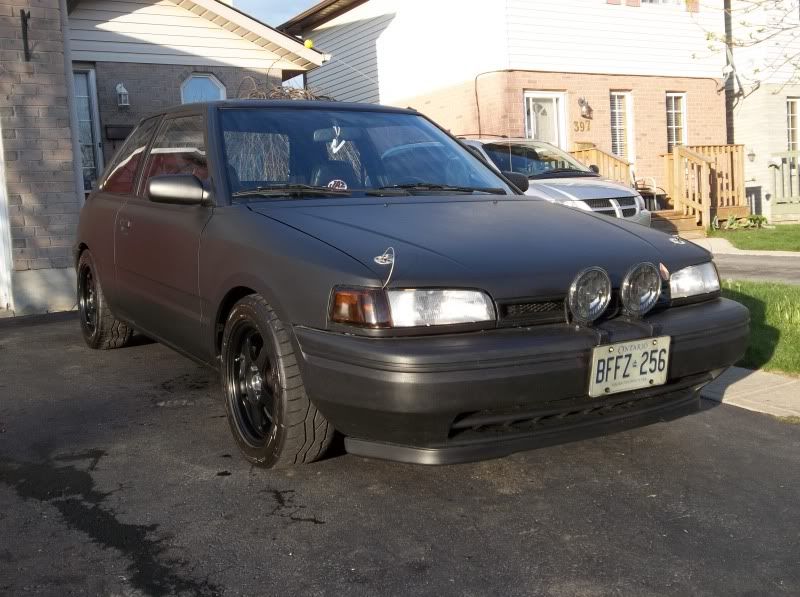
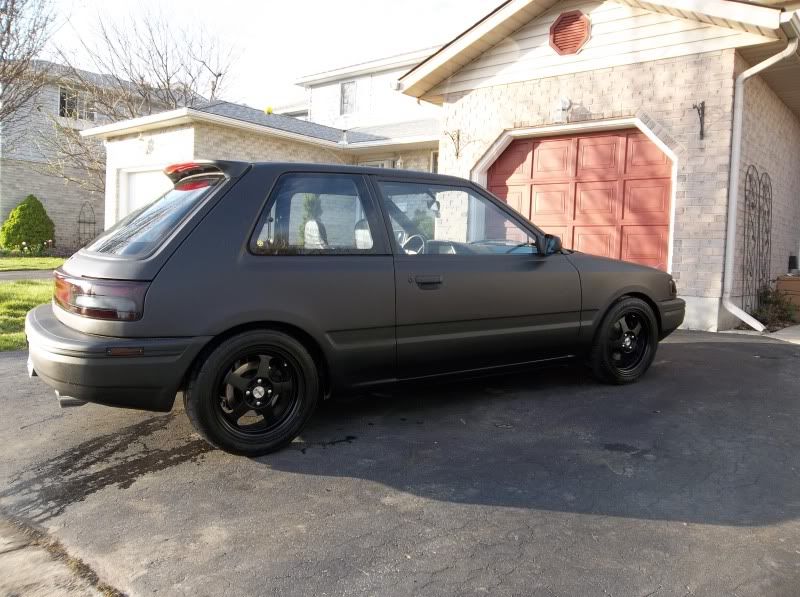
I filled the car with fresh 94 octane gas and I have been driving it around. The power and the handling are impressive. It is very Go cart-ish. I have polished off the install of the nitrous kit, but have not had the Cojones to try it....yet. I am taking it for a Wheel alignment tomorrow. surprisingly it actually drives pretty straight. (no effort was made on my part to adjust anything when I stuffed all the new suspension parts on it). The clutch is not working properly. I ordered a new clutch master for it. The slave cylinder was shot and replacing it gave me some clutch action, but it is still not clutchin' like it should. Other then that the only newly finished project bugs are the big washers on the top of the rear struts clanging over every bump. They either need to be shimmed or tightened. The tires rub over large bumps, that will hopefully go away with the alignment. I am too old to figure out the stereo, time to read the manual or let my 14 year old figure it out LOL. It works great, but I can't figure out any adjustments beyond the volume control. (not very intuitive). I have been invited to a spring cruise on Sunday and I am praying I will have at least the clutch sorted out before hand.
Re: Project Jay-Spec MX-326GS
Posted: May 5th, 2012, 11:22 pm
by IMACHU2