Kirk95gs - 1995 GS

In this section, Users can post worklogs for their vehicle and show users their projects. (MX-3 ONLY!). Please create only ONE topic when starting a project, and DO NOT create 2 worklogs for the same vehicle, even though they are different projects. READ THE STICKY!
User avatar
Kirk95gs
Supporting Member
Posts: 820
Joined: July 21st, 2006, 10:02 am
Location: Nova Scotia/New Bunswick
Contact:

Post by Kirk95gs »

Well got one thing done... here is the t/b polished up..

Image

intake will be the same ... maybe...

f/r will be powdercoated red.. and black v/c's
User avatar
Kirk95gs
Supporting Member
Posts: 820
Joined: July 21st, 2006, 10:02 am
Location: Nova Scotia/New Bunswick
Contact:

Post by Kirk95gs »

Well I started my f/r's next...half way through...

Image
User avatar
Kirk95gs
Supporting Member
Posts: 820
Joined: July 21st, 2006, 10:02 am
Location: Nova Scotia/New Bunswick
Contact:

Post by Kirk95gs »

Well after some searching I found a set of kl31 cams.. 110$ and I got a gm module for the HEI setup too.... I cant wait to get this motor in.
User avatar
Kirk95gs
Supporting Member
Posts: 820
Joined: July 21st, 2006, 10:02 am
Location: Nova Scotia/New Bunswick
Contact:

Post by Kirk95gs »

Well I almost have all the parts I need...

Stuff On the way or coming soon or just need to get.

Fidanza Flywheel
AWR Motor Mounts (88 Duro)
New Belts
Oil and Filter
Coolant
Power Steering Fluid
Brake Fluid
Oil Pump
Oil Pan Gasket
7 nipple disty
MSD Blaster SS coil


Things I have ready to go.

Motor
kl36 ECU
Plugs and Wires
Timing belt and pully
Water Pump
intake and t/b gaskets Thermo Spacers
Clutch master IIR
V/C gaskets
Fule Filter
kl31 cams
User avatar
Mooneggs
Forum Moderator
Posts: 6128
Joined: August 10th, 2005, 10:08 pm
antispam: ~SPAM*SUX~
Location: Hillsboro, OR
Contact:

Post by Mooneggs »

Kirk95gs wrote:Well I started my f/r's next...half way through...

Image
I love this shot with the dining room table with the lace tablecloth... CLASSIC :D
User avatar
Kirk95gs
Supporting Member
Posts: 820
Joined: July 21st, 2006, 10:02 am
Location: Nova Scotia/New Bunswick
Contact:

Post by Kirk95gs »

LOL thanks... yeah its my work bench.. kinda thought the lace tablecloth would go nice with the hard look of the semi polished aluminum...

I am living in a small apart. while we hunt for a house to buy... Man do I miss my own shop... :roll:
User avatar
Mooneggs
Forum Moderator
Posts: 6128
Joined: August 10th, 2005, 10:08 pm
antispam: ~SPAM*SUX~
Location: Hillsboro, OR
Contact:

Post by Mooneggs »

lol don't feel bad I work in my kitchen in my apartment right next to the sink LOL and then I go out and work in the parking lot... :?

someday I will have a nice garage... *sighs*

sorry to hijack.... back to your worklog.... :D
User avatar
Kirk95gs
Supporting Member
Posts: 820
Joined: July 21st, 2006, 10:02 am
Location: Nova Scotia/New Bunswick
Contact:

Post by Kirk95gs »

started the intake manifold... I hope to have in done soon.. finding it hard to get it perfect... will take some time...

Image

here is a pic of the cams I got.. (camera phone pic) ... sorry..

Image
User avatar
mazdags94
Regular Member
Posts: 1083
Joined: August 6th, 2007, 9:54 pm
Location: Hamburg, NY USA

Post by mazdags94 »

How did you get the fue rails and throttle body to look so good? I know you said you polished them but how did you do that? Looks great, let me know! Thanks!
'94 MX3 GS (black)-- 2.5L DE w/ straight neck IM, SSAC Headers, KYB-GR2's, Intrax Springs, CM Stage I clutch, OBX STS, filled front & rear mounts, CAI- SOLD :(
Buyer Feedback: viewtopic.php?f=37&t=62426" onclick="window.open(this.href);return false;
viewtopic.php?f=37&t=69003" onclick="window.open(this.href);return false;
"Amatuers practice until they can get it right; professionals practice until they can't get it wrong"
User avatar
Kirk95gs
Supporting Member
Posts: 820
Joined: July 21st, 2006, 10:02 am
Location: Nova Scotia/New Bunswick
Contact:

Post by Kirk95gs »

http://www.mx-3.com/phpBB2/viewtopic.php?t=61985

Check out the link.. step by step.
User avatar
Kirk95gs
Supporting Member
Posts: 820
Joined: July 21st, 2006, 10:02 am
Location: Nova Scotia/New Bunswick
Contact:

Post by Kirk95gs »

Well did a little more work on the intake.. I knifed edged aswell.. its sharp enough to cut paper now.... instead of being a patato masher.. now I am just going to pollish half the intake.. it is just so much easier and I think it will look good when its completed.. .. still lots more to go.. but im half way there..

Image

Image

Image
User avatar
Kirk95gs
Supporting Member
Posts: 820
Joined: July 21st, 2006, 10:02 am
Location: Nova Scotia/New Bunswick
Contact:

Re: Kirk95gs - black 95 mx-3

Post by Kirk95gs »

Here are a couple Pic's for a update... Going to start pulling the K8 out today.... THen clean up the engine bay. and out the new motor in..

Image
Image
Image
Image
Image
Image
User avatar
Kirk95gs
Supporting Member
Posts: 820
Joined: July 21st, 2006, 10:02 am
Location: Nova Scotia/New Bunswick
Contact:

Re: Kirk95gs - black 95 mx-3

Post by Kirk95gs »

Well after having the motor for almost a year at my parents house I got it up to my new place. It took me 7hrs with a U-haul and about 150$ of gas.. and I was hung-over :throwup: to top it all off..
User avatar
Kirk95gs
Supporting Member
Posts: 820
Joined: July 21st, 2006, 10:02 am
Location: Nova Scotia/New Bunswick
Contact:

Re: Kirk95gs - black 95 mx-3

Post by Kirk95gs »

Well here is the k8 just befor I pull it out.. its just on the mounts right now.. still trying to track down a engine picker..

Image

Took me a little while but I got the new motor up on a stand.

Image

Pulled the kl01 cams for some kl31's

Image
User avatar
Kirk95gs
Supporting Member
Posts: 820
Joined: July 21st, 2006, 10:02 am
Location: Nova Scotia/New Bunswick
Contact:

Re: Kirk95gs - black 95 mx-3

Post by Kirk95gs »

I had trouble taking the udp or crank pulley off.. But I got it done with a little work.. :welder:

heres how I did it

I wedged a wrench between two bolts from where the flywheel is held on and butted it againts the bolts
for the engine stand.

Image
Image

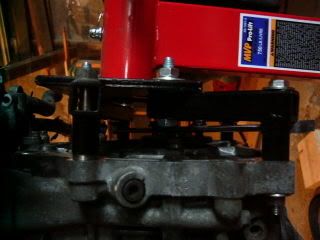
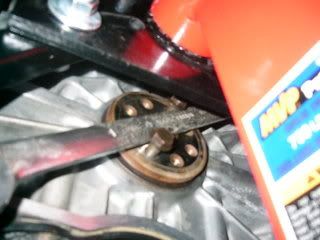
Next I used a 1/2" ratchet wrench witha 21mm socket and a noter ragular wrench for leverage..

Image

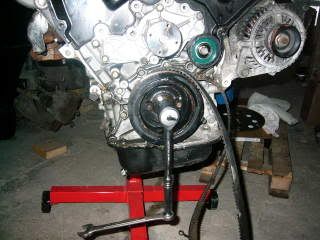
worked great for not having any air tools.. and being by myslef..

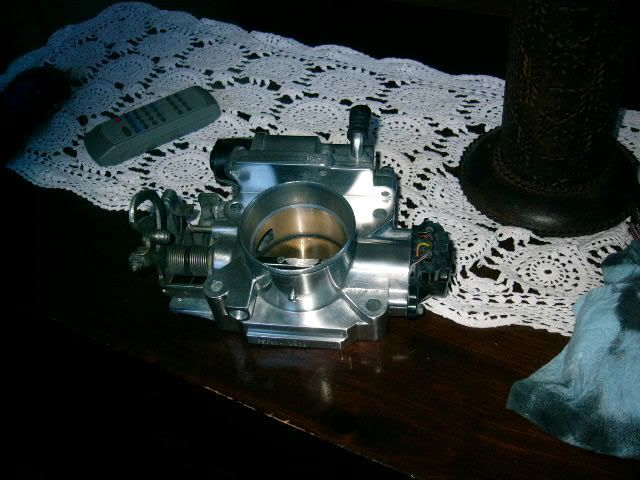
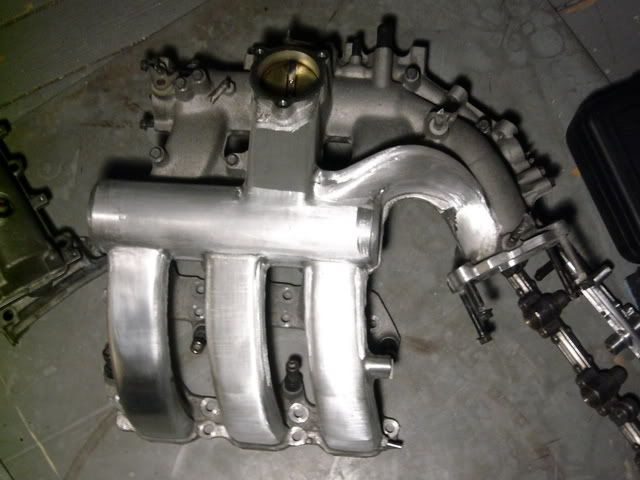
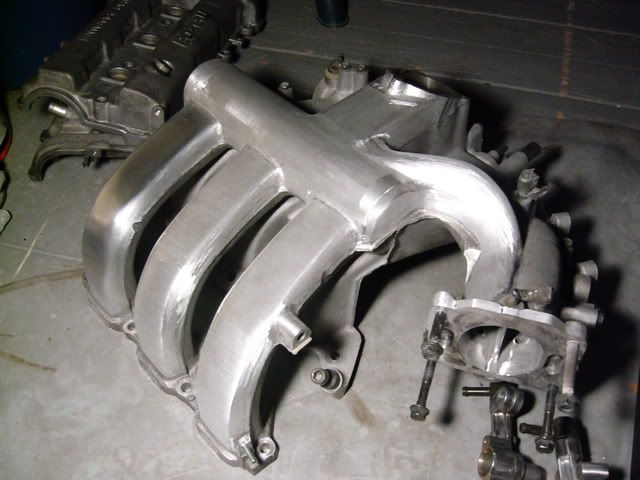
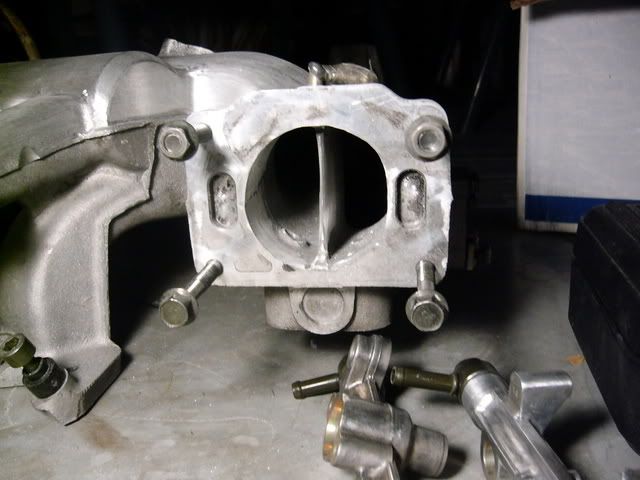
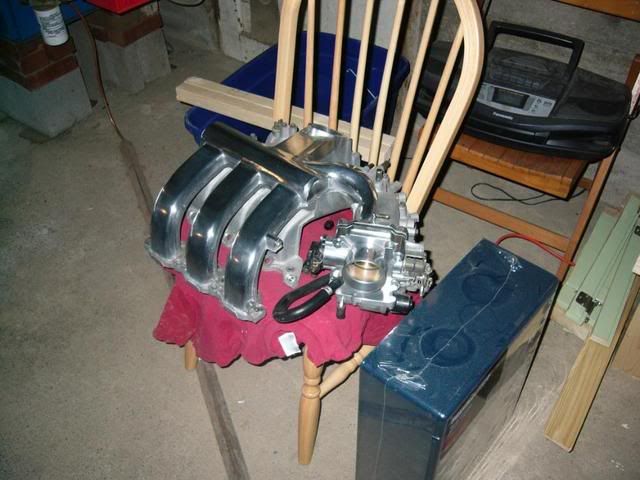
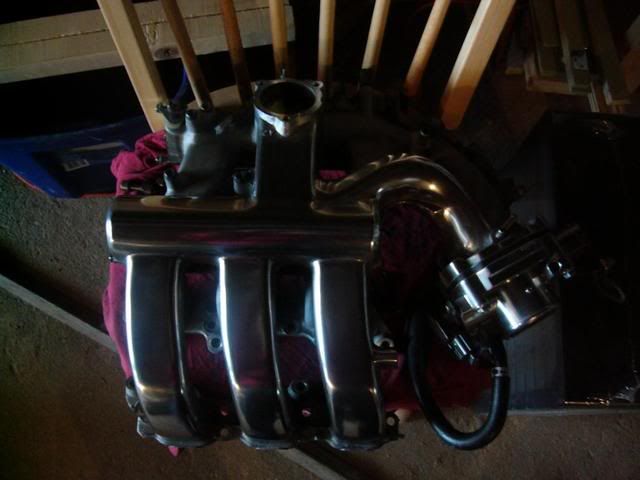
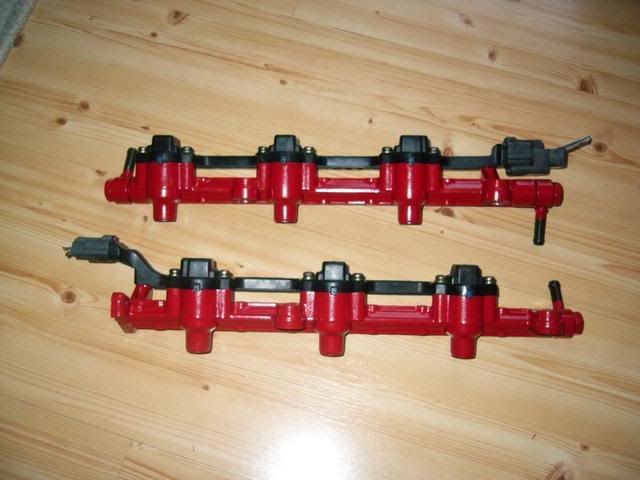
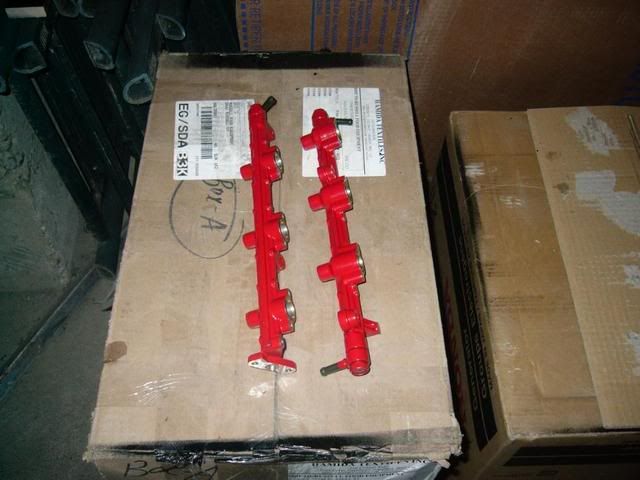
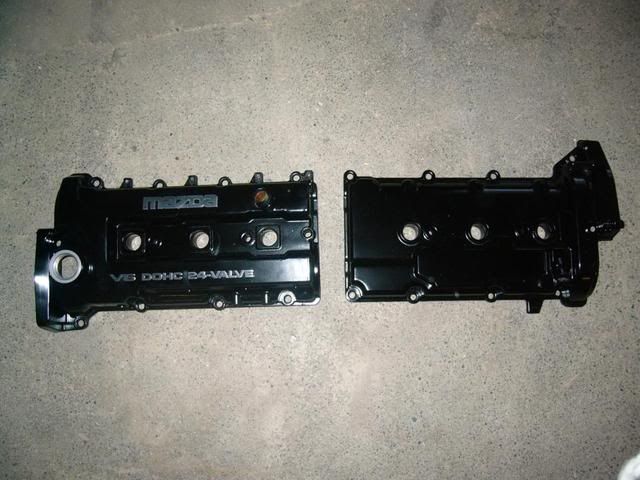
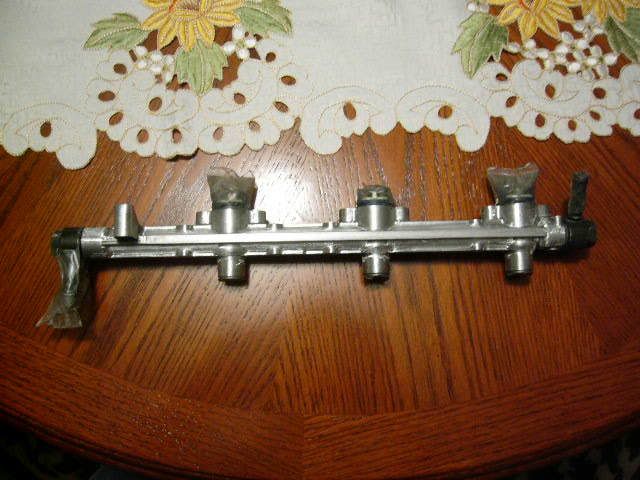
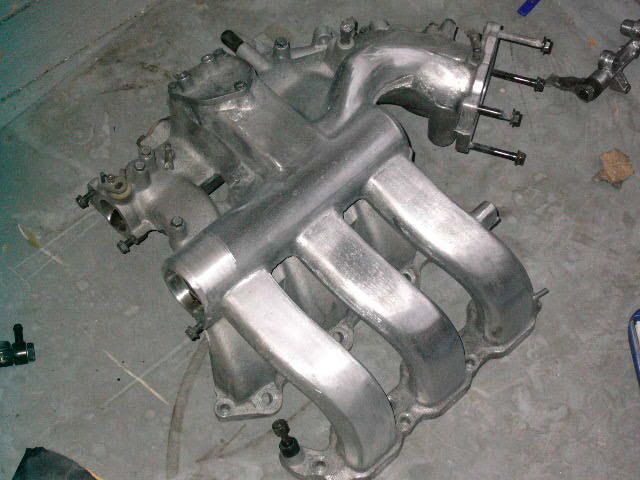
So I replaced the water pump and t/b along with the pulleys and tensioner....Next will be cleaning the oil pan gunk out getting installing the intake, fule rails, and valve covers..
Post Reply

Return to “MX-3 Worklogs”