There's a painting process I've been refining using for quite a few years now, but I've only ever done this on metal (winch mount, bike rack, dad's utility trailer fenders and tail light mounts) and aluminum (2 sets of Pathfinder 15" rims). This turns out to be extremely hard and durable, handles all elements easilly and even some decent abuse (ncl iwinter/offroading) and the paint doesn't flake off. Rust doesn't form underneath either (for your case, rust isn't an issue, lol)
Many, many years ago I did a slightly similar process paiting my computer monitor, used plastic paint as primer and speckle outdoor paint for the color, except baking the base in the sun after a coat of green paint (making it darker and adsorb more light) caused it to warp from the heat. Car parts will not have this problem, lol.
1) Prep the surface as always, sand down and give a shot of brake cleaner to remove any oils
2) Heat the surface; a good bake in the sun, a halogen work light, even a heat gun or a blow dryer (especially critical working in the winter months)
3) While the surface is warm/hot, give it a VERY, VERY light coat of primer, pretty much just a dusting. Your not trying to cover anything, just enough to stick to the surface and bond. Let it dry, can even put it back in the sun if you wish.
4) Put another lighter coat of primer on, NEVER thick, and wait until it dries. Primer dries fast anyway, so you can usually do coats within 15-20min. Keep going with the light coats and you can slowly make them thicker until the surface is covered and you can't see the color underneat anymore.
5) Pending where you work and live and the time of the year, you may want to work out of the sun so it doesn't dry as fast; Transition layer: Do one final dusting of primer, than immediately, do a similar dusting of the actual paint you're using right on top of it.
6) Now this is where it takes a bit of a feel for it: While the paint is still slightly tacky, no put another VERY light coat of paint on.
7) Keep applying thin coats of paint and do it while the paint is tacky and make the coats thicker and thicker. With Tremclad, if you're good, you can get to the point where you can get the paint on thick enough it'll "self-level", but with regular automotive paint, probably not. It's not a bad thing if you put a coat one if it's completely dry (like if you had to finish for the day), but if you don't let it dry enough, after enough coats, you'll get a nice oozing avalanche paint mess. If you're not putting on a clear coat, keep going until your happy with the paint results.
8) For clear, another Transition Layer: Do a light dusting of paint and immediately, do a light dusting of clear right on top.
9) Again as before, keep going with thin layers and applying while the clear is slightly tacky, making them thicker as you go, and stop when you're happy.
Letters11 - 1995 MX3 1.6
-
Nd4SpdSe

- Senior Member
- Posts: 11213
- Joined: May 25th, 2002, 2:01 am
- Location: Québec City, Quebec, Canada
- Contact:
Re: Letters11 - 1995 MX3 1.6
1992 Mazda Mx-3 GSR - 2.5L KLZE : Award Winning Show Car & Race Car ['02-'09] (Retired)
2004 Mazda RX-8 GT - Renesis Wankel : LS3 Coils, BHR Mid-Pipe + Falken RT-615K 245/40r18
2011 Mazda Mazda2 GS - 1.5L Manual : Yozora Edition (1 of 500)
2003 Nissan Xterra SE - 4x4 Supercharged : 2" Body Lift, 4" Suspension Lift & 33" MTR Kevlar
2001 Nissan Frontier SE - The Frontrailer : Expedition/Off-Road Trailer Project
-
AaronTietje

- Regular Member
- Posts: 1196
- Joined: August 21st, 2009, 5:24 pm
- antispam: No
- Location: Prattsburgh NY
Re: Letters11 - 1995 MX3 1.6
Make sure you use a white primer.
That color as well as my raspink uses a white primer. (the primer color will make a huge difference in the finish color)
That color as well as my raspink uses a white primer. (the primer color will make a huge difference in the finish color)
We all want to be fast and look cool. Cool changes but fast never does.
Re: Letters11 - 1995 MX3 1.6
I used a white primer and it was REALLY REALLY bright. I then used a gray primer and it was still bright. So i used the same primer as the rear mudflaps which was Krylon automotive primer which is darker but closer to the green color in the end. I need one in between the white and the dark. Hmmmmm?AaronTietje wrote:Make sure you use a white primer.
That color as well as my raspink uses a white primer. (the primer color will make a huge difference in the finish color)
-
Nd4SpdSe
- Senior Member
- Posts: 11213
- Joined: May 25th, 2002, 2:01 am
- Location: Québec City, Quebec, Canada
- Contact:
Re: Letters11 - 1995 MX3 1.6
You need just to add more coats of paint. The primer will soak up the paint so if you don't have enough coats, it'll show through.
1992 Mazda Mx-3 GSR - 2.5L KLZE : Award Winning Show Car & Race Car ['02-'09] (Retired)
2004 Mazda RX-8 GT - Renesis Wankel : LS3 Coils, BHR Mid-Pipe + Falken RT-615K 245/40r18
2011 Mazda Mazda2 GS - 1.5L Manual : Yozora Edition (1 of 500)
2003 Nissan Xterra SE - 4x4 Supercharged : 2" Body Lift, 4" Suspension Lift & 33" MTR Kevlar
2001 Nissan Frontier SE - The Frontrailer : Expedition/Off-Road Trailer Project
2004 Mazda RX-8 GT - Renesis Wankel : LS3 Coils, BHR Mid-Pipe + Falken RT-615K 245/40r18
2011 Mazda Mazda2 GS - 1.5L Manual : Yozora Edition (1 of 500)
2003 Nissan Xterra SE - 4x4 Supercharged : 2" Body Lift, 4" Suspension Lift & 33" MTR Kevlar
2001 Nissan Frontier SE - The Frontrailer : Expedition/Off-Road Trailer Project
Re: Letters11 - 1995 MX3 1.6
Just an update. The timing belt, water pump, tensioner, and idler are being replaced as we speak. I am driving the black car right now in case anyone sees me  Hopefully this work will stop the noise problem and the heat problem!!!
Re: Letters11 - 1995 MX3 1.6
Also I forgot to mention tha my timing cover gasket is pretty destroyed. I believe that the cover itself is fine but the gasket is covered in oil and all broken apart. There is a significant amount of oil between the engine and the timing area (when looking at the engine straight on). Ive only found one place that sells the gaskets, which of course I cannot find anymore. Any suggestions on where to find the gasket or even better the whole assembly, cover and gasket?? Im thinking mazda might be the way to go. Thanks
-
AaronTietje
- Regular Member
- Posts: 1196
- Joined: August 21st, 2009, 5:24 pm
- antispam: No
- Location: Prattsburgh NY
Re: Letters11 - 1995 MX3 1.6
Do you have your new front bumper installed yet???
We all want to be fast and look cool. Cool changes but fast never does.
Re: Letters11 - 1995 MX3 1.6
No I havent got around to it yet. I commute to school and the highway kills my front end from rocks and stuff. I want to paint the entire car so I was going to wait until I graduate (May) and get everything done in the spring. If that doesnt happen, Ill do it with some cans and throw it on there. Im still trying to figure out how to fix my front lip as well!!AaronTietje wrote:Do you have your new front bumper installed yet???
Re: Letters11 - 1995 MX3 1.6
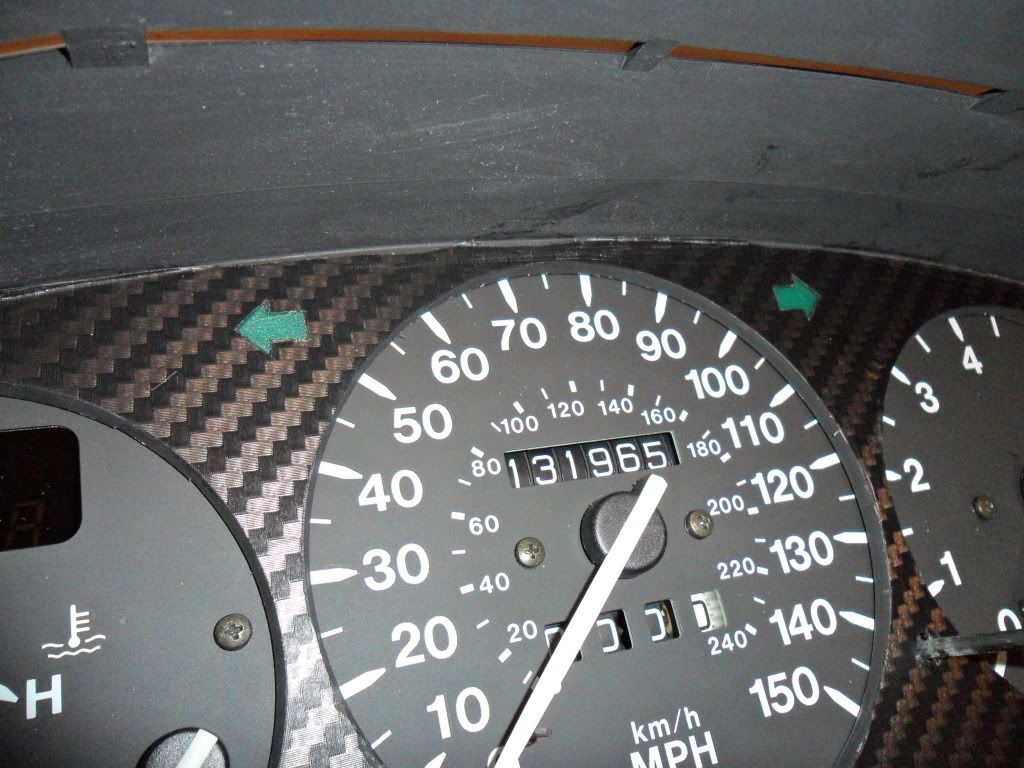
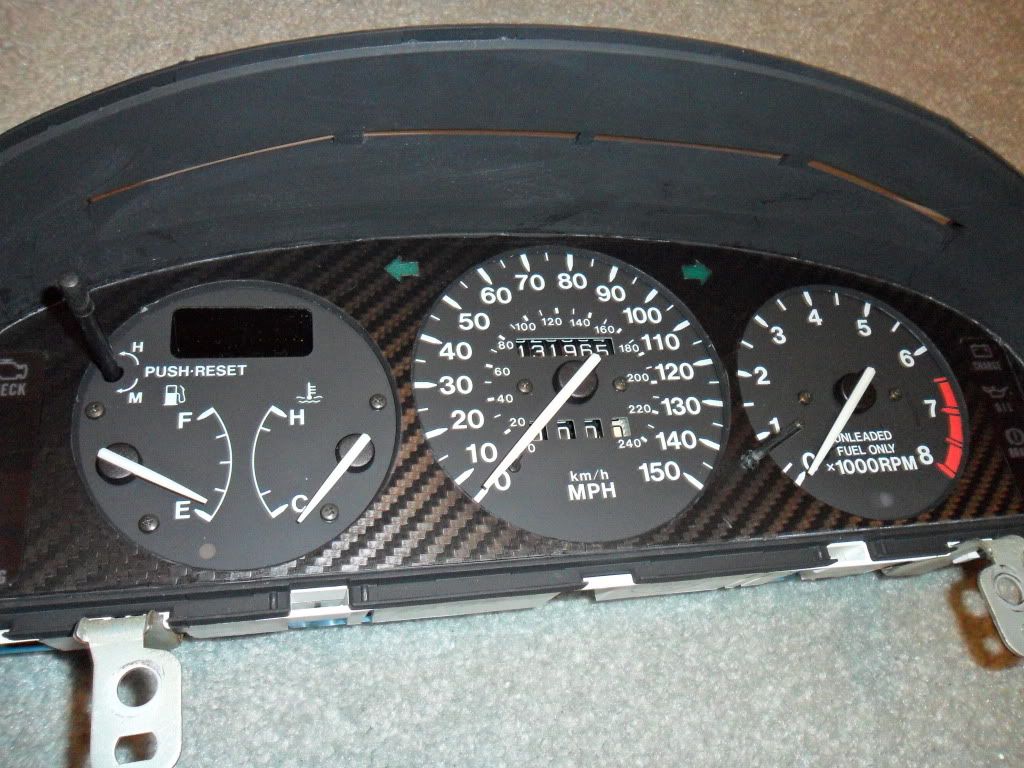
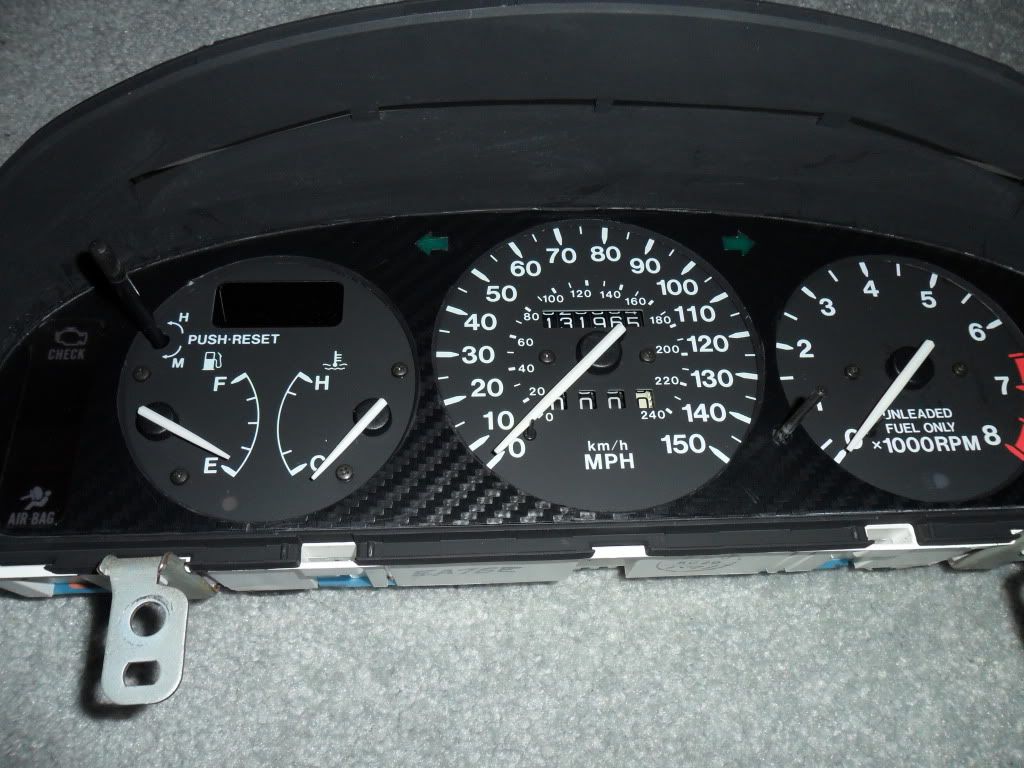
I obtained white glow gauges but I didnt like the way they came out in the end so I decided to do this. Not bad for my first time might I add??  This stuff is a PITA! These pictures were before I cleaned the adhesive off the edges and before the final trim. Hopefully it will look alright in the car.
Re: Letters11 - 1995 MX3 1.6
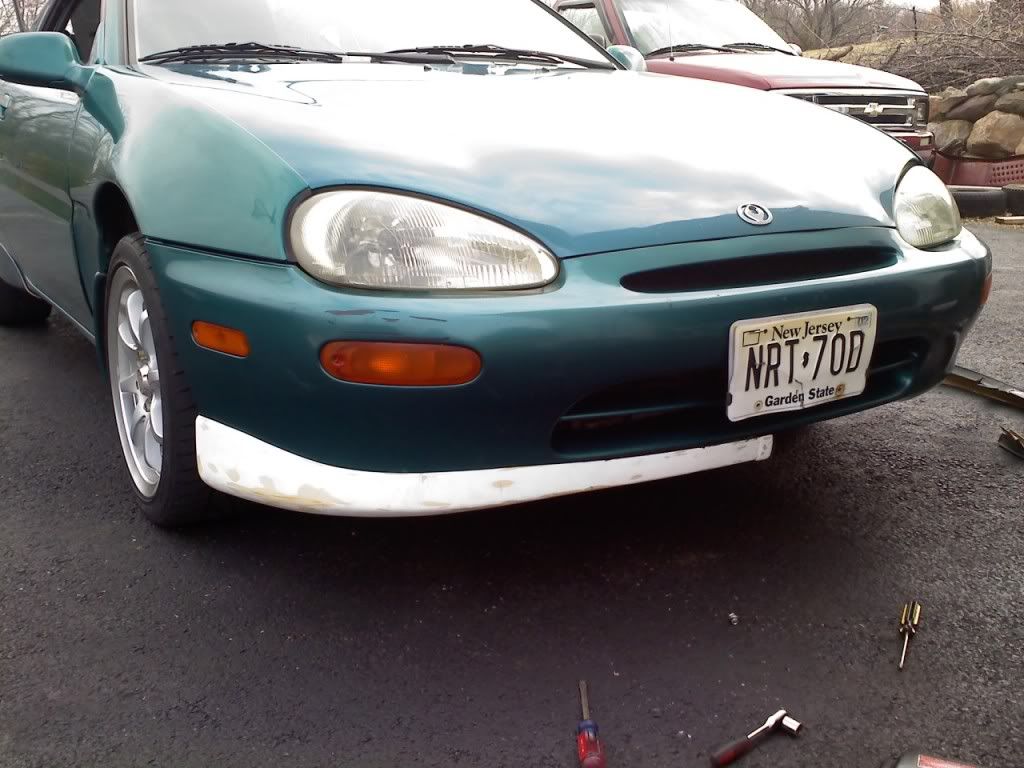
I finally got around to semi fixing half of my front lip. I melted zip ties to the cracked pieces and mounted it.

I drove about 85 miles with it like this and it was just as good as when i first put it on. Im going to try to get something different from the store, use it on the other half, and see whats stronger. Possibly fiberglass strips?? Anyone have any suggestions on what to use to fix the usual torn top half of the front lip (the part that has the mounting holes on it)?
I drove about 85 miles with it like this and it was just as good as when i first put it on. Im going to try to get something different from the store, use it on the other half, and see whats stronger. Possibly fiberglass strips?? Anyone have any suggestions on what to use to fix the usual torn top half of the front lip (the part that has the mounting holes on it)?
Re: Letters11 - 1995 MX3 1.6
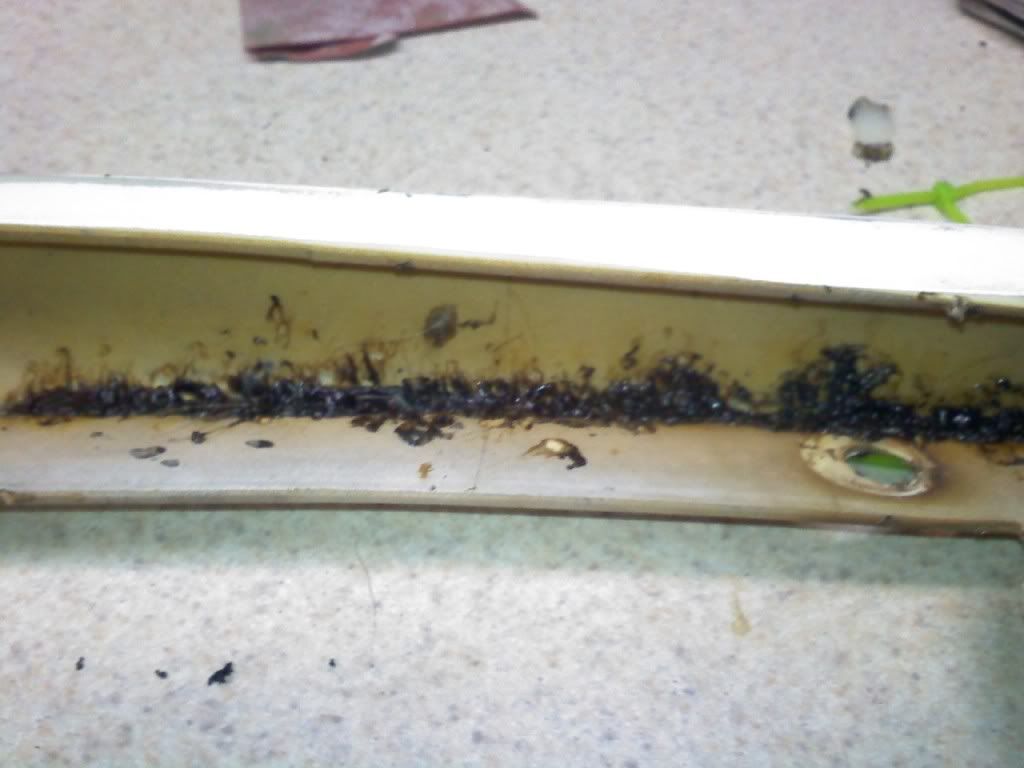
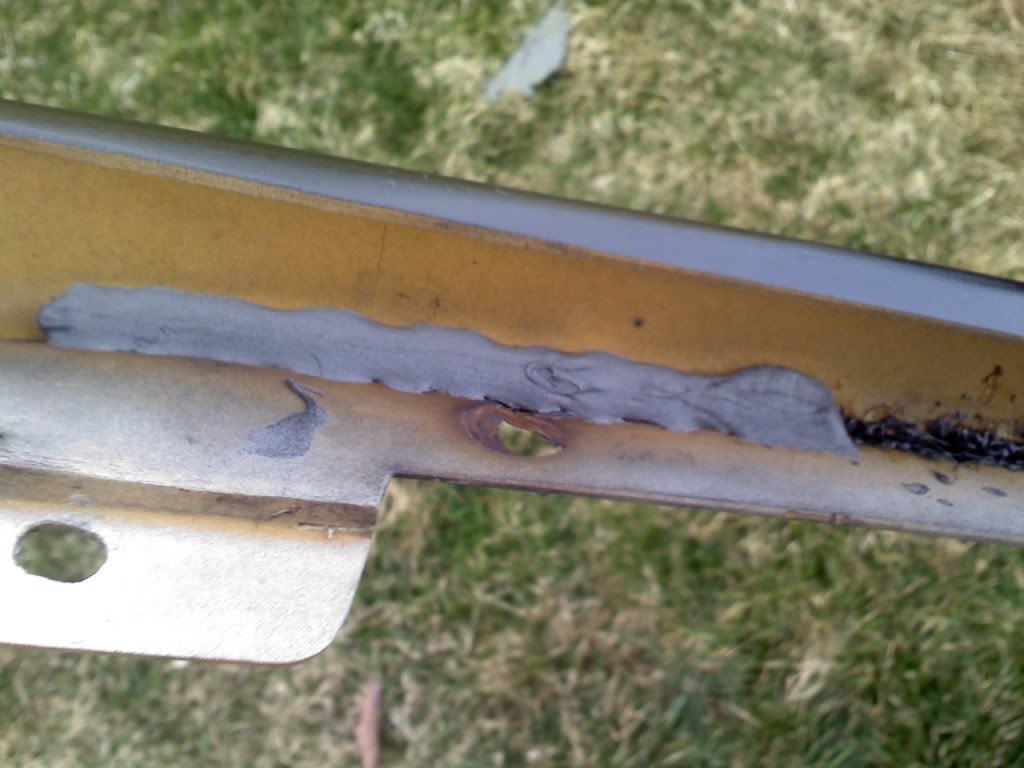
I went to walmart and picked up this stuff. So far its working great. It holds nicely to the lip and its very stable. I would recommend this to everyone with the usual ripped mounting spots on the front lip. Its only $5 as well!
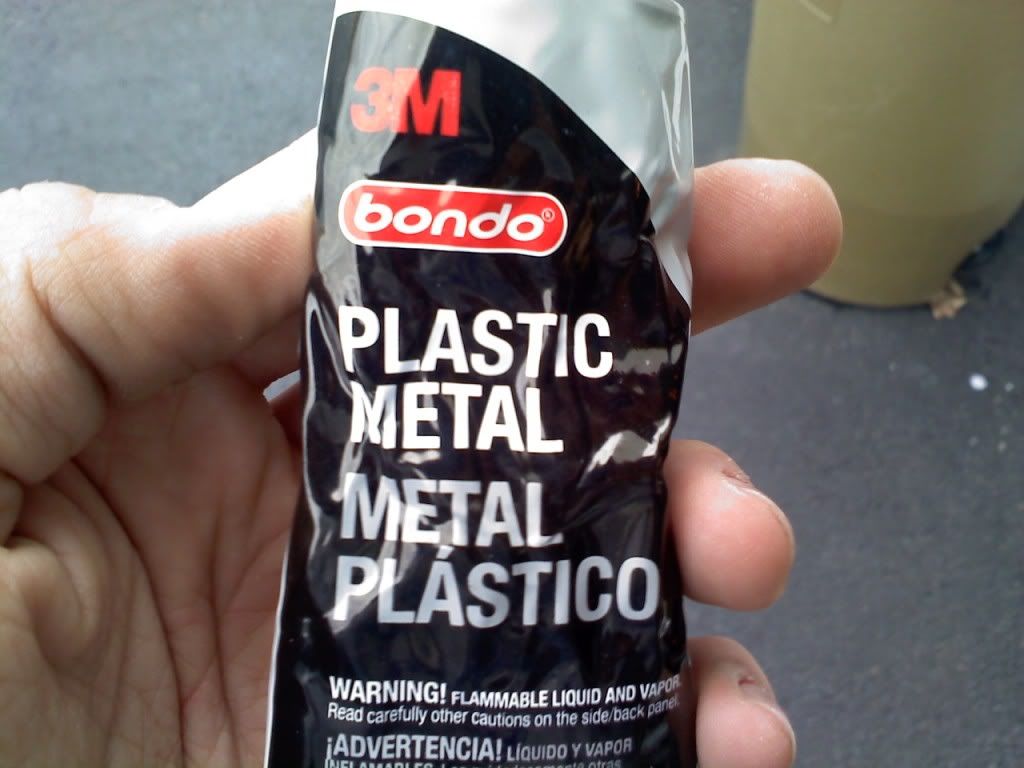
Here is what it looks like on the underside of the mounting tabs. I secured it in a few spots with some glue and then went to town on it with the plastic metal. Dont be afraid to use alot of it, it will only make it stronger!!
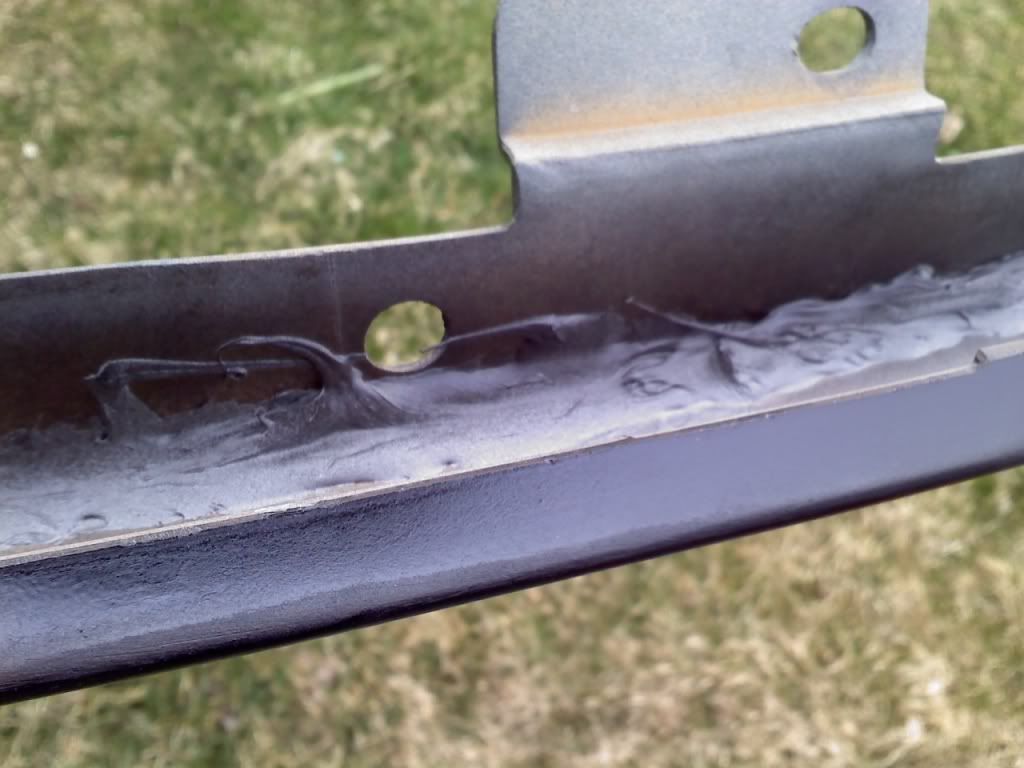
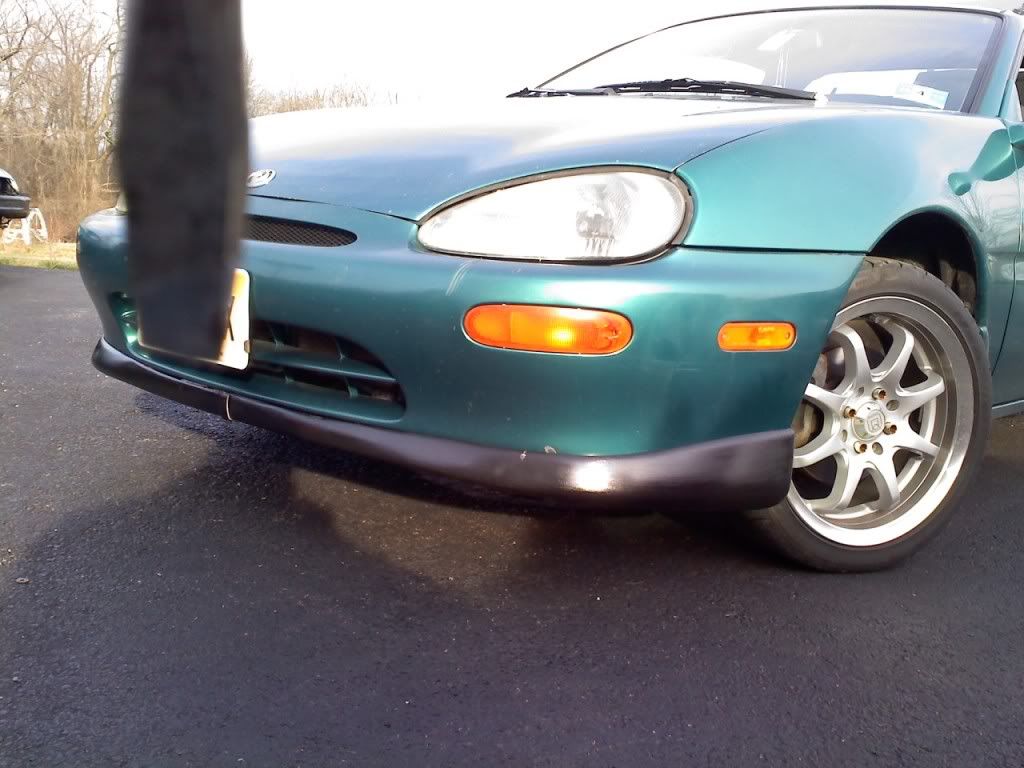
I painted it black for now because the store was out of my color paint and i couldnt wait. Not a bad outcome for a $10 lip??
Here is what it looks like on the underside of the mounting tabs. I secured it in a few spots with some glue and then went to town on it with the plastic metal. Dont be afraid to use alot of it, it will only make it stronger!!
I painted it black for now because the store was out of my color paint and i couldnt wait. Not a bad outcome for a $10 lip??
-
Evo_Spec

- Senior Member
- Posts: 2504
- Joined: December 30th, 2008, 3:41 am
- Location: Calgary, Alberta, Canada
Re: Letters11 - 1995 MX3 1.6
let us know if this holds up, i might use it to repair some broken lips i got sitting in the garageLetters11 wrote:I went to walmart and picked up this stuff. So far its working great. It holds nicely to the lip and its very stable. I would recommend this to everyone with the usual ripped mounting spots on the front lip. Its only $5 as well!

Re: Letters11 - 1995 MX3 1.6
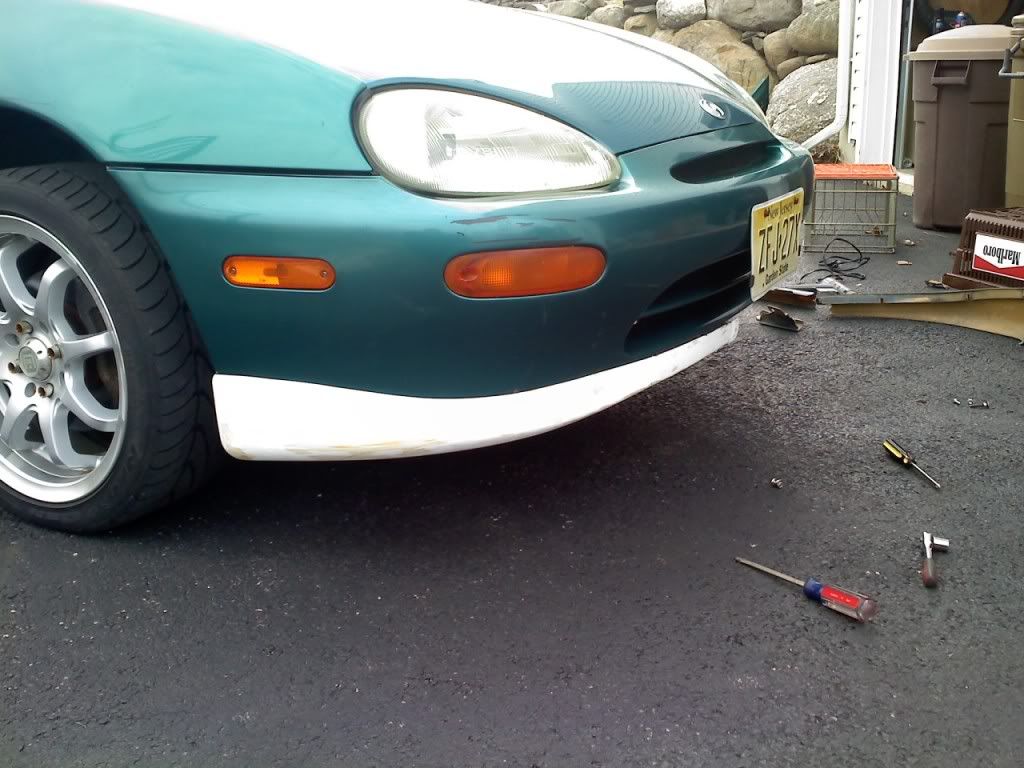
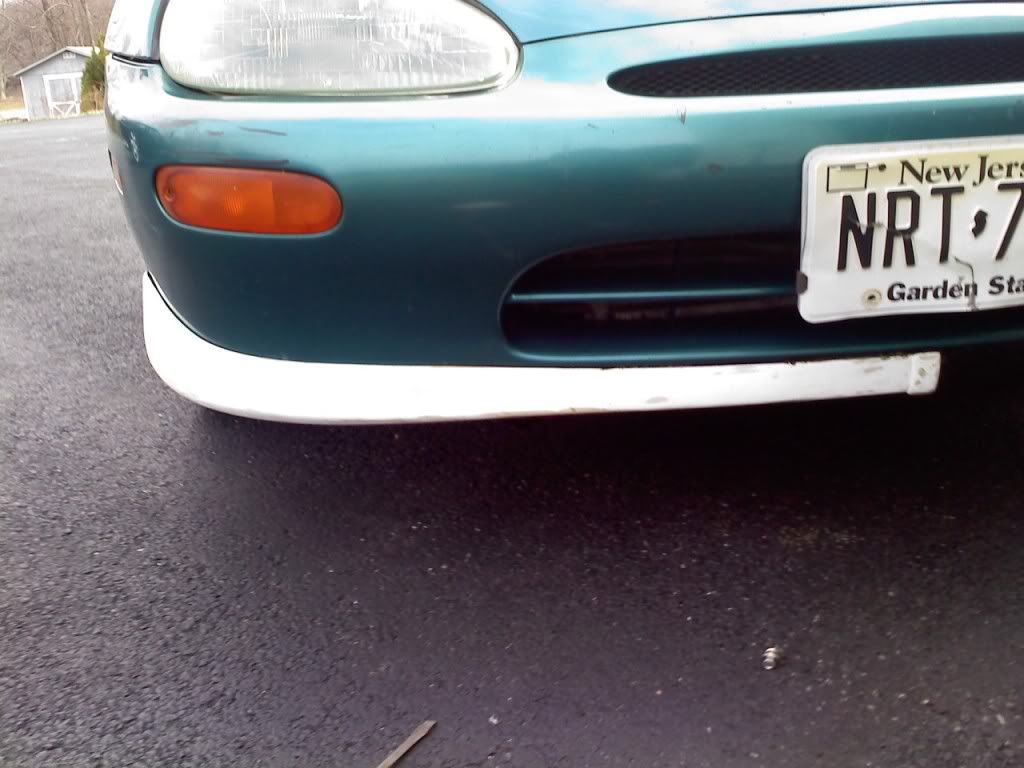
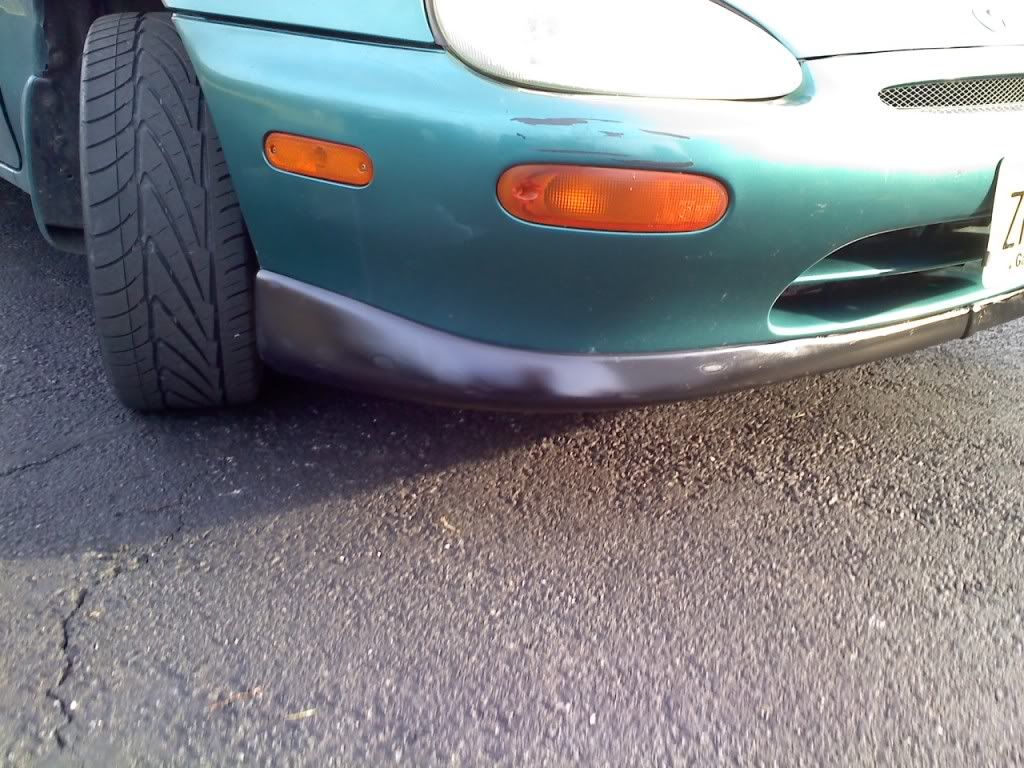
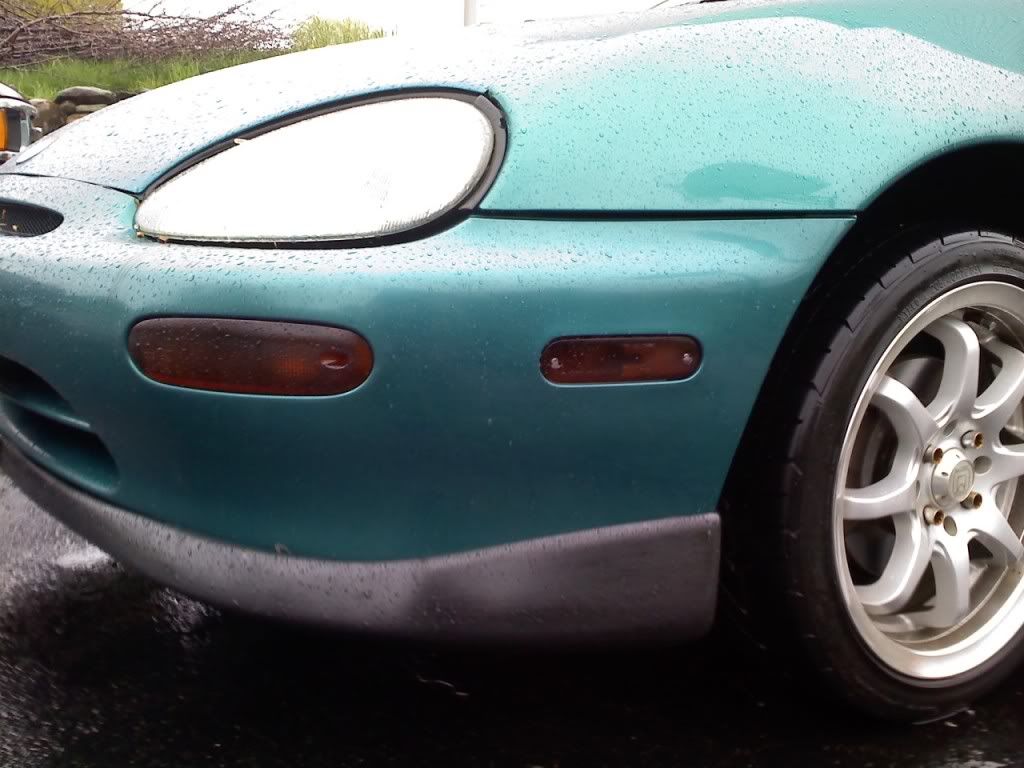
Back to post some more. Put a clutch kit in and now my car is like new. As far as the 3m platic metal on the "fixed" lip, lets just say the tow truck got the best of it. I took it off, put glue and more of the plastic metal on and i dont think it will be breaking anytime soon. The plastic metal holds very well. I was bored looking at my car so I got some VHT Nightshade and sprayed my blinkers and corner lenses (front and back). I wanted to get clear ones but I couldnt justify spending the money right now. I like the outcome of the spray, VERY easy to use. I feel I could have gone darker but I didnt want to go too dark. In case you forgot, here are the comparisons
Before
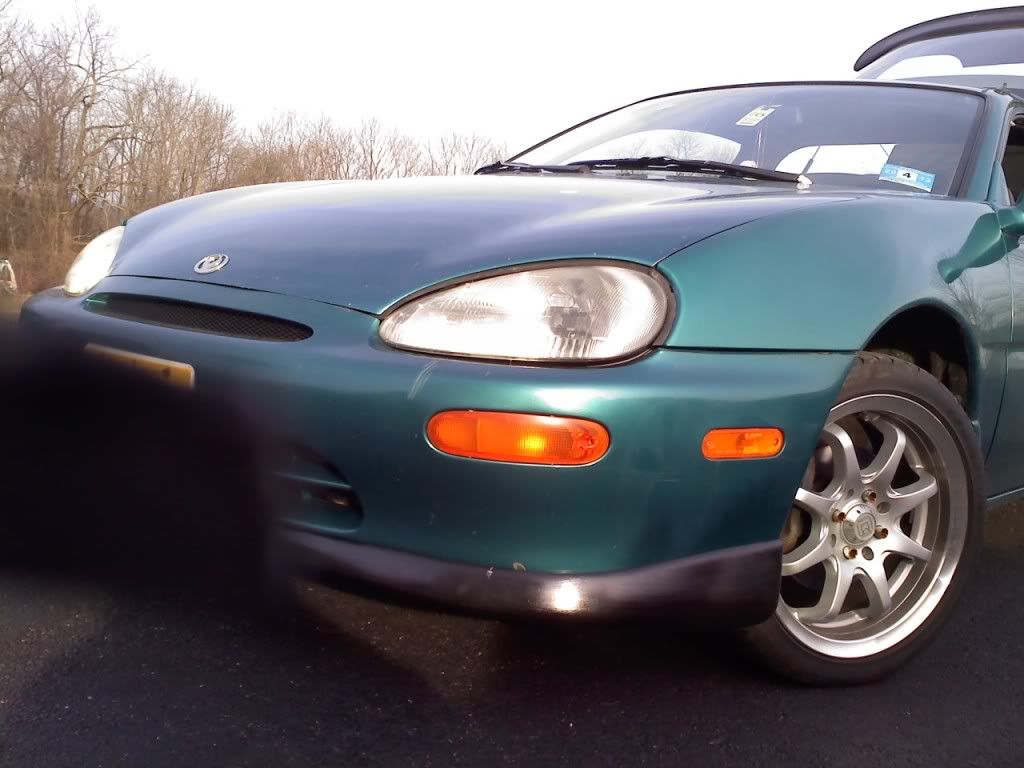
Before
-
DeepBlueMX3
- Regular Member
- Posts: 373
- Joined: September 13th, 2008, 9:02 pm
- Location: City:Americana Country:Brazil
- Contact:
Re: Letters11 - 1995 MX3 1.6
-Great car.I liked the front brake jdm look, it's very beautifull!
-
jerwil
- Junior Member
- Posts: 6
- Joined: May 17th, 2011, 10:09 pm
- antispam: ~SPAM*SUX~
- Location: Kentucky
Re: Letters11 - 1995 MX3 1.6
The black lip on the teal car looks pretty slick!