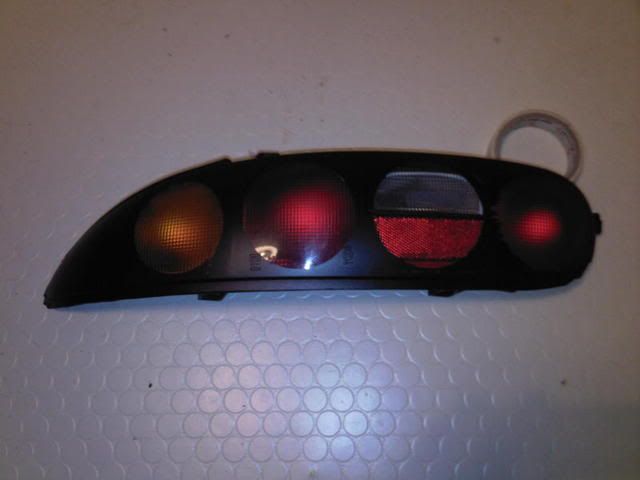
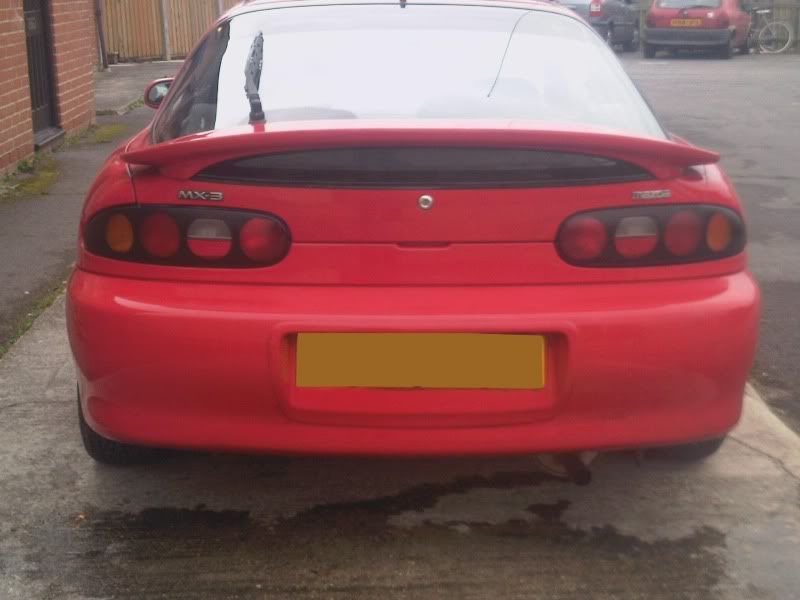
create your own 'afterburner' style rear lights.
Posted: December 25th, 2010, 2:59 pm
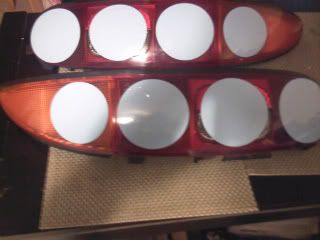
Have cut out 6 x 100mm roundels and 2 x 90mm in vinyl using
a scalpel (cutting on a glass table) and metal blank as a guide, to use as
spray masks, so I can paint the existing lights using
plastic primer, satin black and then a final coat of
high gloss laqceur.

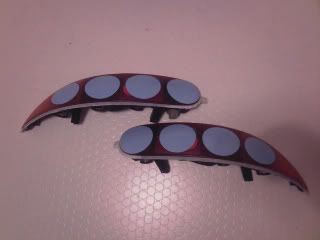
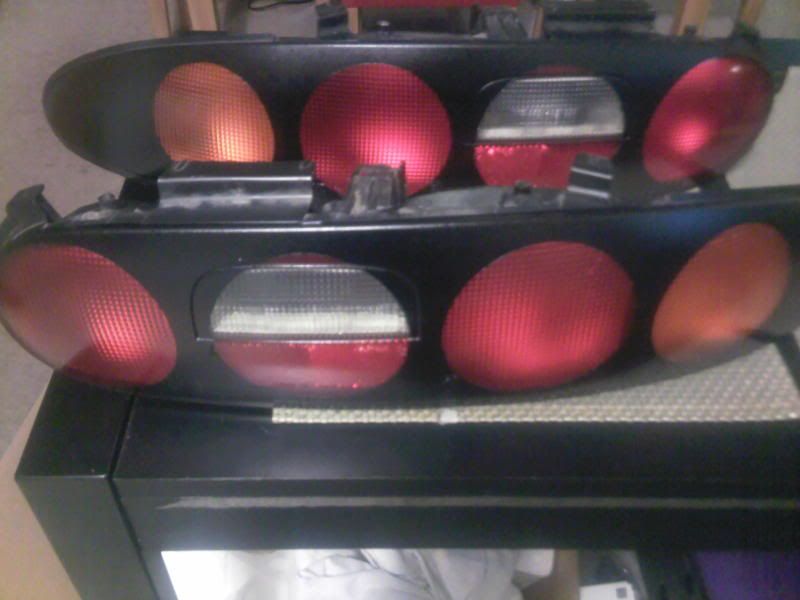
ok, so now clean the lights with surgical spririt
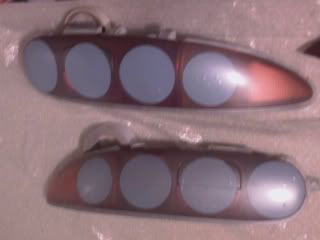
and apply the round spray masks, working along
a center line.

now key the surface with a scotchbrite pad
and mask the outer plastics.
now apply two thin coats of plastic primer
a good tip is to heat the light with a hairdryer
and also the paint can in a jug of warm water
from the tap.
let the plastic primer go off for 24hrs, now
your ready for 8-10 coats of black paint
leave for 20-30 minutes inbetween coats.
(i chose satin black) again warming the paint
and light unit and lightly scotchbriting inbetween
coats 1-6.
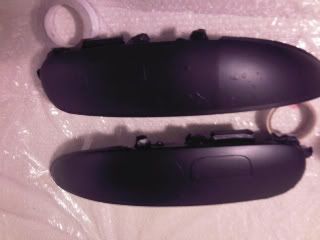
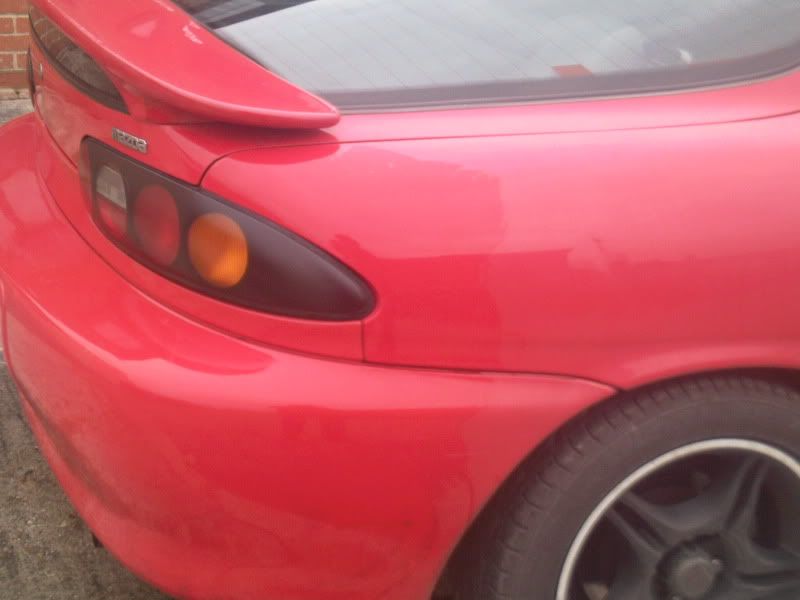
after a few hours of drying remove the vinyl light masks
being carefull not to pull any paint off as you go.
leaving for a further 24hrs, apply 3 coats of clear lacquer.

2 weeks after the lacquer has gone off you can cut it
lightly with T-cut to acheive a smoother finish.


a scalpel (cutting on a glass table) and metal blank as a guide, to use as
spray masks, so I can paint the existing lights using
plastic primer, satin black and then a final coat of
high gloss laqceur.
ok, so now clean the lights with surgical spririt
and apply the round spray masks, working along
a center line.
now key the surface with a scotchbrite pad
and mask the outer plastics.
now apply two thin coats of plastic primer
a good tip is to heat the light with a hairdryer
and also the paint can in a jug of warm water
from the tap.
let the plastic primer go off for 24hrs, now
your ready for 8-10 coats of black paint
leave for 20-30 minutes inbetween coats.
(i chose satin black) again warming the paint
and light unit and lightly scotchbriting inbetween
coats 1-6.
after a few hours of drying remove the vinyl light masks
being carefull not to pull any paint off as you go.
leaving for a further 24hrs, apply 3 coats of clear lacquer.
2 weeks after the lacquer has gone off you can cut it
lightly with T-cut to acheive a smoother finish.