TIP: Worn Drivers' Seat Repair
Posted: February 17th, 2008, 1:25 pm
Ok so if your MX3 is anything like mine or 95% of the ones I've seen, your drivers' seat is worn through on the door-side bolster from years of "sliding" in and out over it. I've searched endlessly for a used replacement seat in better condition, but as you probably know, they are scarce!
I picked up a parts car recently, mainly for the drive train, and as usual the drivers' seat was torn. BUT...the passenger seat wasn't! The good news is, the drivers/passengers covers are virtually identical and passenger seats are a dime a dozen.
I have never done ANY upholstery before, but I can tell you this was easy as pie. Within 30 minutes I had the seat looking like new So I can guarantee almost anyone could do this in less than an hour start to finish.
Here's what you'll need:
1 Hour
1 Beer
1 Pair needle nose vise grips
1 Pair needle nose pliers
1 Utility knife
1 Small Phillips screwdriver (for seat hold-down trim removal. be careful not to break them!)
1 14mm Socket and ratchet (4 seat bolts)
Some Contact cement with a brush
1 Donor passenger seat in good shape
1 Tsp fresh chopped oregano
First smoke the oregano, then remove both the torn drivers seat and your donor seat.
I took them inside and did this job on my living room floor lol.
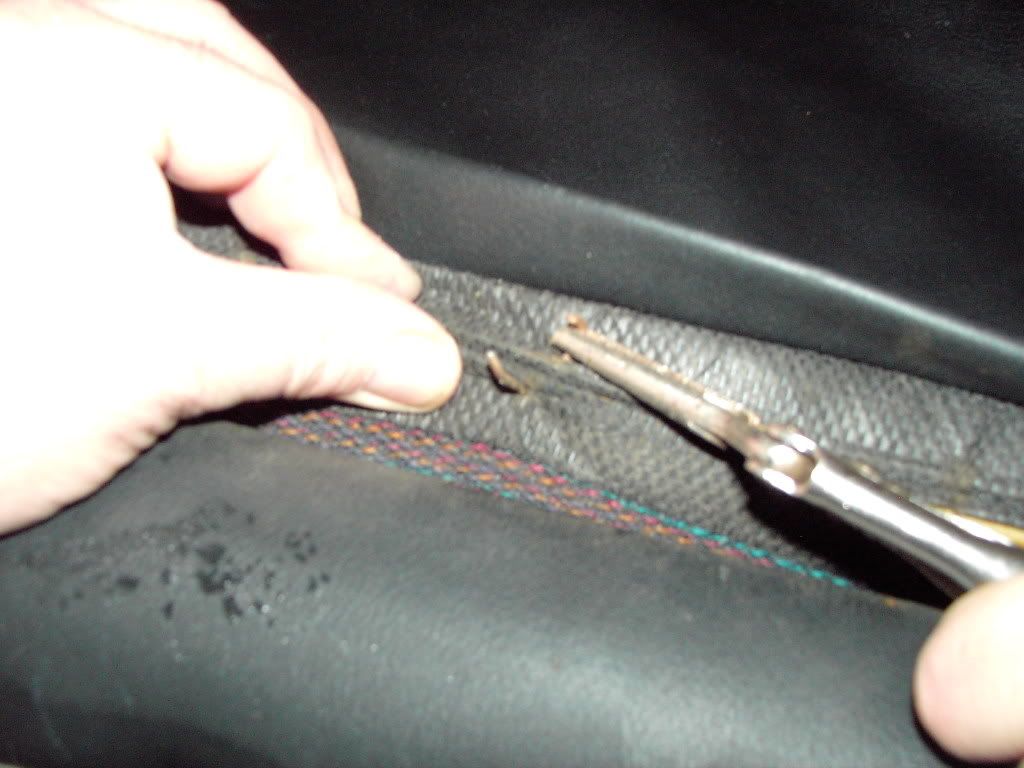
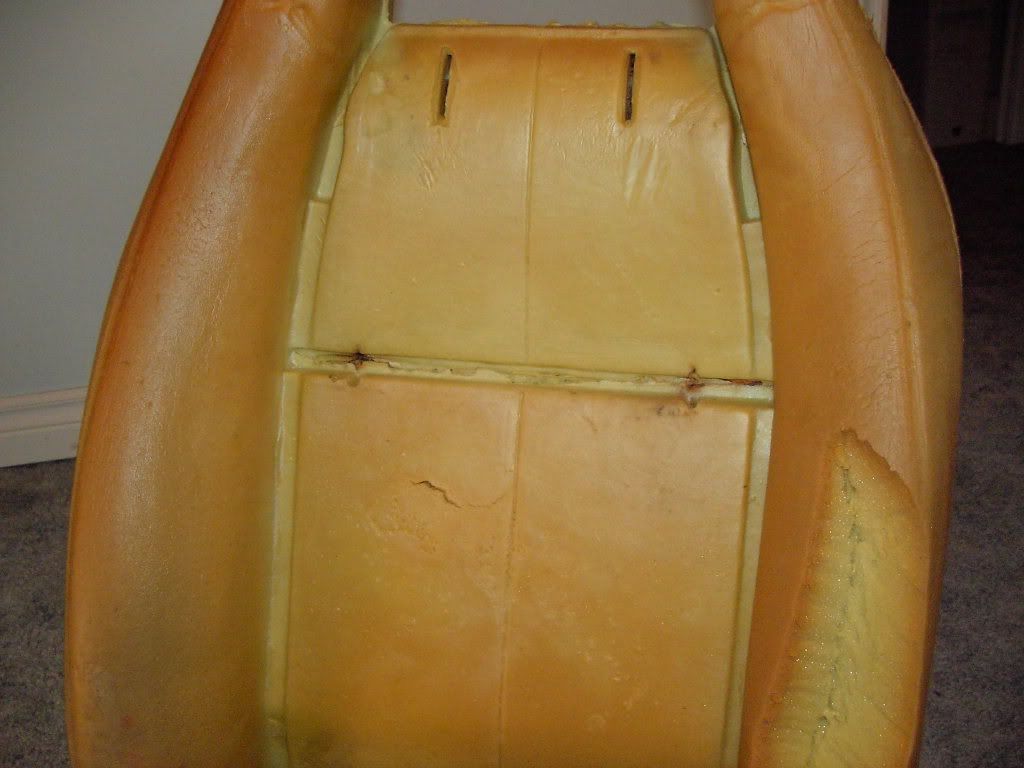
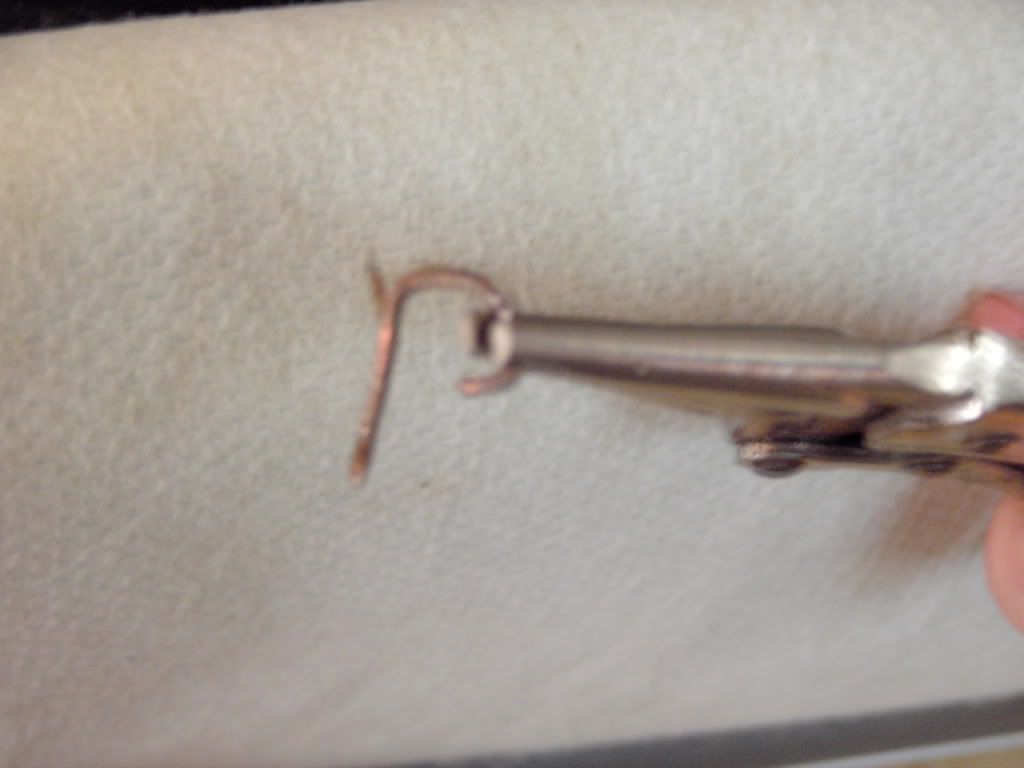
Flip the donor seat forward and look under the flap at the bottom of the seat back. You will see two tabs that are brought together from the front and rear of the seat-back. They have a stiff piece of wire inside them running the width of the seat around which "hog rings" are fastened to hold them together. Use your pliers and vise grips to unwrap the hog rings into a fish-hook shape, rolling and pulling them gently from the flaps. There should be five of them. Save them! Like so:
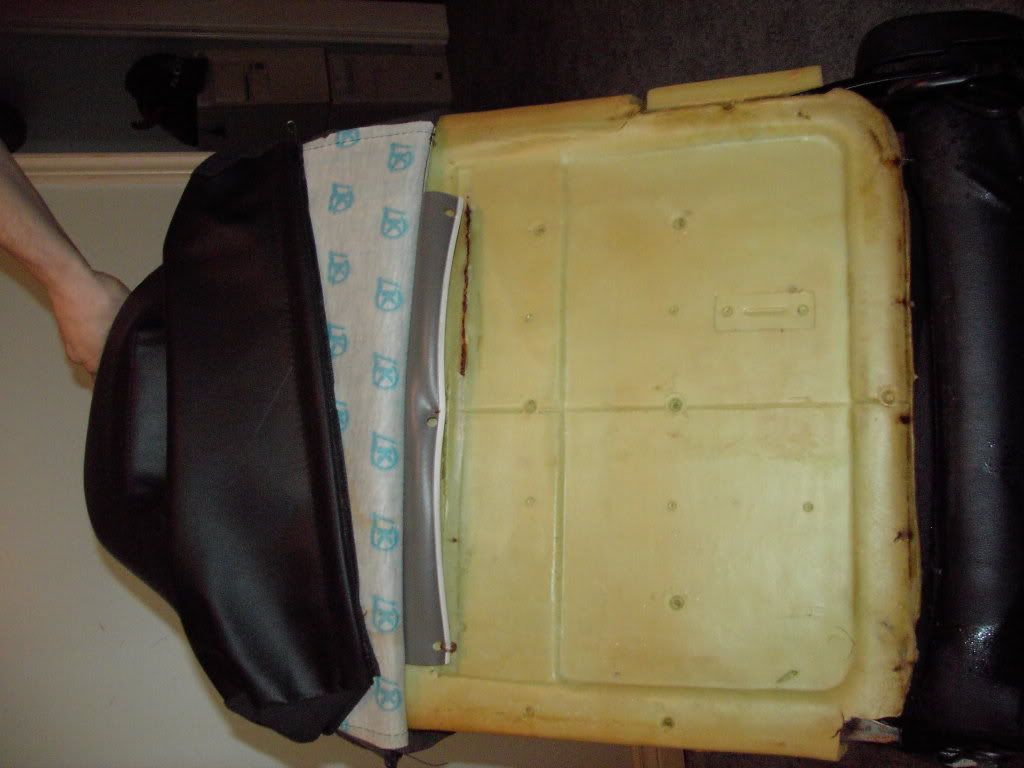
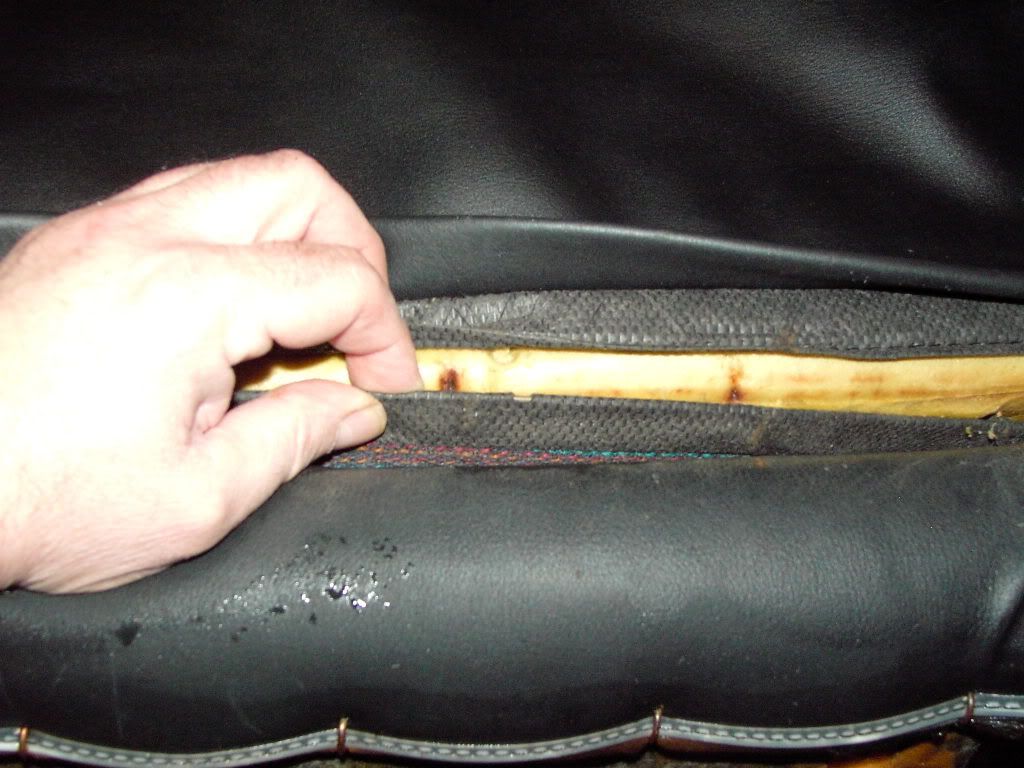
Once you have all five rings out, work the cover up and off the seat-back. It is surprisingly easy to pull off. On the donor seat you will run into another set of 3 hog-rings about half way up. They are right about where your shoulder blades would be against the seat and go into the foam, around a wire cross-runner, and back out through a fastening tab in the seat fabric. Undo them and save them:
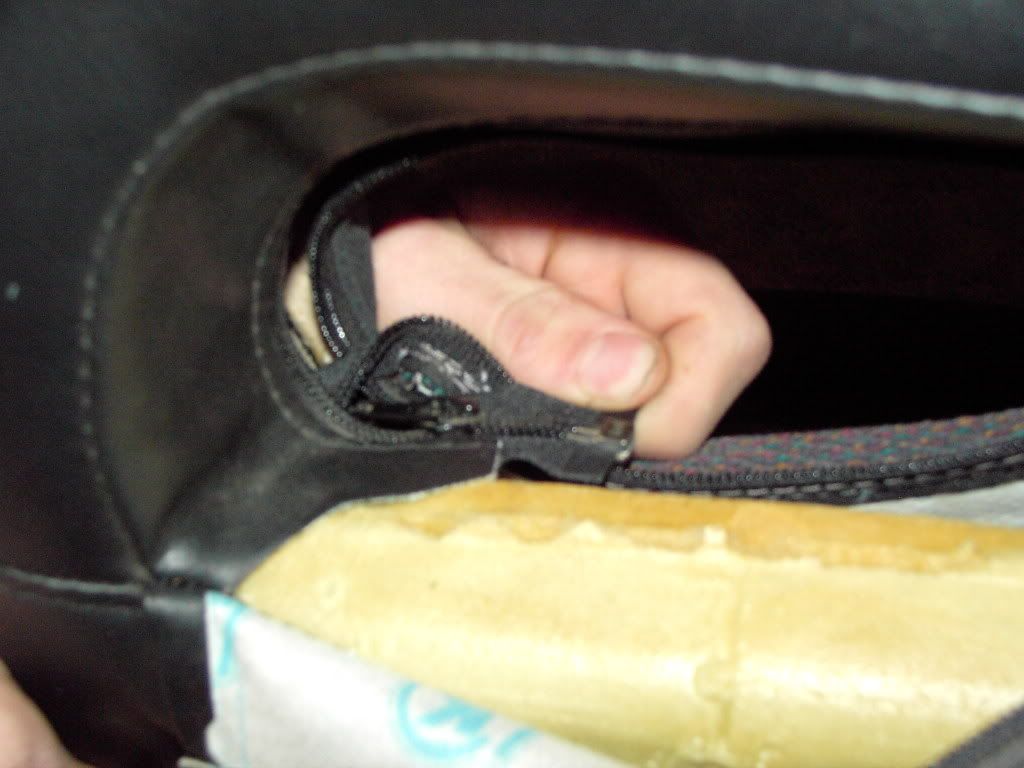
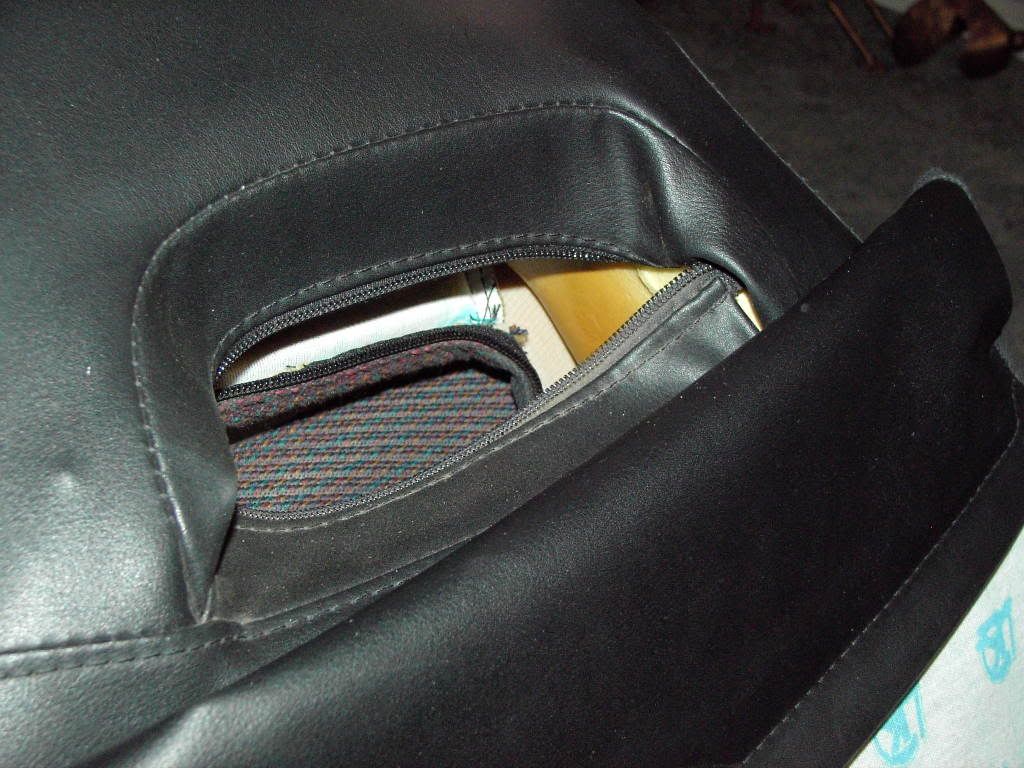
Before pulling the cover up any further, stick a finger down in the corner of the opening in the head rest. You will find the ends of the upper and lower zippers. Pull all four ends out then unzip/unfasten them:
Now pull the cover the rest of the way off.
Strip the torn drivers' seat in the same way. The only difference in the removal process is an extra set of hog-rings half way up the seat-back. Take them out too (of course) but you won't really need them, except maybe as spares.
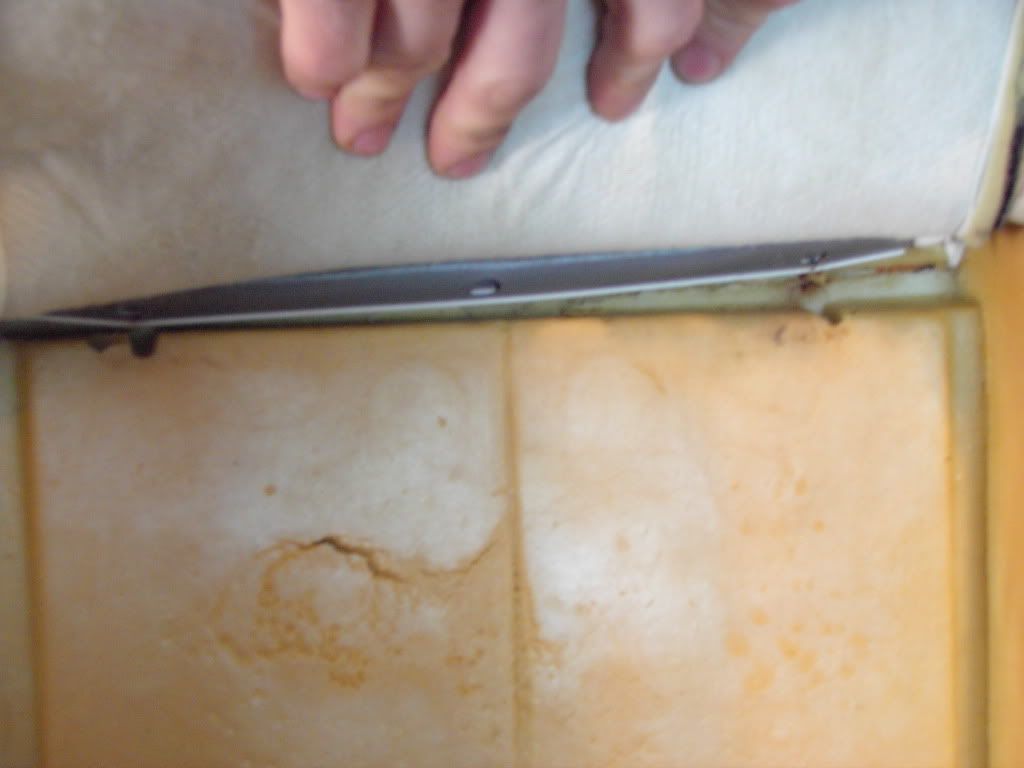
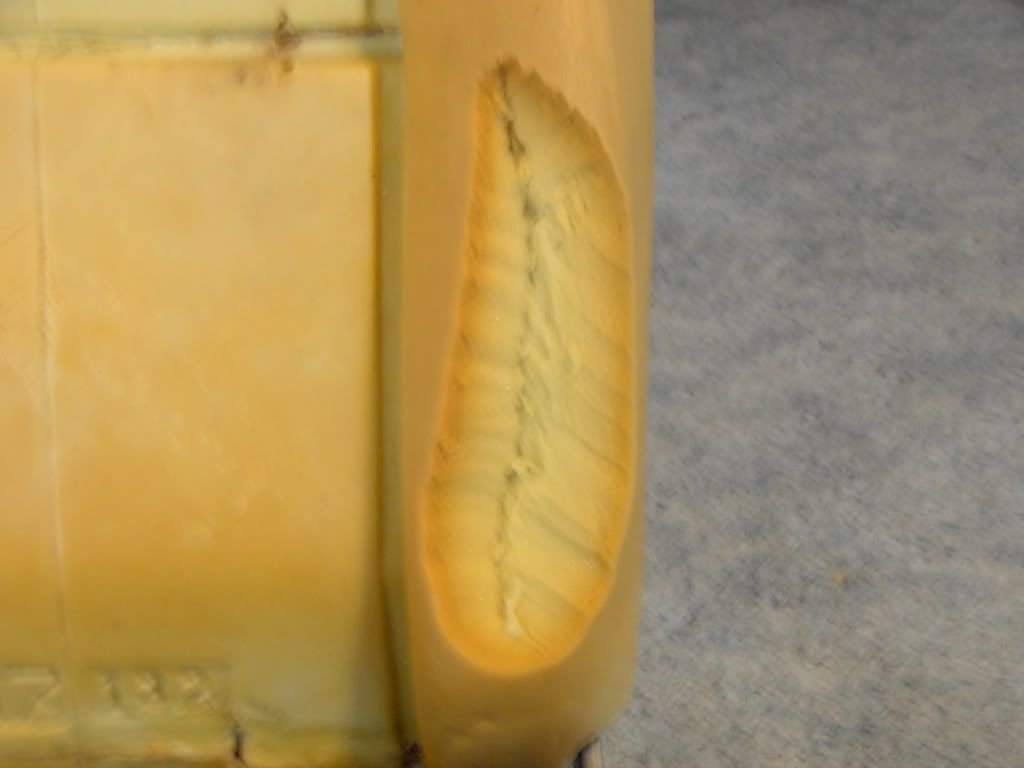
My foam was all shredded and had quite a piece missing where it was torn. This is the time to fix it. I used the utility knife to cut the basic shape from the donor seat (bigger is better), then trimmed my driver's seat to match. A couple dabs of contact cement and a few minutes to set up, then I inserted the piece into the cavity and the seat had its' shape back:
Next, pull the donor cover down over the newly repaired driver's seat. Once past the headrest I stopped to re-zip the zippers and tuck the ends back out of sight. Then onto the middle hog-rings, which I stabbed into place like a fish-hook. Then I grabbed each end of the ring and crossed them past each other to close the loop. (be sure you also catch the wire cross-runner inside the seat-back). Then squeeze the hog-ring closed and move on to the next.
Finally at the bottom of the seat, I tucked the wired tab from the front through to the back and mated the front and rear tabs together. Then I simply closed all 5 rings through their original holes:
Presto! New looking drivers' seat!
The only difference is a few unused hog-rings left over from the middle of the seat-back, and because the donor was a passenger seat, you get an extra storage pouch on the back
I hope this helps beautify MX3's everywhere!!
I picked up a parts car recently, mainly for the drive train, and as usual the drivers' seat was torn. BUT...the passenger seat wasn't! The good news is, the drivers/passengers covers are virtually identical and passenger seats are a dime a dozen.
I have never done ANY upholstery before, but I can tell you this was easy as pie. Within 30 minutes I had the seat looking like new
Here's what you'll need:
1 Hour
1 Beer
1 Pair needle nose vise grips
1 Pair needle nose pliers
1 Utility knife
1 Small Phillips screwdriver (for seat hold-down trim removal. be careful not to break them!)
1 14mm Socket and ratchet (4 seat bolts)
Some Contact cement with a brush
1 Donor passenger seat in good shape
1 Tsp fresh chopped oregano
First smoke the oregano, then remove both the torn drivers seat and your donor seat.
I took them inside and did this job on my living room floor lol.
Flip the donor seat forward and look under the flap at the bottom of the seat back. You will see two tabs that are brought together from the front and rear of the seat-back. They have a stiff piece of wire inside them running the width of the seat around which "hog rings" are fastened to hold them together. Use your pliers and vise grips to unwrap the hog rings into a fish-hook shape, rolling and pulling them gently from the flaps. There should be five of them. Save them! Like so:
Once you have all five rings out, work the cover up and off the seat-back. It is surprisingly easy to pull off. On the donor seat you will run into another set of 3 hog-rings about half way up. They are right about where your shoulder blades would be against the seat and go into the foam, around a wire cross-runner, and back out through a fastening tab in the seat fabric. Undo them and save them:
Before pulling the cover up any further, stick a finger down in the corner of the opening in the head rest. You will find the ends of the upper and lower zippers. Pull all four ends out then unzip/unfasten them:
Now pull the cover the rest of the way off.
Strip the torn drivers' seat in the same way. The only difference in the removal process is an extra set of hog-rings half way up the seat-back. Take them out too (of course) but you won't really need them, except maybe as spares.
My foam was all shredded and had quite a piece missing where it was torn. This is the time to fix it. I used the utility knife to cut the basic shape from the donor seat (bigger is better), then trimmed my driver's seat to match. A couple dabs of contact cement and a few minutes to set up, then I inserted the piece into the cavity and the seat had its' shape back:
Next, pull the donor cover down over the newly repaired driver's seat. Once past the headrest I stopped to re-zip the zippers and tuck the ends back out of sight. Then onto the middle hog-rings, which I stabbed into place like a fish-hook. Then I grabbed each end of the ring and crossed them past each other to close the loop. (be sure you also catch the wire cross-runner inside the seat-back). Then squeeze the hog-ring closed and move on to the next.
Finally at the bottom of the seat, I tucked the wired tab from the front through to the back and mated the front and rear tabs together. Then I simply closed all 5 rings through their original holes:
Presto! New looking drivers' seat!
The only difference is a few unused hog-rings left over from the middle of the seat-back, and because the donor was a passenger seat, you get an extra storage pouch on the back
I hope this helps beautify MX3's everywhere!!