Page 1 of 8
Solo_ryder - 1993 MX-3 GS - Update! Random snow shots!
Posted: October 24th, 2006, 8:46 pm
by solo_ryder
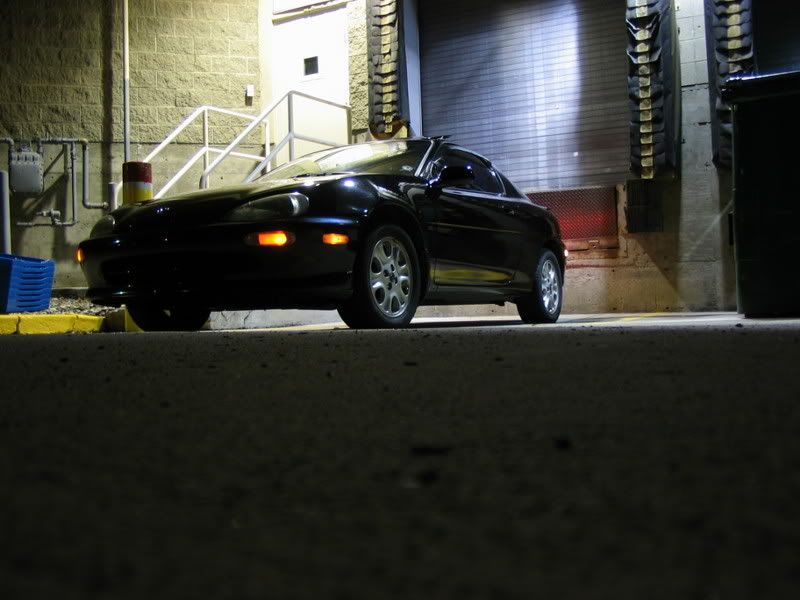
Ok, second worklog here! This is my nearly mint condition 1993 GS with 145k's. I bought it as a one owner Vancouver vehicle that has been sitting for the last 3 years in a feild. I checked the car thuroughly and saw no rust. The whole bottom side of the car was undercoated to my delight. The paint wasn't in bad shape and the interior was mint 100% original except for the tint on the windows. It came with a remus exhaust and some HKS filter.
I bought this as my old MX was hit by another driver, here is a link to my previous KLZE powered MX... RIP:
http://www.mx-3.com/phpbb2/viewtopic.php?t=51146
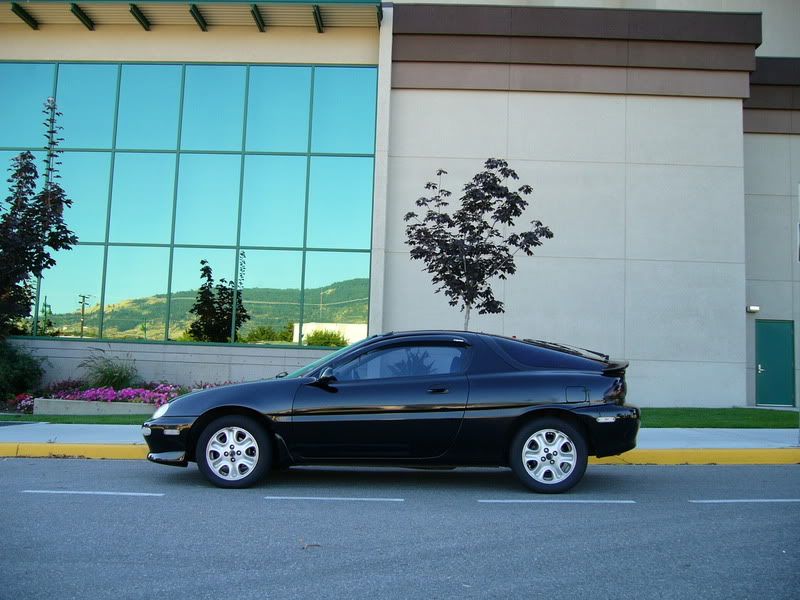
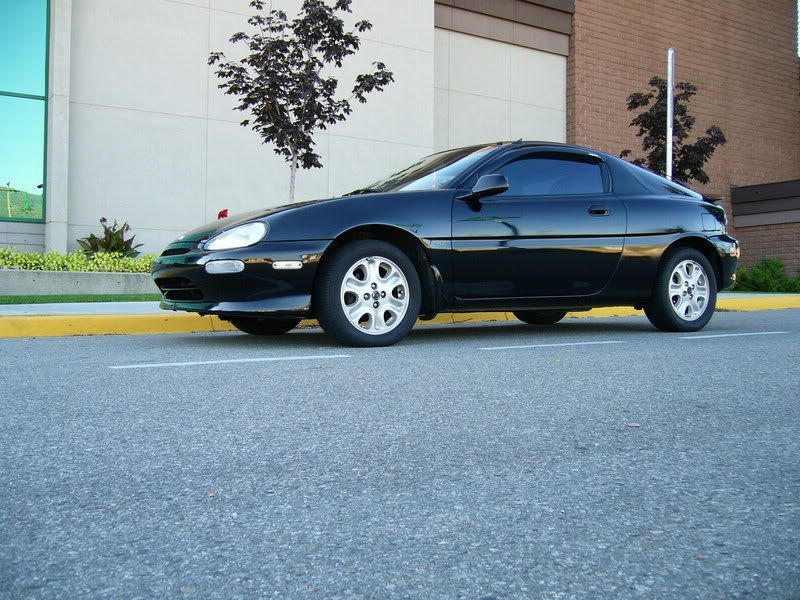
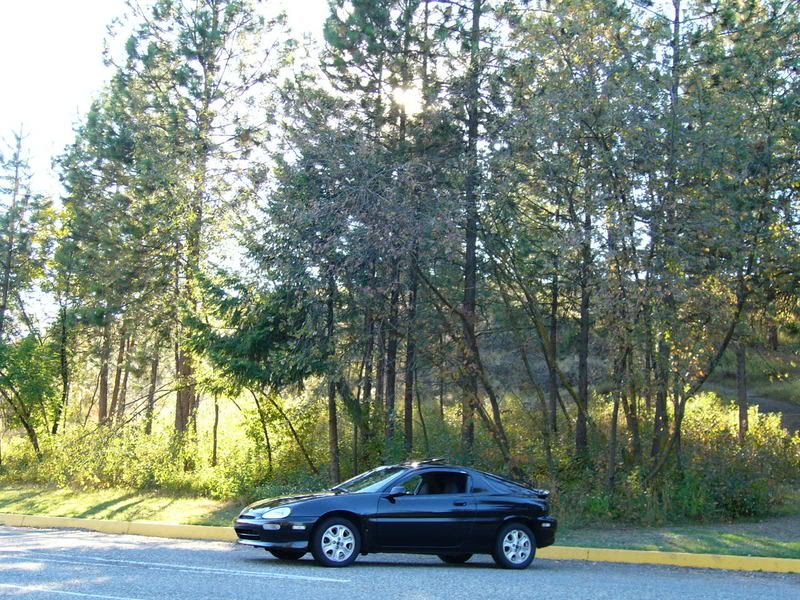
Now, for my new worklog. Here are some pics of the car right now. I am trying to go with a super clean look that is functional and also looks good. (I will update this log all the time with new pics):
Tinted Tails:
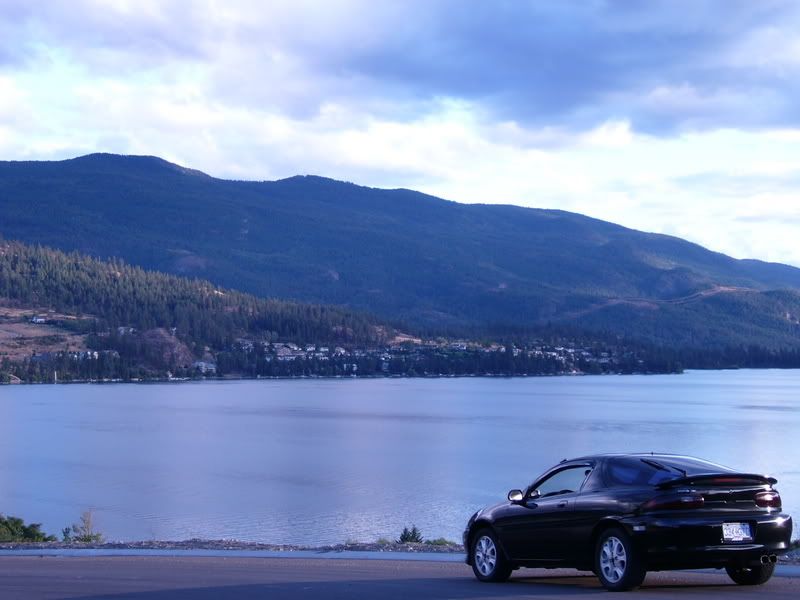
Clear Corners:
Thats it for this post. I will post pics of my next project on this car here VVVVV (look down)
Posted: October 24th, 2006, 8:57 pm
by solo_ryder
Ok, well next mod is a KLZE. Well, I thought so at least lol. Ends up the motor is a newer Millenia or Probe DE from Japan... Go figure! Well, I decided to keep it as it is super clean and my last motor was never at full potential so this one should be just as fast, and that is good enough for me as my old mx was fast!.
Here is my list of mods for this motor:
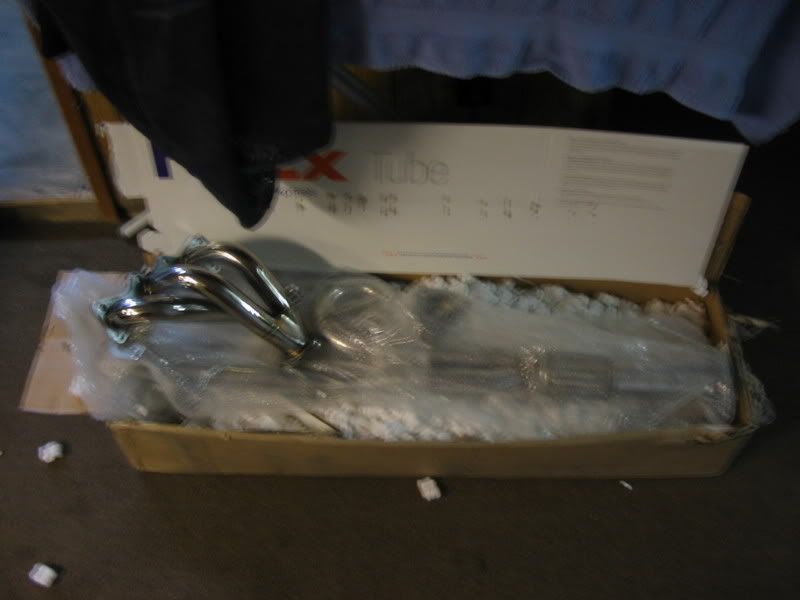
1. SS-Autochrome headers
2. 2.5" Headers back exhaust with straight through resonator
3. Megan racing N1 style exhaust sideways drift style
4. Custom CAI
5. KL36 ECU W/JE50 VAF for now
6. Amsoil 5W40 motor oil / Royal Purple 75W90 tranny fluid
7. Centerforce dual friction clutch
8. NGK Plugs/Wires
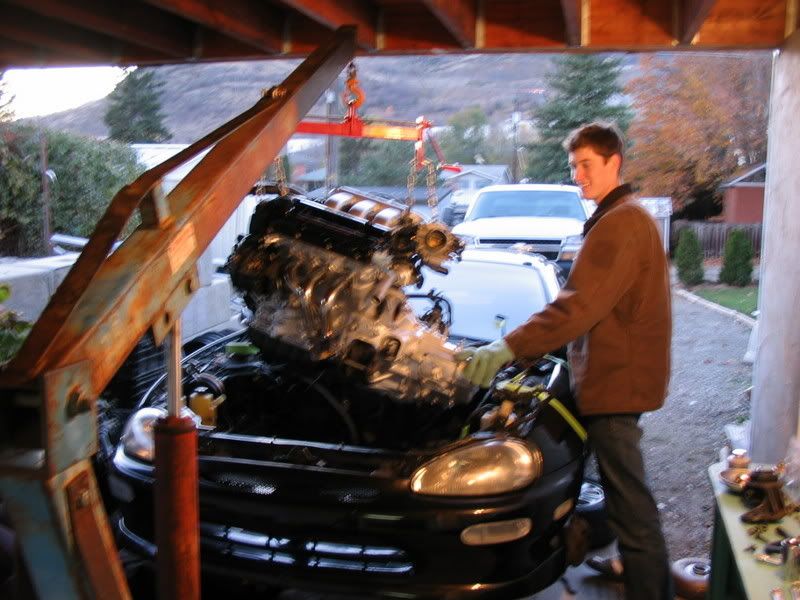
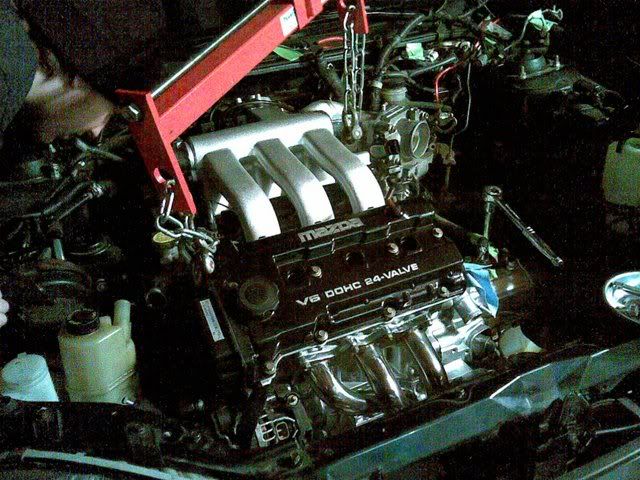
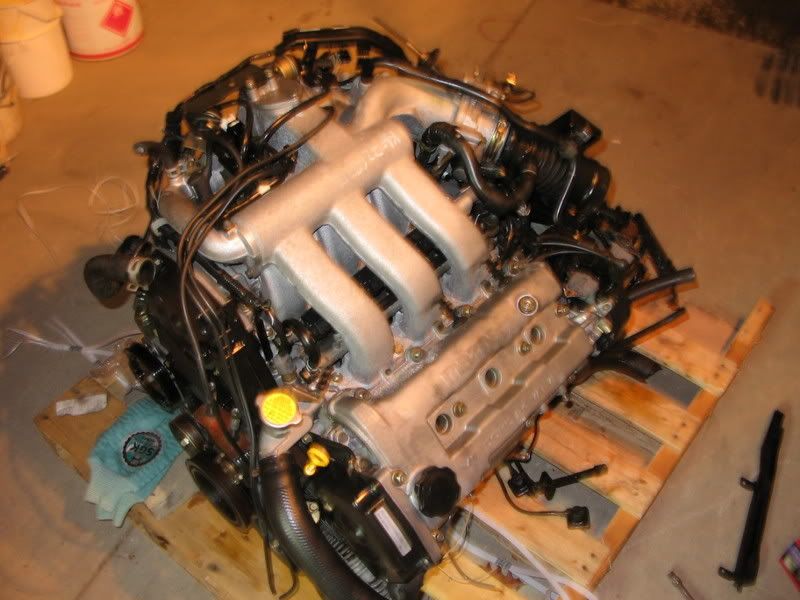
Here are some pics of the new motor:
Day I got it :
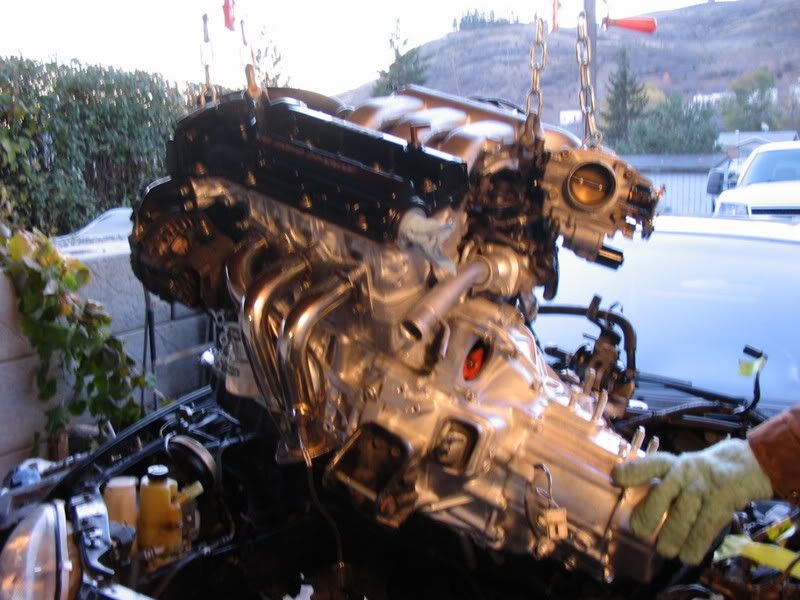
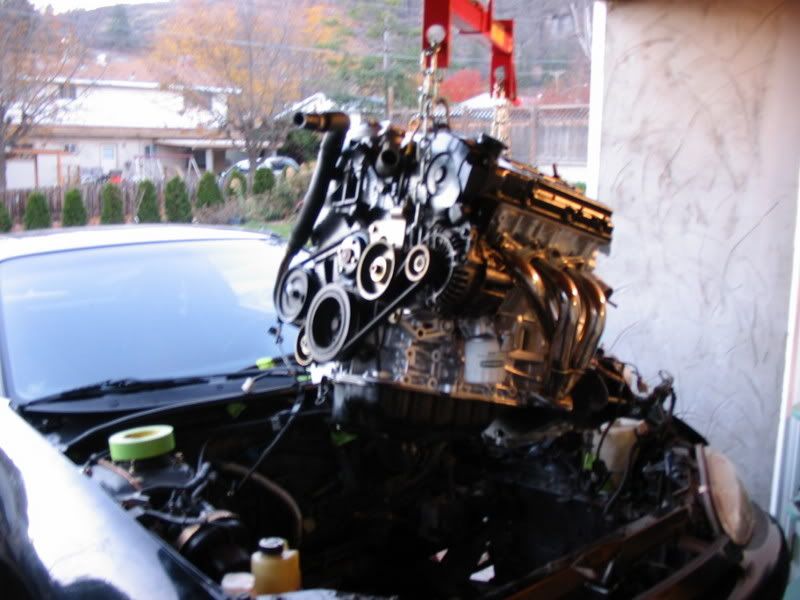
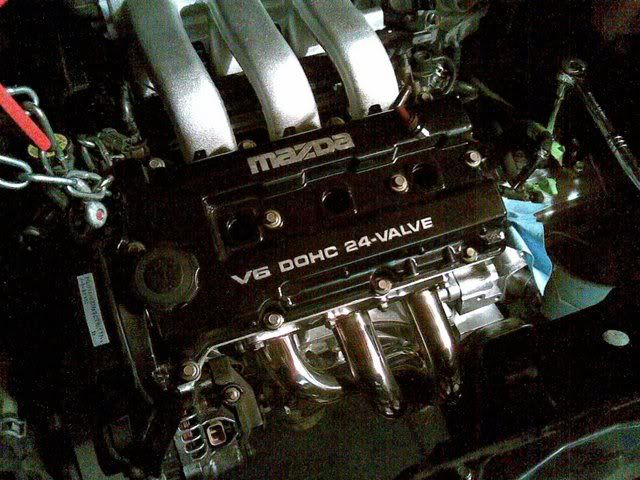
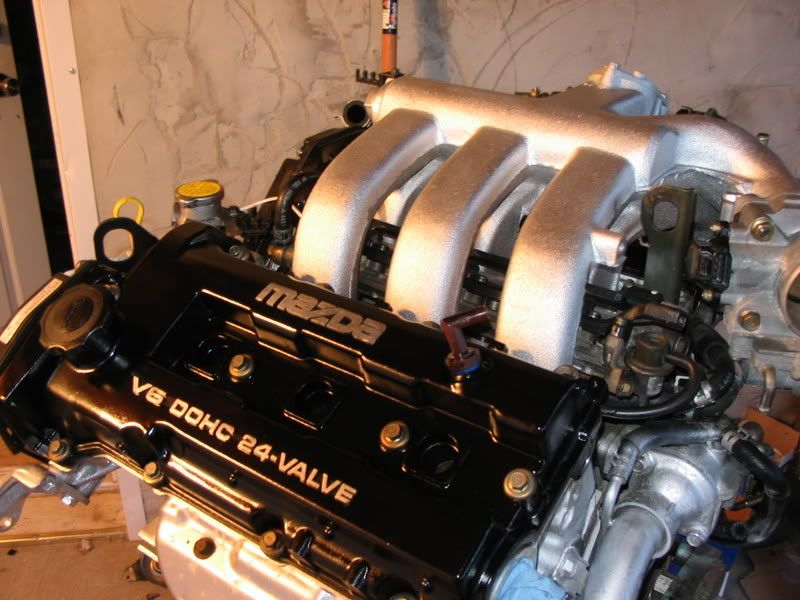
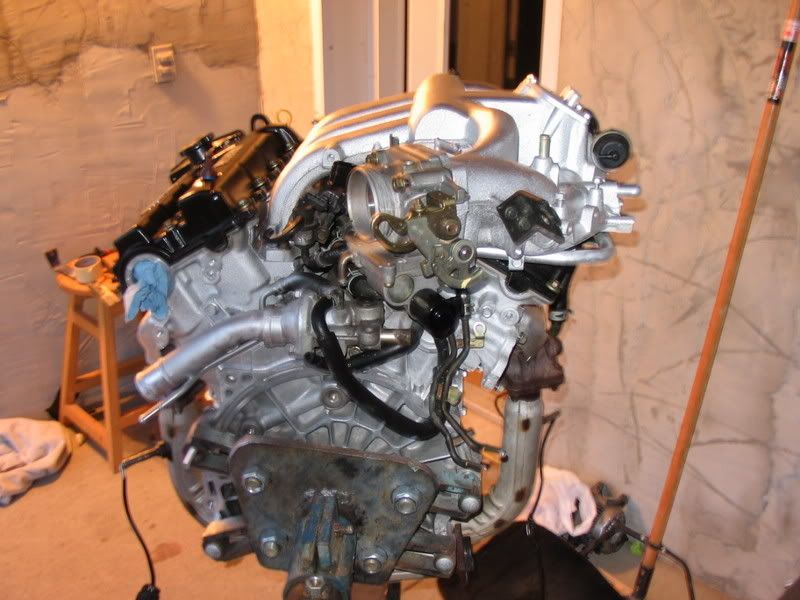
Cleaned up and stripped :
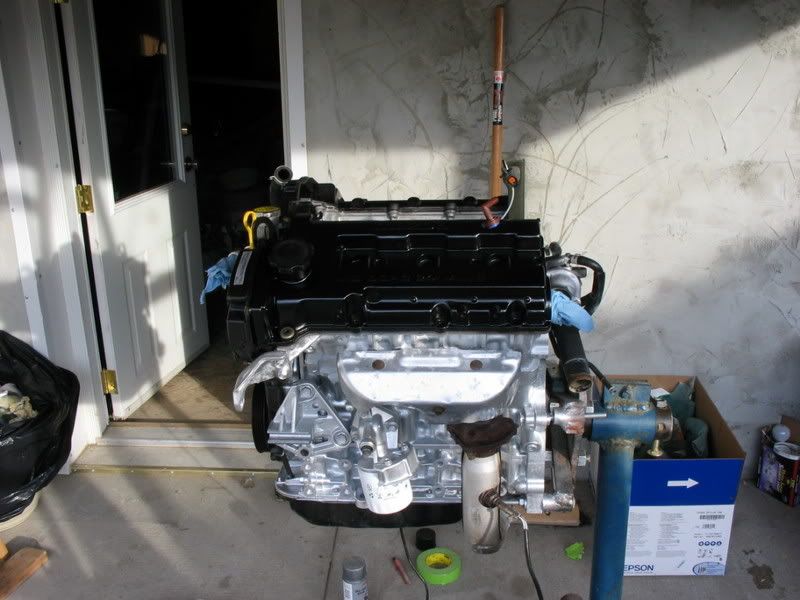
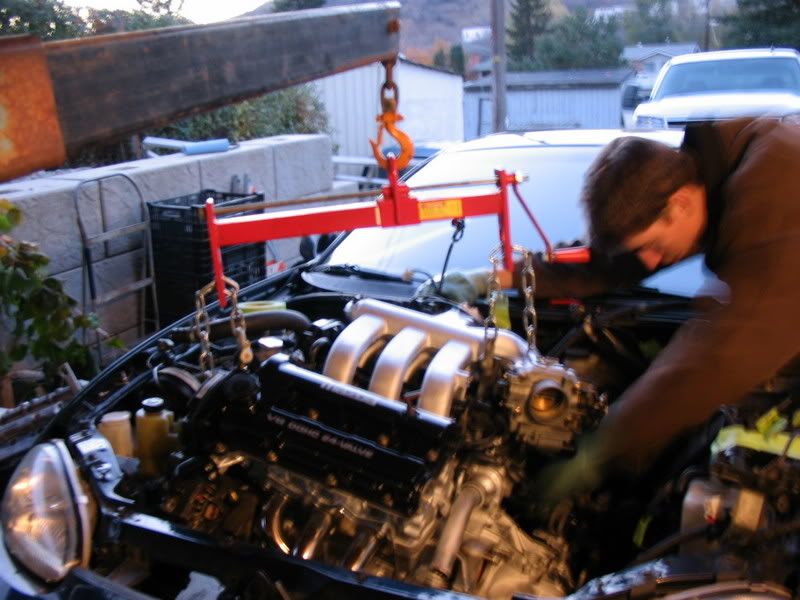
All together! :
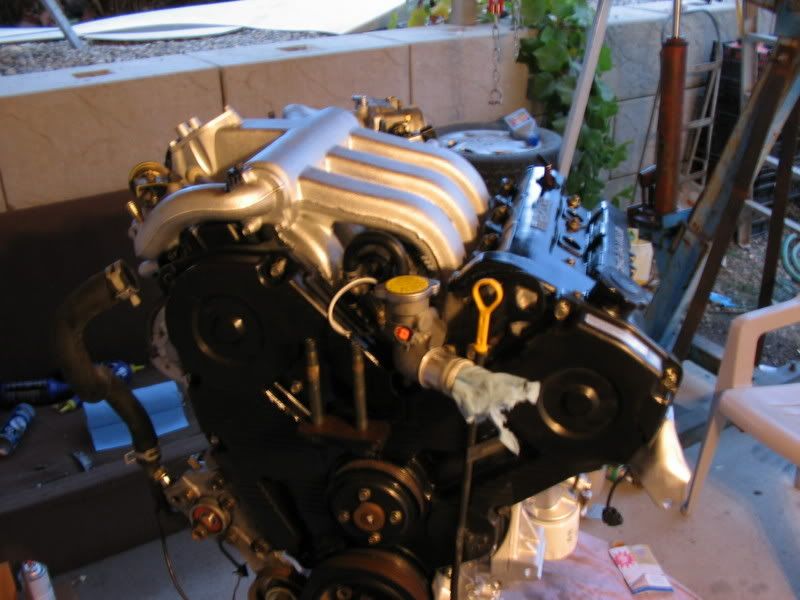
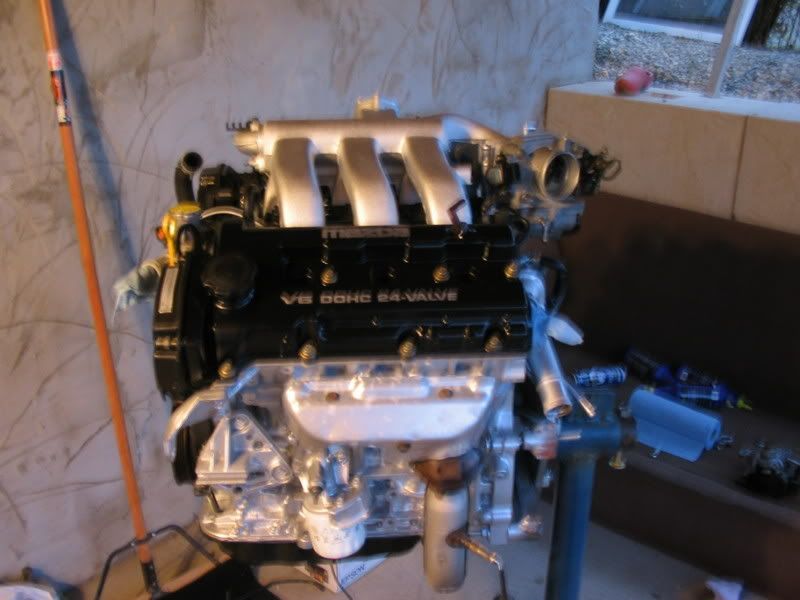
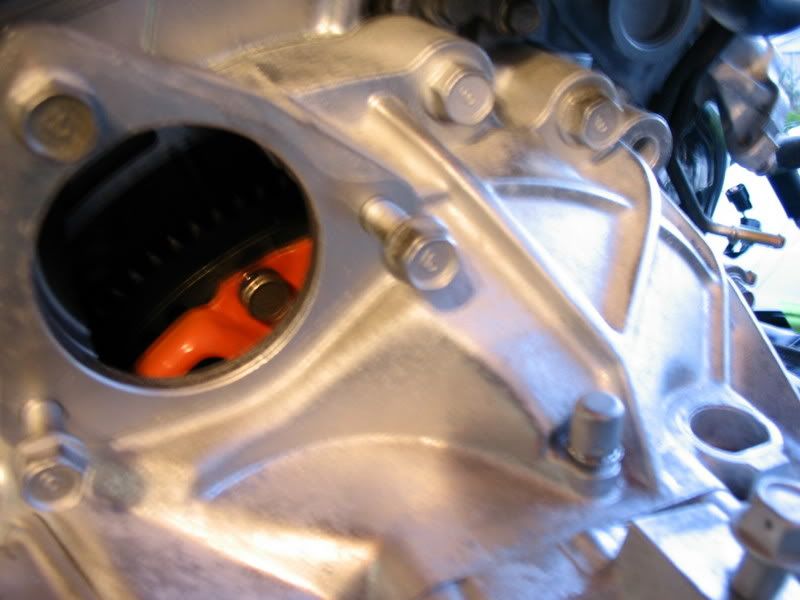
I think I did a good job on prep, I always try to make my motors clean. I hate dirty motors

. The funny thing about this motor incase you did not notice (I didn't even know till I mistakenly looked) was that there is no ventcase breather for the front IM (besides PCV Valve) looks cool IMO. So this is what I got for now, I will update in the coming days with my new progress as I am swapping it here.
Posted: October 24th, 2006, 9:13 pm
by solo_ryder
Some of those motor mods are not going to be done till' the spring as I am parking the car for winter. I need to get this swap done before then! Here is a list of mods that I am going to order come spring:
Suspension:
ZX2 Struts - Installed
Ground Control sleeves - Installed
Camber bolts - Installed
Wheels:
17" Gunmetal Konig heliums with polished lip
205/40/17 Yokohama AVS ES100
Stereo:
Going all MTX instead of Infinity this time.
Alpine CDA-9817 deck
Kenwood 600W amp bridged
1 10" MTX MXS1004 Sub - Done
MTX 6.5" 6505 Coaxials up front - Done
MTX 5.25" 5205 Coaxials in the rear - Done
If there are any recommendations that you guys can give or comments please leave them!
Posted: October 24th, 2006, 9:59 pm
by Mx3Baker
Man that is looking great i cant wait to get my ze whenever i ordeer it, your work looks really clean though and it sound like your going the right route on your other mods so keep me updated and good luck
Aaron
Posted: October 24th, 2006, 10:16 pm
by Bolverk
It looks great. I prefer a clean, stock look.
Posted: October 26th, 2006, 11:20 pm
by Mx3Baker
hey bro make sure your taking pics and good notes while doing your swap mine is coming up soon !!!
Posted: October 27th, 2006, 2:45 am
by Bolverk
What did you do to your intake manifold? Just clean and paint it or did you sand it down at all?
Posted: October 27th, 2006, 9:16 am
by solo_ryder
Its easy. I just made sure there was no real big chunks of grease or dirt on there, then sprayed it with brake cleaner (spray can). Paint sticks to that stuf like a mofo and it takes about 1 min to dry. That is seariously two coats of paint and its done. I used engine block paint from Plasti-Kote and it works well. The VC's I brushed with a abbrasive pad (like a sos pad) and then sprayed it with brake cleaner again and then painted it. About 8 coats of black went on as that is a hard color to do. Not haveing any grease is the key.
Posted: October 28th, 2006, 2:24 pm
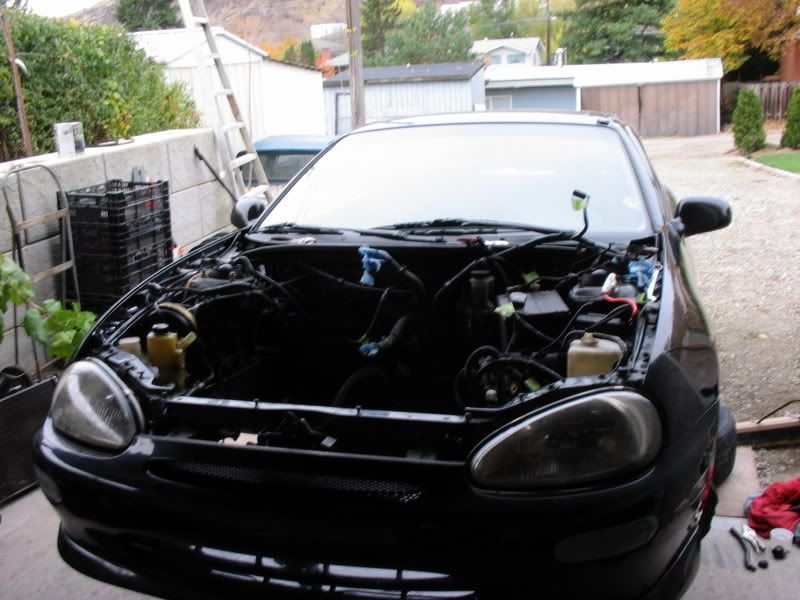
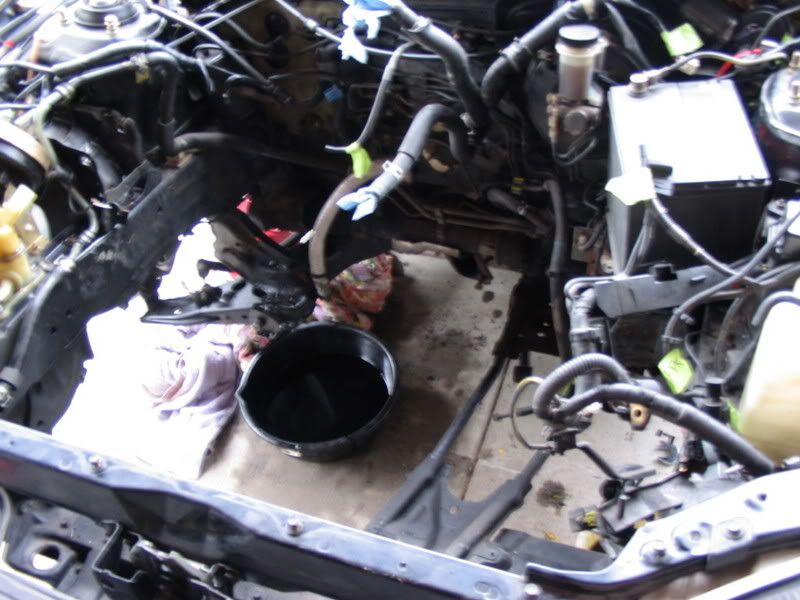
by solo_ryder
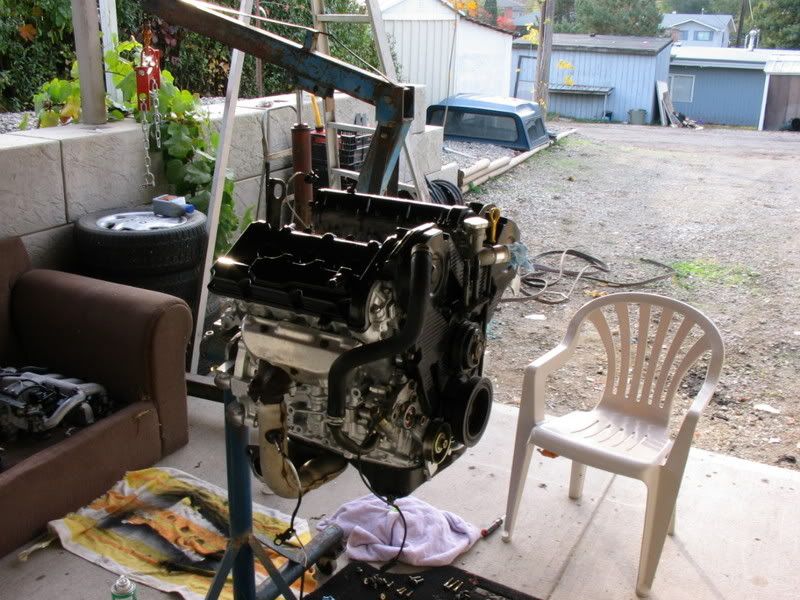
Ok, so last night we pulled the motor out of the car and it took my and a buddy about 5 hours taking our time. Here are some pics of the car in the morning:
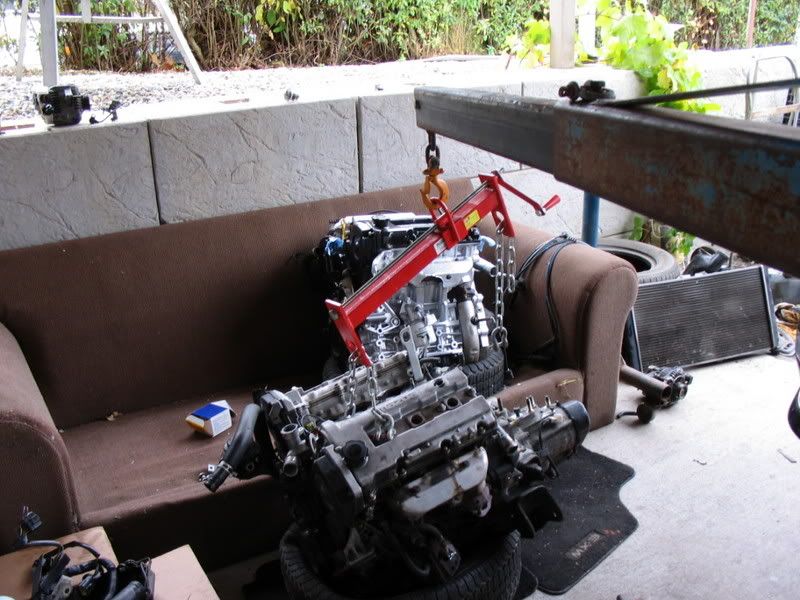
The sleeping K-series, Only one gets the couch

:

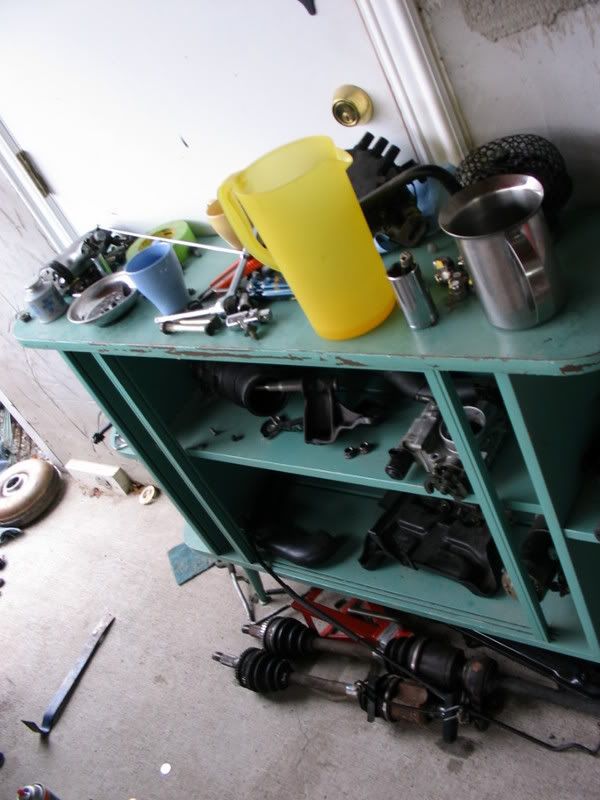
Shelf with crap lol:
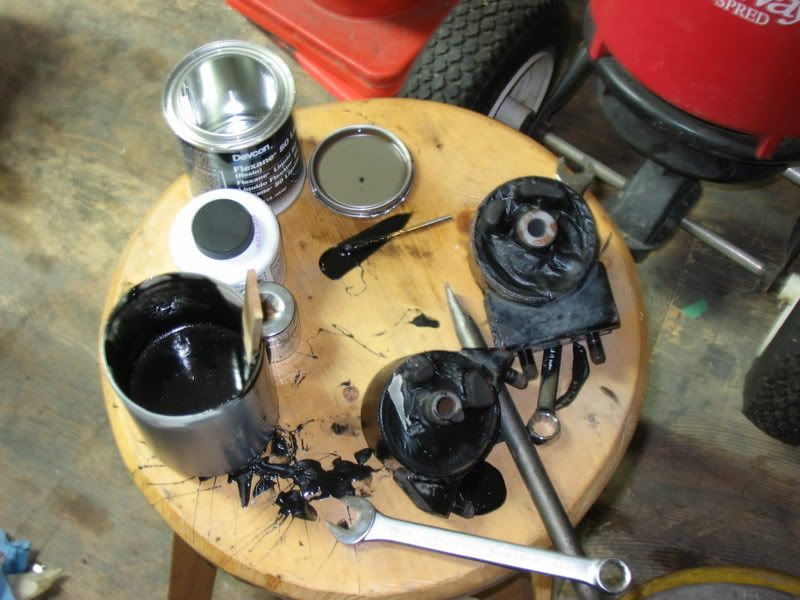
Urathane mounts:
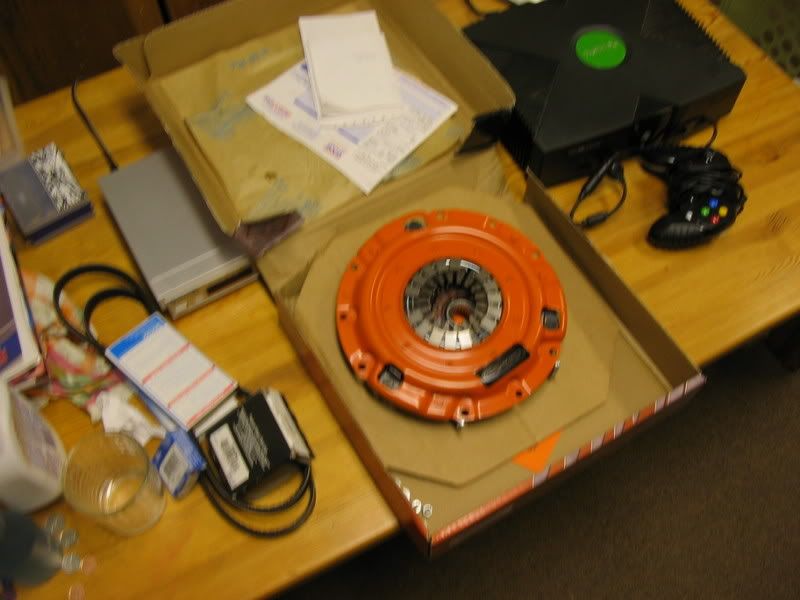
Looky what came in the mail when I came home! :
Centerforce Dual Friction clutch

and some other stuff :
Posted: October 30th, 2006, 11:32 pm
by Mx3Baker
man its really turnin out good huh? i cant wait till you finish
Posted: October 30th, 2006, 11:46 pm
by solo_ryder
Posted: October 30th, 2006, 11:51 pm
by Mx3Baker
wow that is super clean man keep it up what did you use to clean it?
Posted: October 31st, 2006, 2:10 pm
by solo_ryder
Buy a case full of brake cleaner, the sutff is great.
I will have better pics today, I am getting the better camera. Wont be so blurry. Hopefully have it ready for exhaust today.
Posted: October 31st, 2006, 8:48 pm
by solo_ryder
Posted: October 31st, 2006, 11:03 pm
by Mx3Baker
wow looks super clean man im so jealous