Page 12 of 22
Re: Ryan's Final Build
Posted: June 7th, 2011, 9:51 am
by wytbishop
My instinct is that some tolerance wasn't correct somewhere. For something to break that quickly it must have been taking a beating in there. You'll know as soon as you see it though I suspect.
Shity luck dude.
Re: Ryan's Final Build
Posted: June 7th, 2011, 10:08 am
by Ryan
You're likely right. In the end, an engine is inanimate, so its my fault.
Just spent an hour swearing at a stripped rad stopcock. Hammered a flat head into it in the end. Time for a new one, and some plastigauge.
I'm surprisingly okay with all of this. I have the resources to get the car running again, and I'm hoping and praying the crank is okay. If the crank is butchered, then I don't know....
Re: Ryan's Final Build
Posted: June 7th, 2011, 10:37 am
by marcdh
Jeeeez... that's rough mate. Hang in there, you're due some good luck.
Re: Ryan's Final Build
Posted: June 7th, 2011, 11:17 am
by Ryan
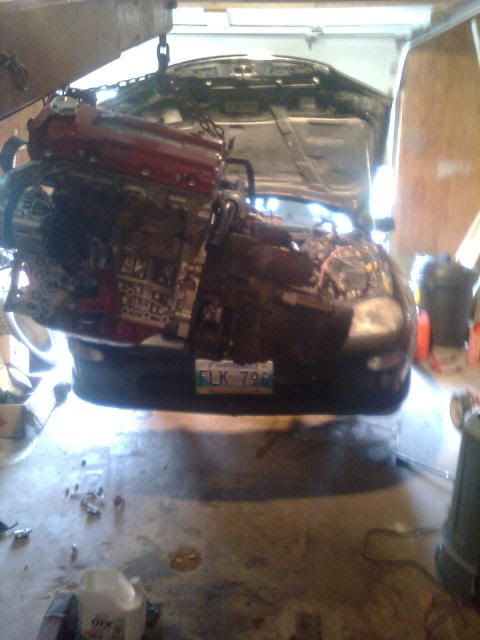
Got it about 50% pulled, and its only 10:00 am

Re: Ryan's Final Build
Posted: June 7th, 2011, 12:21 pm
by Ryan
Re: Ryan's Final Build
Posted: June 7th, 2011, 12:26 pm
by Josh
mxmikey wrote:The question is was it the hard break in, or the oil pump design?
It could be either.
Ryan: I'm not sure how you did your brake in but, on a hard break in your motor still needs a wear in. generally the best way is to have the motor idle at like 2500 to 2700 rpms for about 20 minutes, this is how most race engines are broken in and how i have done the last 3 motor builds i have done. 2 BPs and a built and stroked 4.6L most recently. This gives you enough time to listen and see if anything goes aerie then you can drive it, or you at the least you want to keep it at a standard idle for 30 to 45 minutes before you drive it. your bearings have to have time to wear in and 100Km's is barely enough time. It could have been a clearance issue somewhere, perhaps derbies? hopefully you find out more when you finish pulling it apart. just keep in mind that you don't really want to push limits until after 500KM's or even 1000 to be safe. especially with a custom setup such as yours.
With my BP i kept it under 5K and 8psi for the first 1000 miles, with an oil change at 100 miles and another oil change and filter at 500 miles and again at 1000. This is what Kawasaki recommended for proper break in on my 05 ZX10 so i have adopted it along with other learned things from some old 60's- 70's racers (aka my grandfather).
Sorry to hear about your misfortune. I hate pulling things back apart it frekin sux. I have been there. Good luck
Re: Ryan's Final Build
Posted: June 7th, 2011, 2:08 pm
by Ryan
Josh, there are several theories on engine break in, and I think this is because of the many different types of motors. 600cc 16k RPM bike engines need broken in differently than 8.3L V8's, and differently than 2L 4 cyls, and on and on...
I tried the gentle approach on the BP, and it never peaked compression, so I decided to try it a bit harder on this one.
I know one major F up I did this time was run it with a massive vacuum leak for the first run out. I though it couldn't idle because of the ported heads/cams, but it turned out to be a leak.
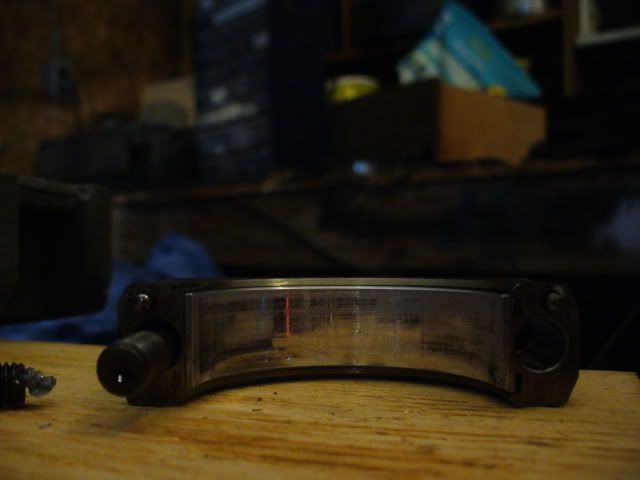
I let it idle enough just so it started to run healthy (maybe 10 mins), then did 10% throttle pulls from 2k to 4k for about 20 miles, and then up to 5k for the next 30, and 6k for a bit, and I had just tried 7k, and boom. I had had time to install the oil pressure gauge, but I had it hooked up for a minute and it was showing 65 psi at 2500 RPM, which is very good.
Can I check the bearings without splitting the block? I'd love just to drop the oil pan and windage tray and be able to access it all... then I don't have to take the transmission off, because its very difficult to put it back on alone.

Re: Ryan's Final Build
Posted: June 7th, 2011, 2:38 pm
by Josh
Crazy, IDK man hopefully you don't have to pull the trans. Something weird going on there, maybe there was to much load on the engine too soon. could be anything at this point. Hopefully you figure it out soon. Good luck!
Re: Ryan's Final Build
Posted: June 7th, 2011, 2:40 pm
by Ryan
See, I don't think it has anything to do with the break in, most likely tolerances(the rebuild), because bearings don't "break in", In an ideal world, bearings wouldn't wear at all. Break in is for the rings and valve seats.
I pulled the trans, F it, I'll spit and swear getting it on later, but it makes it easier now.
Re: Ryan's Final Build
Posted: June 7th, 2011, 3:13 pm
by Ryan
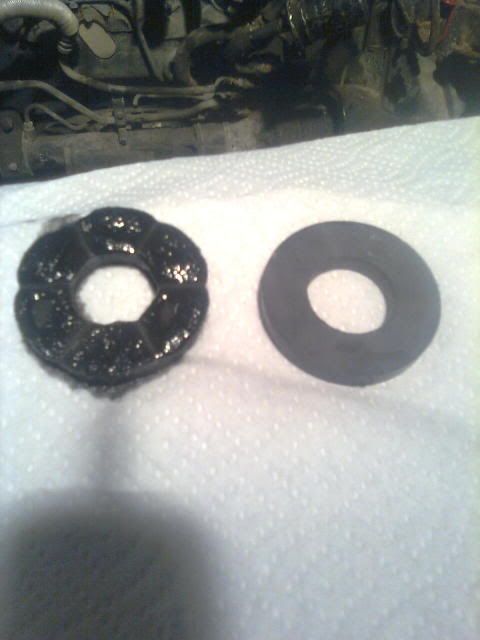
Guess which one was in the oil pan.
Not bad eh? all of the shavings are tiny. No big chunkies. Thats good news.
Re: Ryan's Final Build
Posted: June 7th, 2011, 3:19 pm
by Dragon1212
sorry I'm stupid here what is that?
Re: Ryan's Final Build
Posted: June 7th, 2011, 3:39 pm
by Ryan
Oh, a magnet. Those are both exactly the same magnet, just the one spent 100km's in the oil pan.
Here's rod cap bearing #1
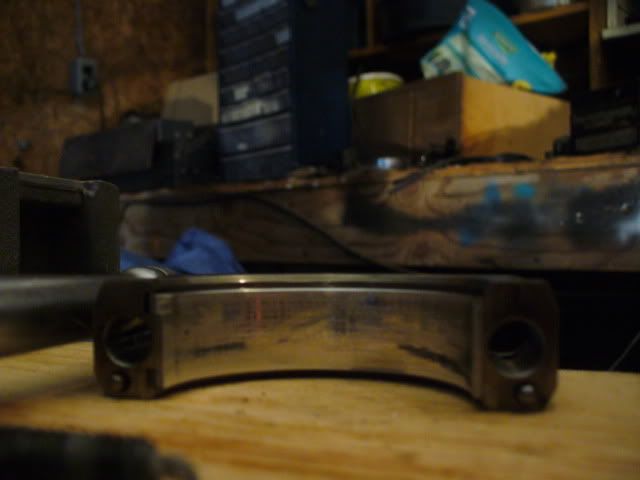
#6
The most likely culprits...both look okay. wtf. I'll try 3 and 5 next, the noise sounded like the rear bank...
The dark spots are reflections of bolts. They are good.
Re: Ryan's Final Build
Posted: June 7th, 2011, 3:41 pm
by mxmikey
This may be late but I never split my block I just took the oil pan off and got a long extension in there, the bottom part of the piston falls out with the bottom bearing and you gently tap out the top with a light hammer and screw driver. You do have to spin the crank pulley in order to rotate the cam shaft to reach it from the bottom.
Re: Ryan's Final Build
Posted: June 7th, 2011, 3:43 pm
by Ryan
Yeah, I don't have the block split. I just don't think I can access the top bearing, but they should all be the same...
Re: Ryan's Final Build
Posted: June 7th, 2011, 3:50 pm
by mxmikey
If the heads are off the motor you can just tap it out of the cylinder and it comes out. That way the whole piston comes out.