Page 12 of 51
Re: UK Sam's 1.6 Turbo MX-3 project
Posted: June 17th, 2011, 1:15 am
by youdirtyfox
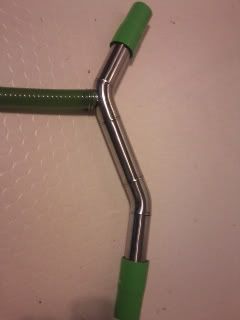
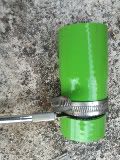
lime green 35-38mm reducers for top hose ordered!
Re: UK Sam's 1.6 Turbo MX-3 project
Posted: June 18th, 2011, 3:47 am
by youdirtyfox
Rad, tank and top hose all getting pressure tested monday!
The green top filler hose is translucent, so should really glow with
some UV coolant dye inside

Re: UK Sam's 1.6 Turbo MX-3 project
Posted: June 21st, 2011, 12:23 pm
by youdirtyfox
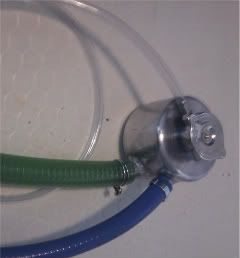
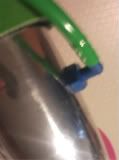
drilled and tapped hose tail for breather pipe.
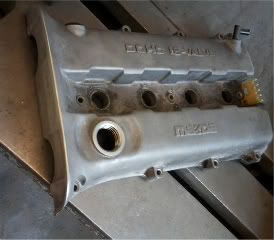
Rocker cover i bought to have treated, not sure what yet!
decided to cut off the cam pulley cover so they'll be exposed.
Re: UK Sam's 1.6 Turbo MX-3 project
Posted: June 24th, 2011, 4:40 pm
by youdirtyfox
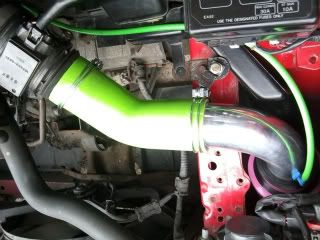
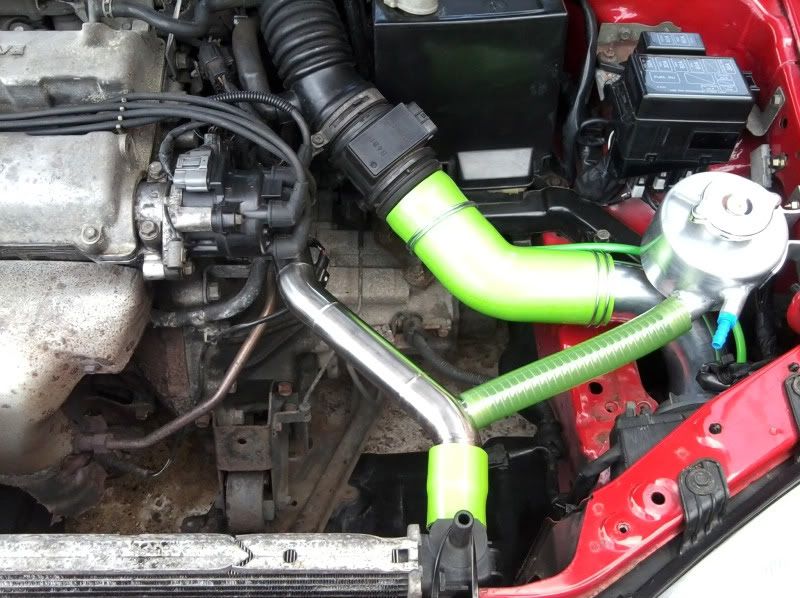
Had a fun afternoon test fitted up the homebrew
induction kit, sounds awesome!
Re: UK Sam's 1.6 Turbo MX-3 project
Posted: June 27th, 2011, 9:16 pm
by ginja117
Hi, just wondering how you did the mod on the lights??? and what you needed, thanks

Re: UK Sam's 1.6 Turbo MX-3 project
Posted: June 28th, 2011, 1:14 am
by youdirtyfox
Re: UK Sam's 1.6 Turbo MX-3 project
Posted: June 30th, 2011, 12:38 pm
by youdirtyfox
rad & tank ready for testing.

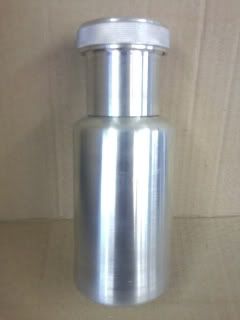
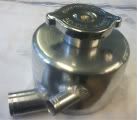
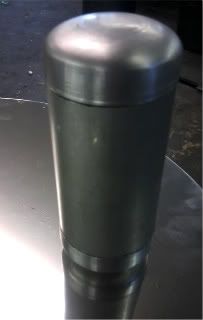
startings of an alu power steering fluid reservoir.
Re: UK Sam's 1.6 Turbo MX-3 project
Posted: July 6th, 2011, 1:15 am
by youdirtyfox
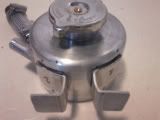
rad test revealed a crack in the expasnsion outlet, so im currently fixing
that with a nylon hosetail insterted into the drilled out hole and im going to use
and araldite epoxy product to fix that.
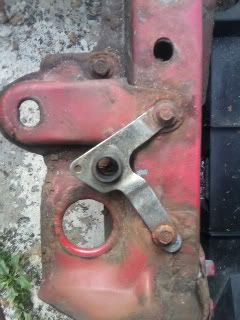
used the same epoxy for these brackets.
Re: UK Sam's 1.6 Turbo MX-3 project
Posted: July 9th, 2011, 4:05 am
by youdirtyfox
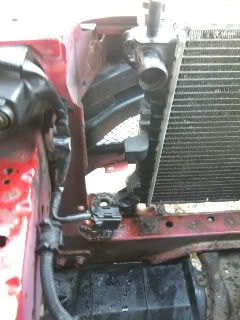
Been up since 5:30 this morning all ready to fit up the radiator...
unfortunately I cant finish the install as the thermostat housing is 30mm not 35mm as I first measured

means I need to order another reducer for that end before I can complete the install.
Some progres and fitment pictures though, as you can see the bottom hose and mounting point is spot on.

The all important gap (around 3") for the boost pipes to pass through.
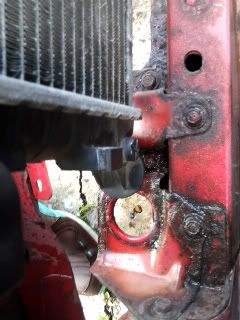
slam panel needs new holes cut
heres a good tip for cutting silicone hose, run the knife around a hose clip
to get a nice clean straight edge.
so this is about as far as I can go today, got to decide wether to put it all back to stock ready for monday or car share with the missus until the reducer turns up...
Re: UK Sam's 1.6 Turbo MX-3 project
Posted: July 11th, 2011, 1:16 pm
by youdirtyfox
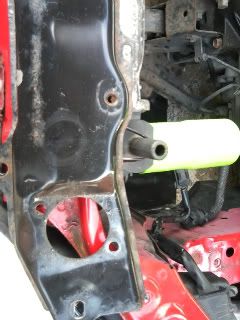
Hole sawed the slam panel today to accept the new rad mounting pegs,
which needed cutting down slightly so the bonnet would shut!
Will remake this section in stainless at a later date, but for the mo its
holding the rad in very snug...

Now I know it fits I can let you all know this rad came from a 01> Ford Focus.
Re: UK Sam's 1.6 Turbo MX-3 project
Posted: July 11th, 2011, 1:45 pm
by Josh
I love it! lookin good. I really like the SS piping.
Re: UK Sam's 1.6 Turbo MX-3 project
Posted: July 12th, 2011, 1:40 am
by youdirtyfox
Thanks Bro! it is my second attempt at a SS top hose so im pleased its worked this time. Still got plenty more bling to come including alu PS reservoir, alu window washer bottle, SS fusebox cover and heatsheild. Neon pink rocker cover exposing blue cam pulleys, with blue NGK spark leads.
Re: UK Sam's 1.6 Turbo MX-3 project
Posted: July 12th, 2011, 3:18 pm
by youdirtyfox
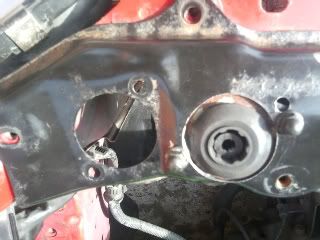
bracket i had works perfect for holding in lower rad peg.
nearly back on the road, next up mount and wire in slimline fan, fill 'er up and bleeder'
rocker cover is being sent off for painting Magenta in colour.
Re: UK Sam's 1.6 Turbo MX-3 project
Posted: July 12th, 2011, 4:31 pm
by 92StockMx3
Love the metal resevoir tanks,

really cleans up the engine bay instead of the foggy yellowish tanks. Wish i could get my hands on some, alas i can't seem to find any aftermarket ones, great idea. Keep at the great work coming together nicely!
Re: UK Sam's 1.6 Turbo MX-3 project
Posted: July 13th, 2011, 12:52 pm
by youdirtyfox
Thanks for the great comments
Here is the power steering fluid reservoir after assembly, welding and polishing today