Re: Letters11 - 1995 MX3 1.6
Posted: November 27th, 2010, 1:05 pm
There's a painting process I've been refining using for quite a few years now, but I've only ever done this on metal (winch mount, bike rack, dad's utility trailer fenders and tail light mounts) and aluminum (2 sets of Pathfinder 15" rims). This turns out to be extremely hard and durable, handles all elements easilly and even some decent abuse (ncl iwinter/offroading) and the paint doesn't flake off. Rust doesn't form underneath either (for your case, rust isn't an issue, lol)
Many, many years ago I did a slightly similar process paiting my computer monitor, used plastic paint as primer and speckle outdoor paint for the color, except baking the base in the sun after a coat of green paint (making it darker and adsorb more light) caused it to warp from the heat. Car parts will not have this problem, lol.
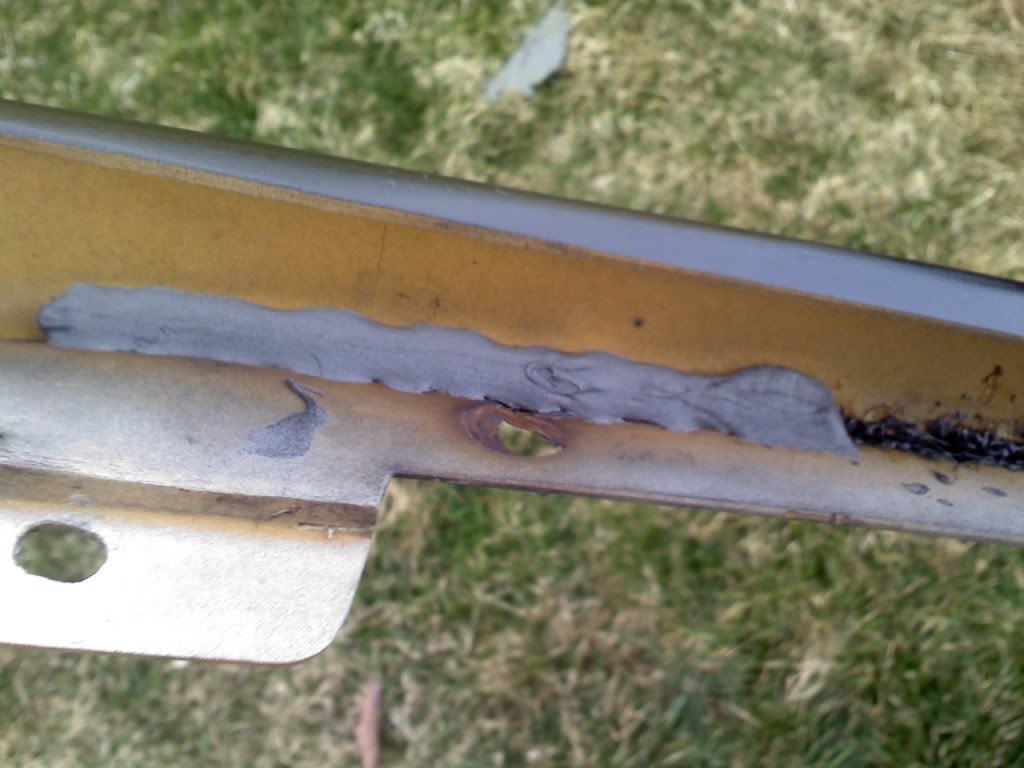
1) Prep the surface as always, sand down and give a shot of brake cleaner to remove any oils
2) Heat the surface; a good bake in the sun, a halogen work light, even a heat gun or a blow dryer (especially critical working in the winter months)
3) While the surface is warm/hot, give it a VERY, VERY light coat of primer, pretty much just a dusting. Your not trying to cover anything, just enough to stick to the surface and bond. Let it dry, can even put it back in the sun if you wish.
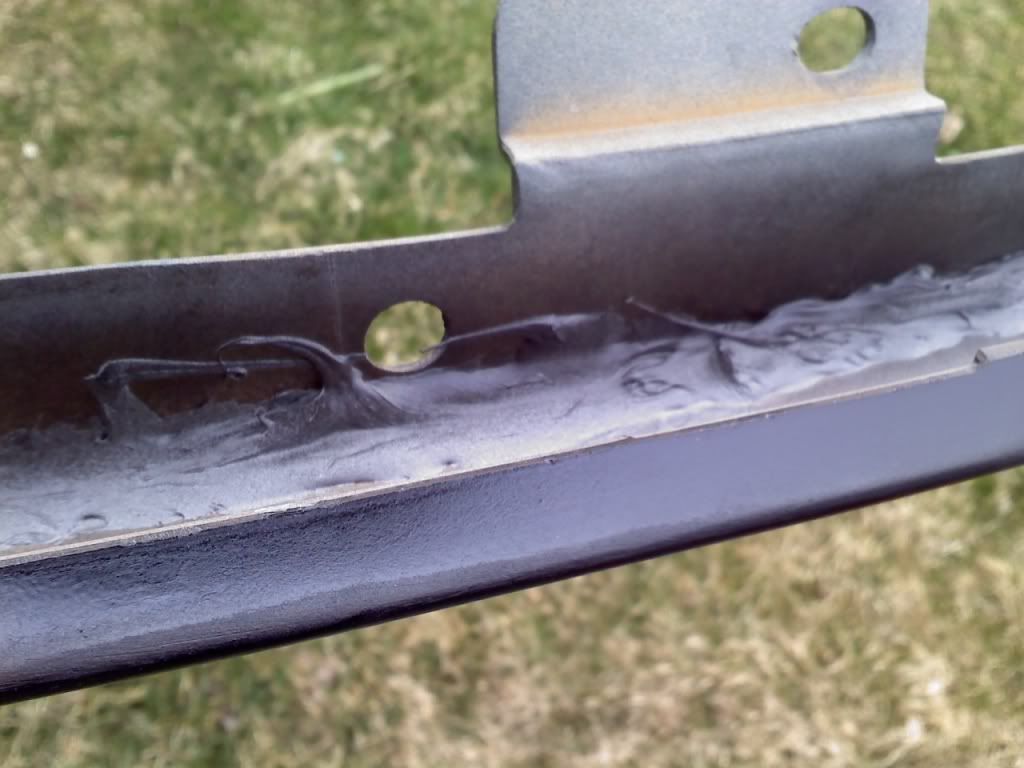
4) Put another lighter coat of primer on, NEVER thick, and wait until it dries. Primer dries fast anyway, so you can usually do coats within 15-20min. Keep going with the light coats and you can slowly make them thicker until the surface is covered and you can't see the color underneat anymore.
5) Pending where you work and live and the time of the year, you may want to work out of the sun so it doesn't dry as fast; Transition layer: Do one final dusting of primer, than immediately, do a similar dusting of the actual paint you're using right on top of it.
6) Now this is where it takes a bit of a feel for it: While the paint is still slightly tacky, no put another VERY light coat of paint on.
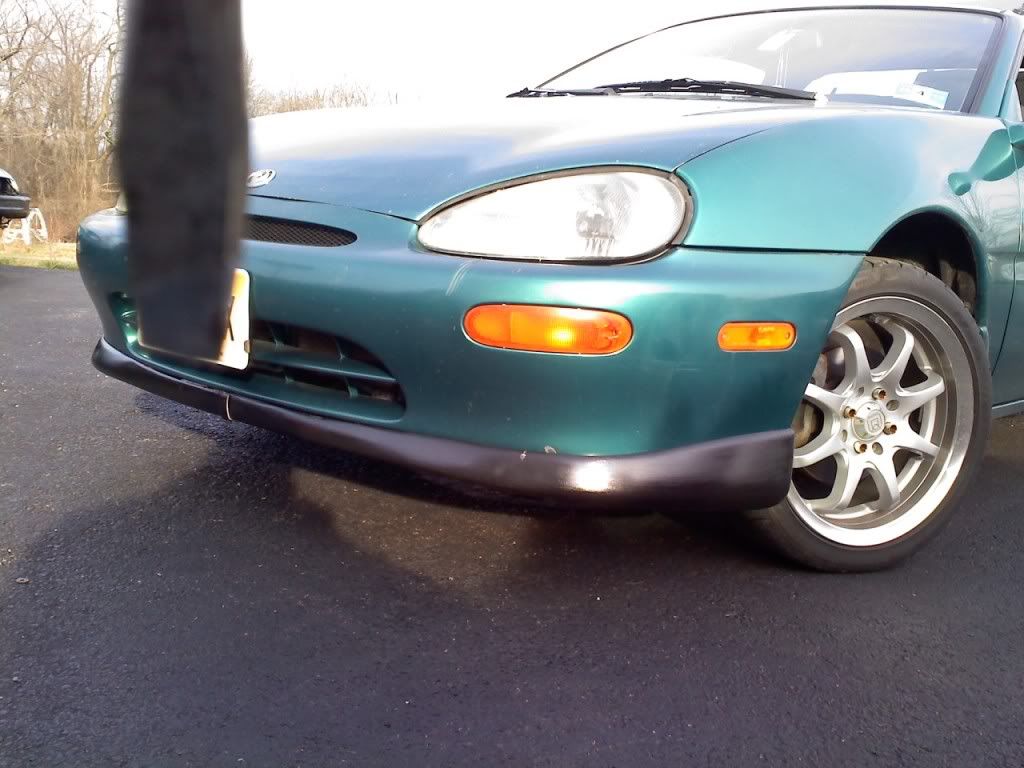
7) Keep applying thin coats of paint and do it while the paint is tacky and make the coats thicker and thicker. With Tremclad, if you're good, you can get to the point where you can get the paint on thick enough it'll "self-level", but with regular automotive paint, probably not. It's not a bad thing if you put a coat one if it's completely dry (like if you had to finish for the day), but if you don't let it dry enough, after enough coats, you'll get a nice oozing avalanche paint mess. If you're not putting on a clear coat, keep going until your happy with the paint results.
8) For clear, another Transition Layer: Do a light dusting of paint and immediately, do a light dusting of clear right on top.
9) Again as before, keep going with thin layers and applying while the clear is slightly tacky, making them thicker as you go, and stop when you're happy.
Many, many years ago I did a slightly similar process paiting my computer monitor, used plastic paint as primer and speckle outdoor paint for the color, except baking the base in the sun after a coat of green paint (making it darker and adsorb more light) caused it to warp from the heat. Car parts will not have this problem, lol.
1) Prep the surface as always, sand down and give a shot of brake cleaner to remove any oils
2) Heat the surface; a good bake in the sun, a halogen work light, even a heat gun or a blow dryer (especially critical working in the winter months)
3) While the surface is warm/hot, give it a VERY, VERY light coat of primer, pretty much just a dusting. Your not trying to cover anything, just enough to stick to the surface and bond. Let it dry, can even put it back in the sun if you wish.
4) Put another lighter coat of primer on, NEVER thick, and wait until it dries. Primer dries fast anyway, so you can usually do coats within 15-20min. Keep going with the light coats and you can slowly make them thicker until the surface is covered and you can't see the color underneat anymore.
5) Pending where you work and live and the time of the year, you may want to work out of the sun so it doesn't dry as fast; Transition layer: Do one final dusting of primer, than immediately, do a similar dusting of the actual paint you're using right on top of it.
6) Now this is where it takes a bit of a feel for it: While the paint is still slightly tacky, no put another VERY light coat of paint on.
7) Keep applying thin coats of paint and do it while the paint is tacky and make the coats thicker and thicker. With Tremclad, if you're good, you can get to the point where you can get the paint on thick enough it'll "self-level", but with regular automotive paint, probably not. It's not a bad thing if you put a coat one if it's completely dry (like if you had to finish for the day), but if you don't let it dry enough, after enough coats, you'll get a nice oozing avalanche paint mess. If you're not putting on a clear coat, keep going until your happy with the paint results.
8) For clear, another Transition Layer: Do a light dusting of paint and immediately, do a light dusting of clear right on top.
9) Again as before, keep going with thin layers and applying while the clear is slightly tacky, making them thicker as you go, and stop when you're happy.