-A belt sander
-Angle grinder or hacksaw
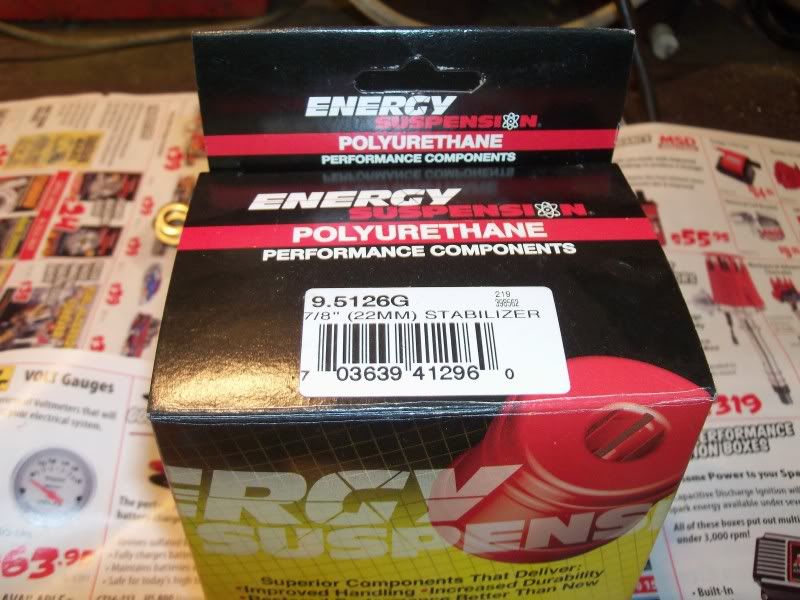
-Energy Suspension P/N 9.5124G (BLACK)
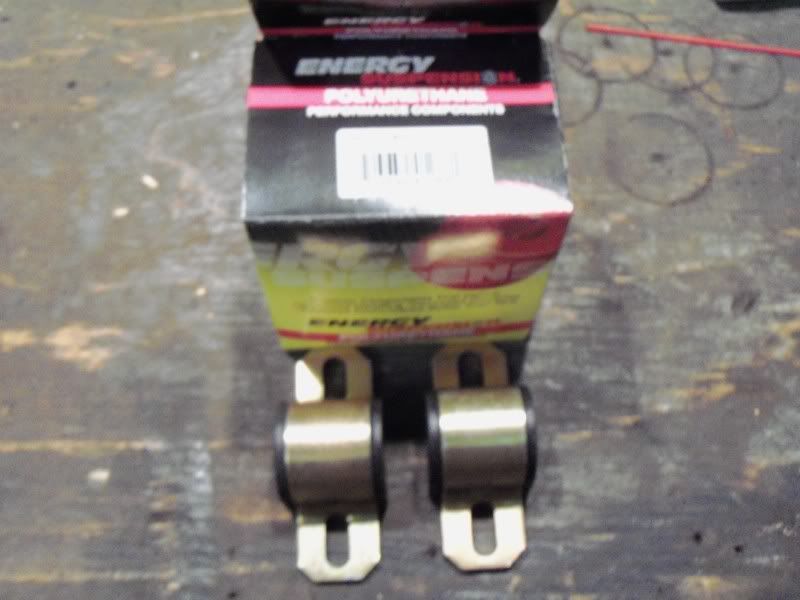
Step 1:
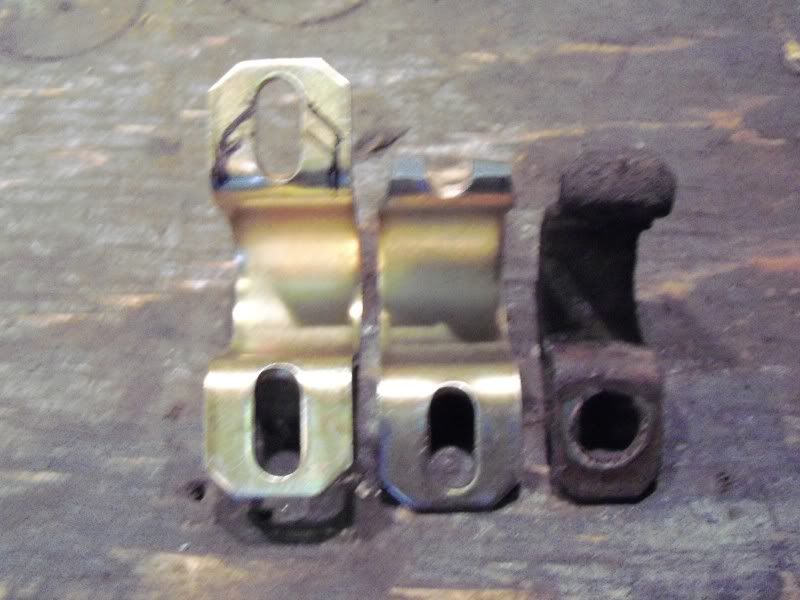
Place your original stabilizer bushing bracket on the Energy Suspension bracket. Line up the holes and use a sharpy to trace the old bracket.
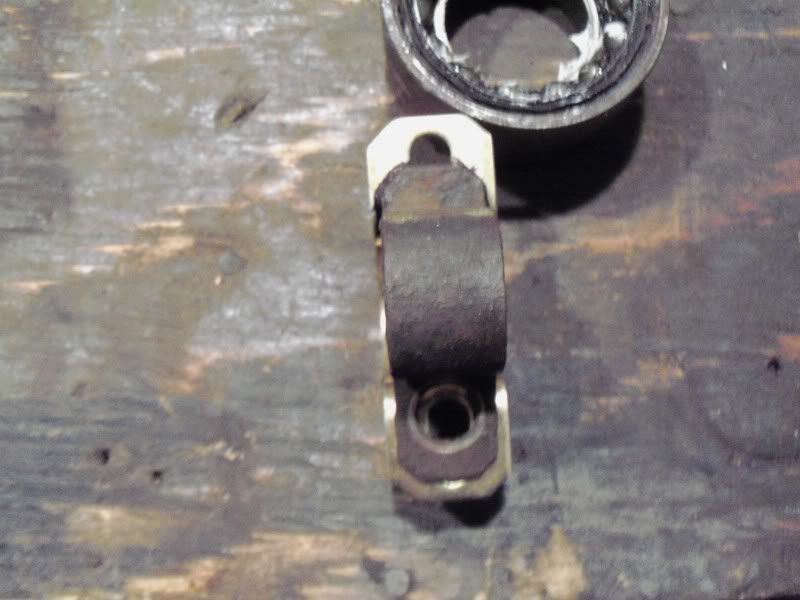
Step 2:
Trim the Energy bracket with a cutting tool. I love my angle grinder
Note: I got a little over zealous. I would leave a bit more materal if I were to do it again. (would have made bolting them on a little easier).
Step 3:
Use a belt sander to trim the bottom of the bushing. (It needs to be flush with the bracket).

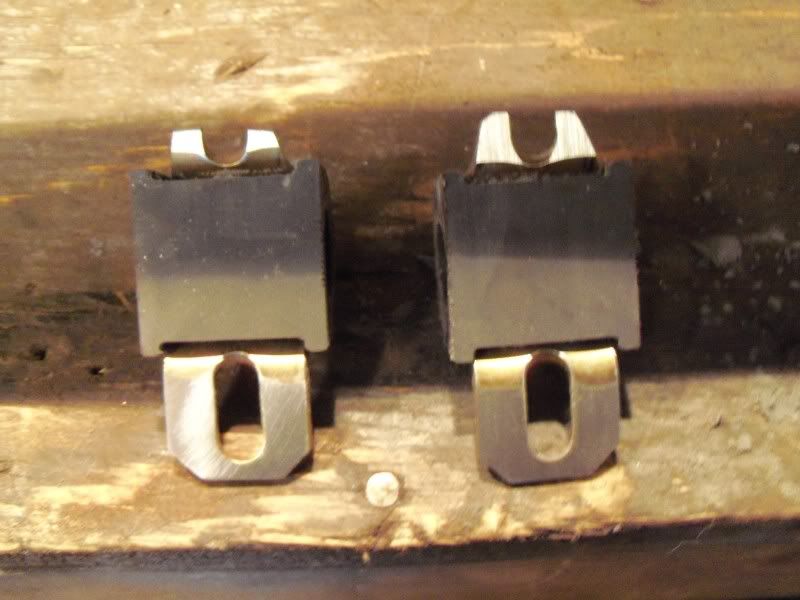
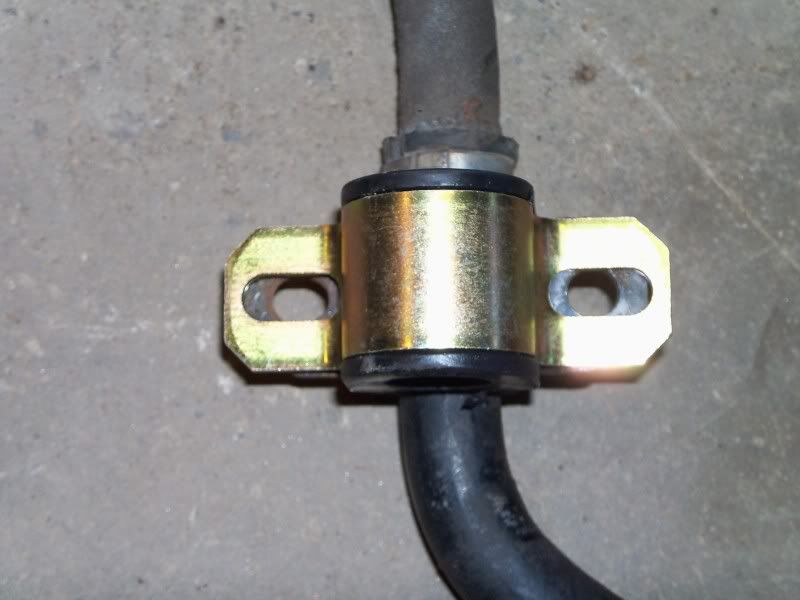
Step 4:
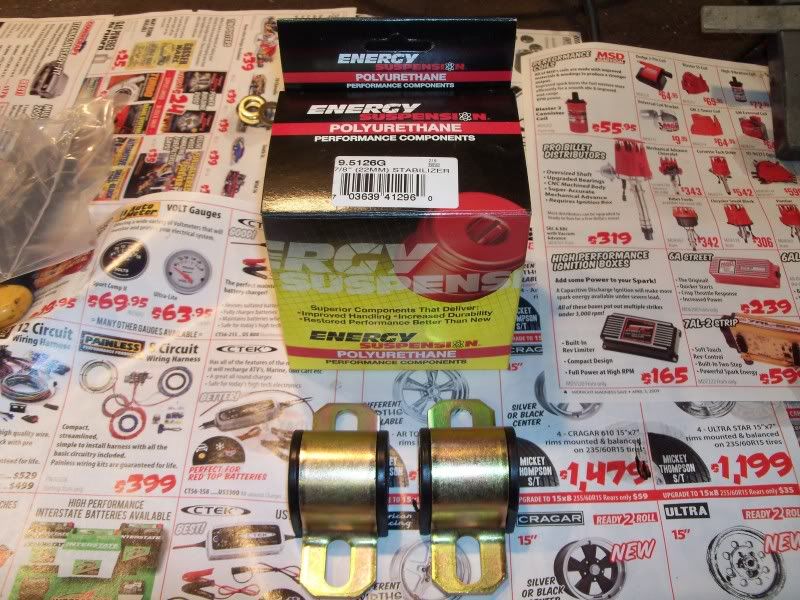
Lube them up with the suppiled grease and bolt them up like stock. And there you go, inexpensive rear stabilizer bushings for your MX-3!
Note: My rear bar was 20MM (1994 MX-3 GS V6) Confirm your bar size and order bushings accordingly. Energy has universal bushings like the ones I used from 11mm to 33mm!
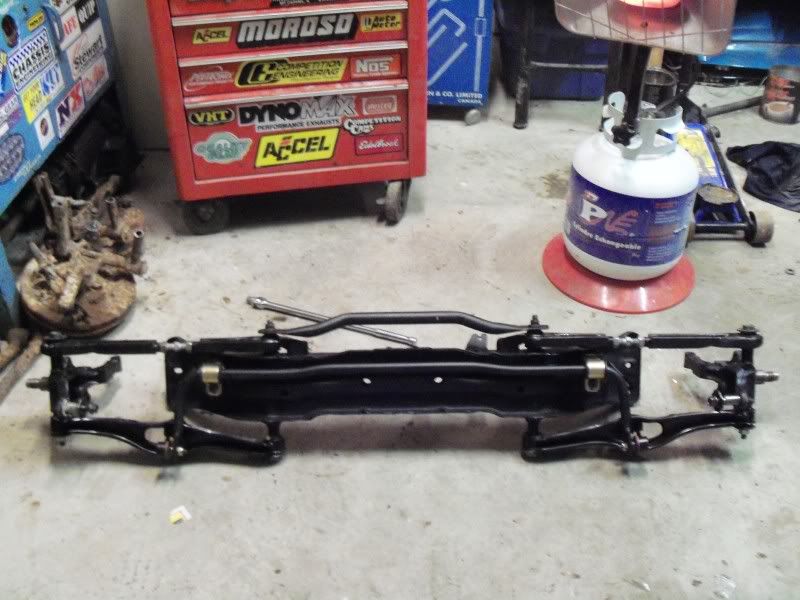
You can do this mod while on the car. My subframe was out for restoration purposes.
Stay tuned for a How-To on the front stabilizer bushings......hopefully (If it works)