Camshaft Position Sensor B6-ME Fix
Posted: February 5th, 2013, 5:03 pm
Within a week after the GF owning her tan MX the engine through a code for the Camshaft Position Sensor, '21' I believe. Having no severe driveability problems other than slight hesitation on the throttle and a little chugging at a specific RPM there hasn't been anything to worry about, so we didn't check it immediately.
Diagnosed the problem a couple of months ago and came back with the CPS itself, which means replacing the entire distributor, which is outrageously expensive even at my cost at a parts store.
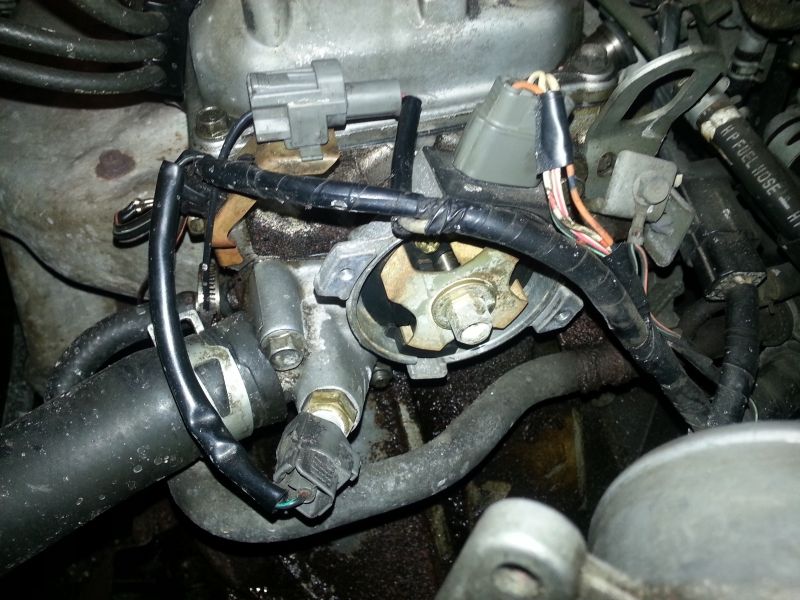
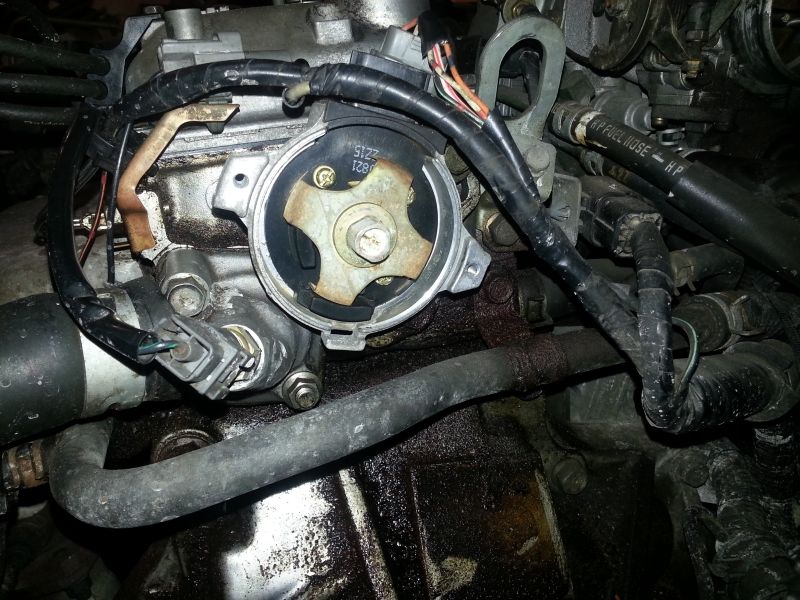
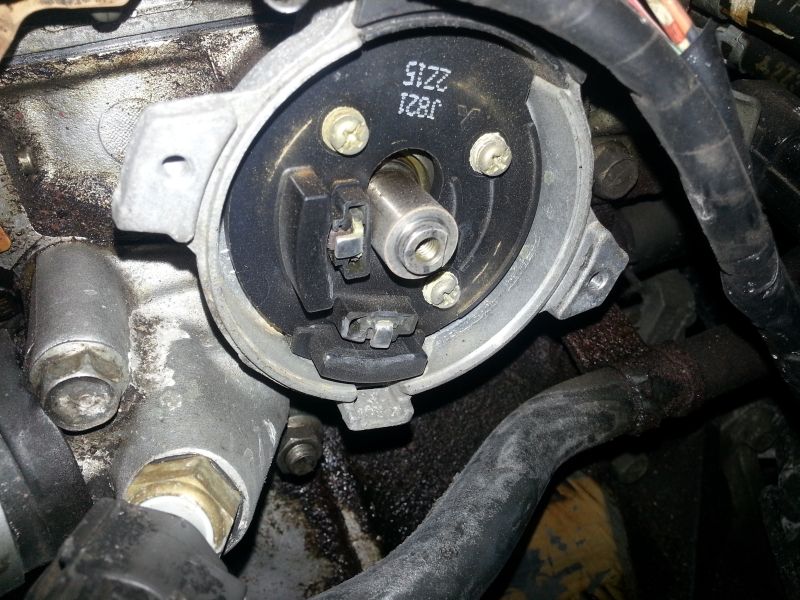
Few days ago I noticed that the distributor cap had arcing on plug #1, so, time to replace the cap and the rotor. After taking the cap and rotor off I saw part of the sensor itself.
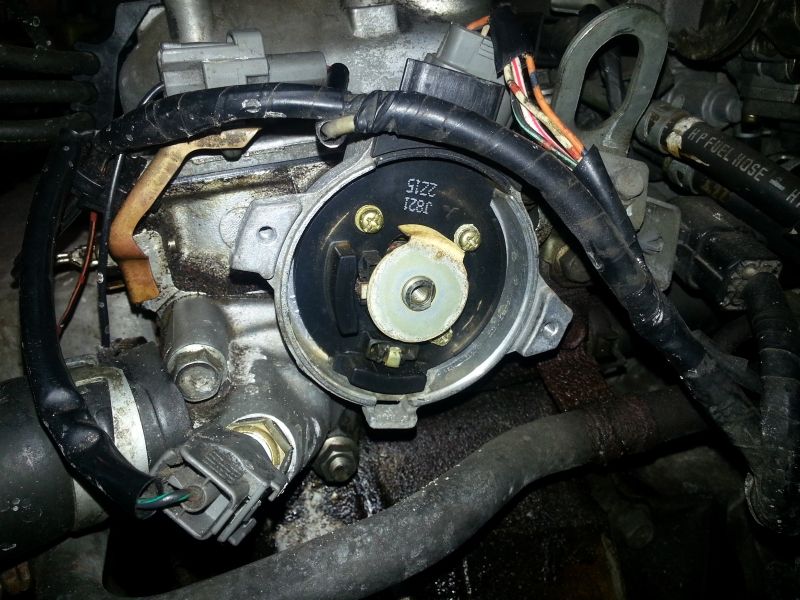
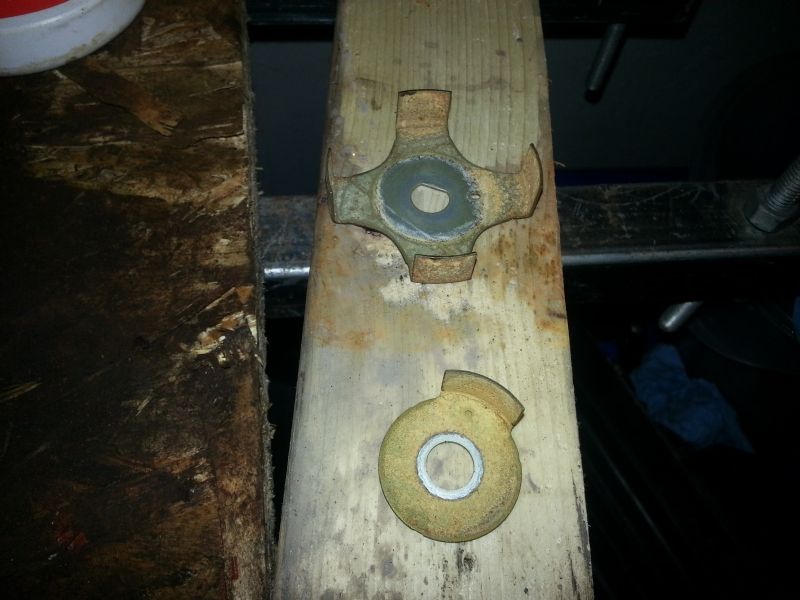
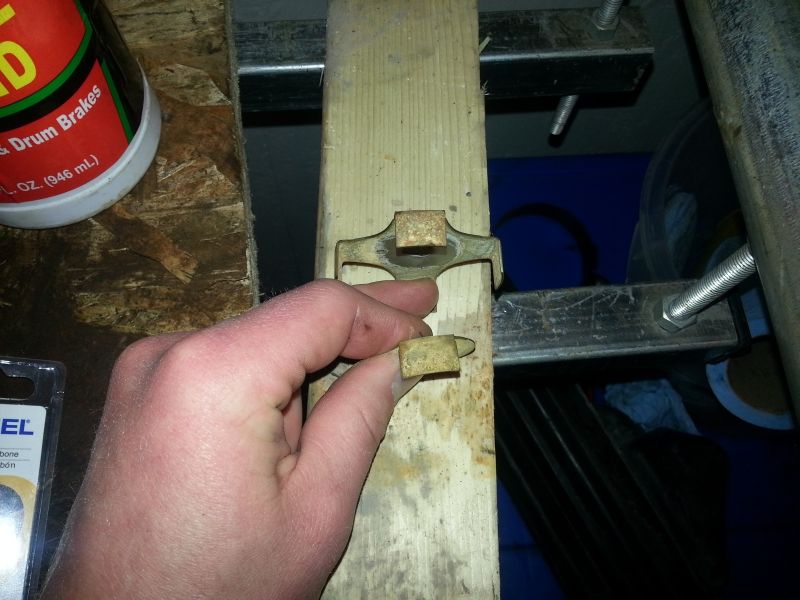
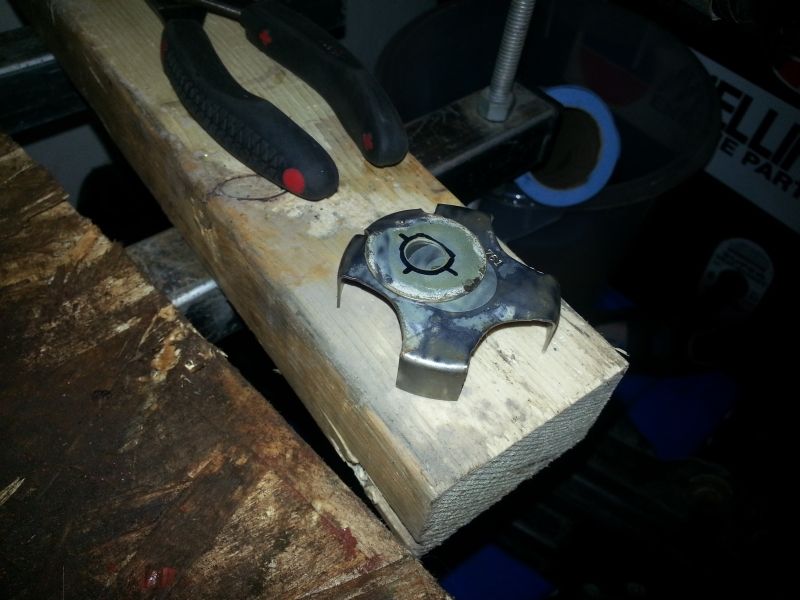
Four prongs just underneath the dust guard, which rotate past the magnetic? pickup which is the sensor itself (much like the Ford EDIS system). The prongs are horribly corroded. Most likely due to age. So, a fix will be applied since the prongs themselves are removable via a screw.
I'll be taking pictures to do a write up which will follow. Rather simple fix if you ask me. No sense in replacing the entire distributor for a little corrosion.
Diagnosed the problem a couple of months ago and came back with the CPS itself, which means replacing the entire distributor, which is outrageously expensive even at my cost at a parts store.
Few days ago I noticed that the distributor cap had arcing on plug #1, so, time to replace the cap and the rotor. After taking the cap and rotor off I saw part of the sensor itself.
Four prongs just underneath the dust guard, which rotate past the magnetic? pickup which is the sensor itself (much like the Ford EDIS system). The prongs are horribly corroded. Most likely due to age. So, a fix will be applied since the prongs themselves are removable via a screw.
I'll be taking pictures to do a write up which will follow. Rather simple fix if you ask me. No sense in replacing the entire distributor for a little corrosion.