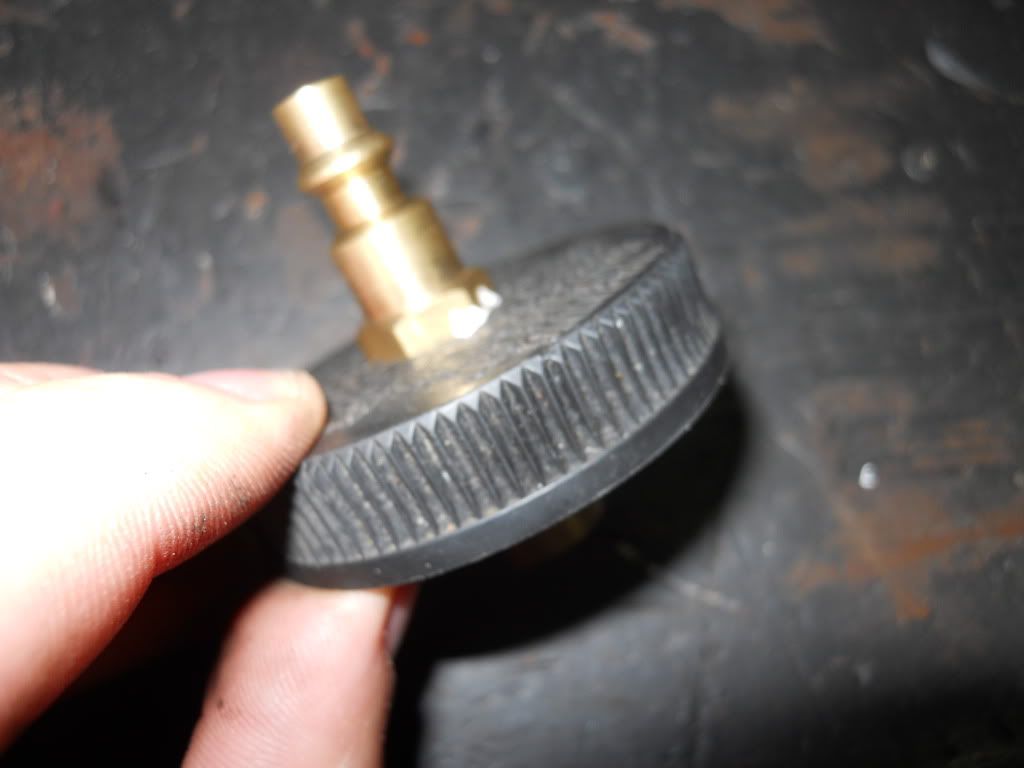
This is a basic step-by-step that will allow you to make this:
First, you will have to get an extra brake fluid reservoir cap (from a junkyard, from someone parting one out, etc.).
You will also need an air compressor in your garage/shop with an air dryer and regulator to control the pressure passing through.
Second. here is the full list of materials needed for this project:
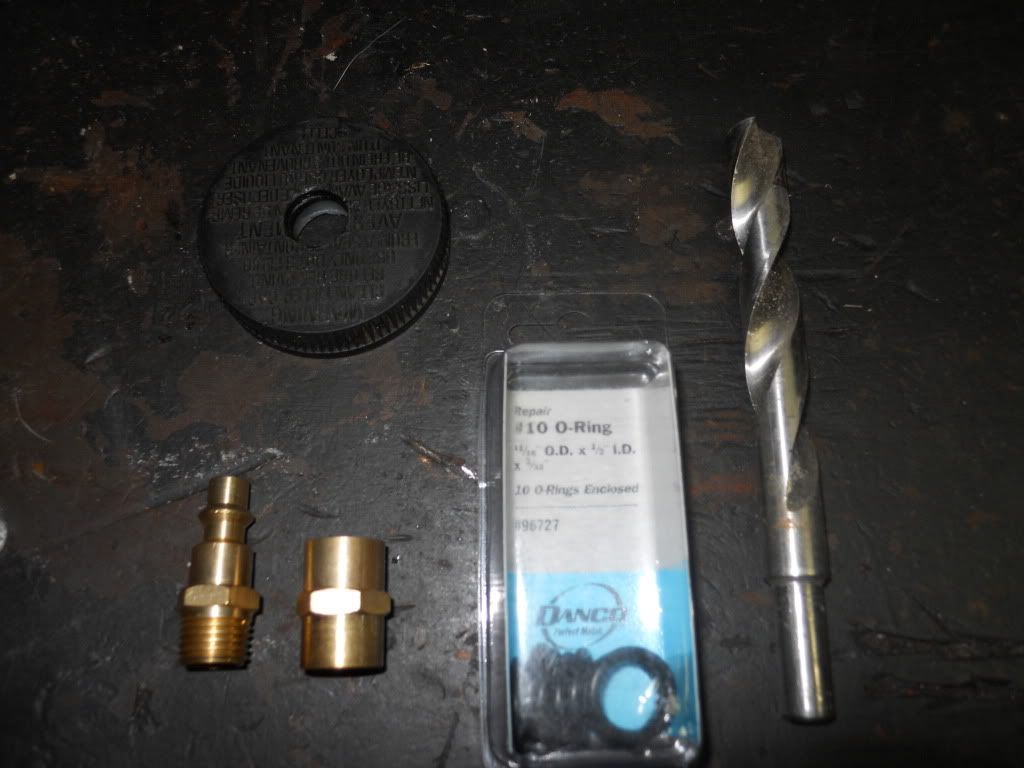

This includes:
- BMC Cap
- male 1/4" npt air hose fitting
- 1/4" npt female coupler (air fitting)
- (1) rubber o-ring 1/2" ID, 11/16" OD (can be found in the plumbing section)
- 1/2" drill bit
- teflon tape (not pictured) - you only need a tiny amount for the threads
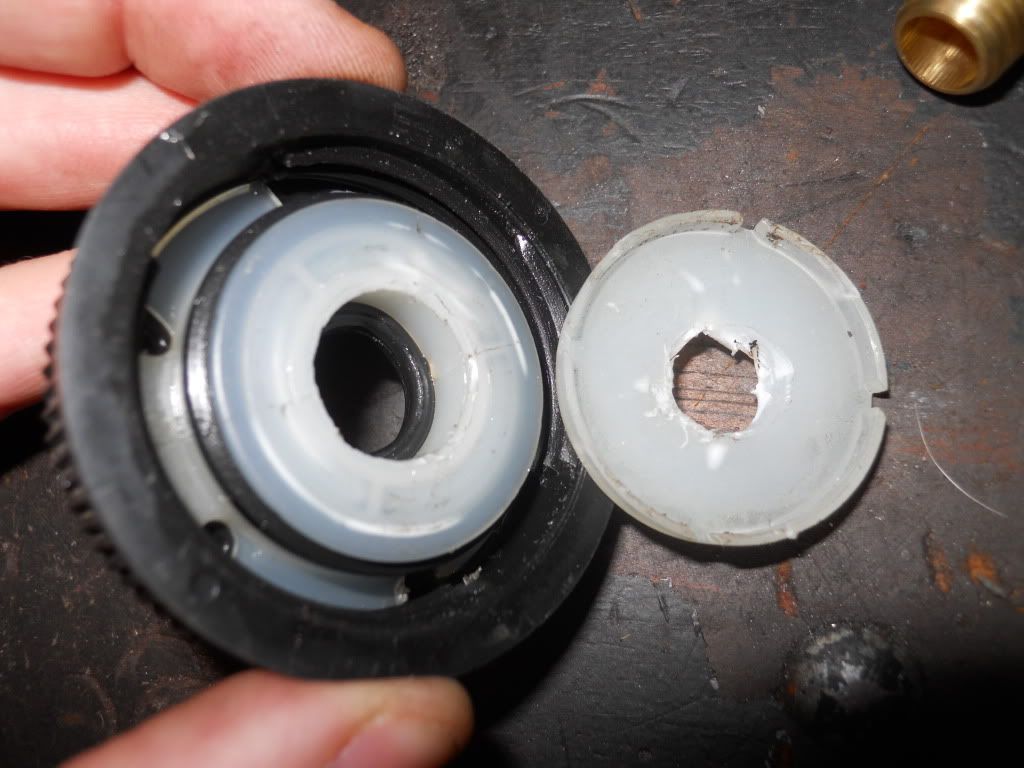
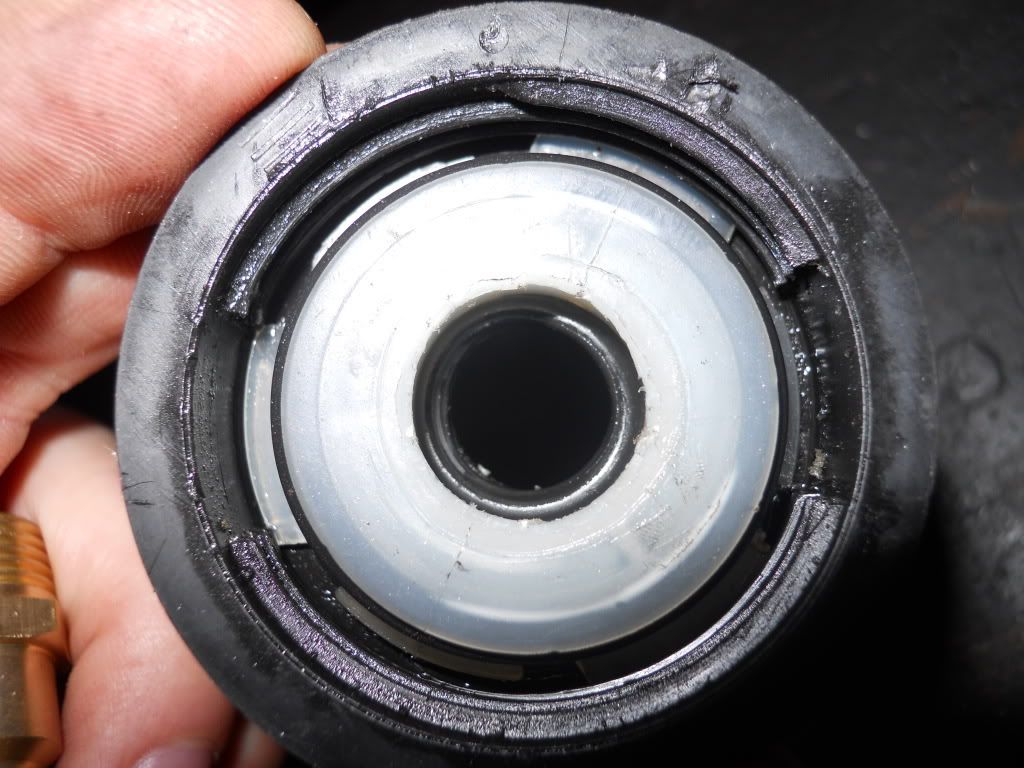
Step 1:
Flip the cap over (bottom facing you) and drill a 1/2" hole through the center of the cap. It helps if you have a vise or drill press. Once complete, you must then cut out the top, plastic ring (see picture below). I used a utility knife. This is important because the coupler won't reach the pressure fitting otherwise.
Step 2:
Make sure you clean the area well to remove any debris (so you don't get it in your reservoir later. Then, with the bottom side facing you, simply insert the rubber o-ring into the center of the hole you just drilled.
Step 3:
Apply teflon tape the the male air fitting and screw it into the center hole. Make sure that the rubber o-ring goes over the threaded end once it's through the hole.
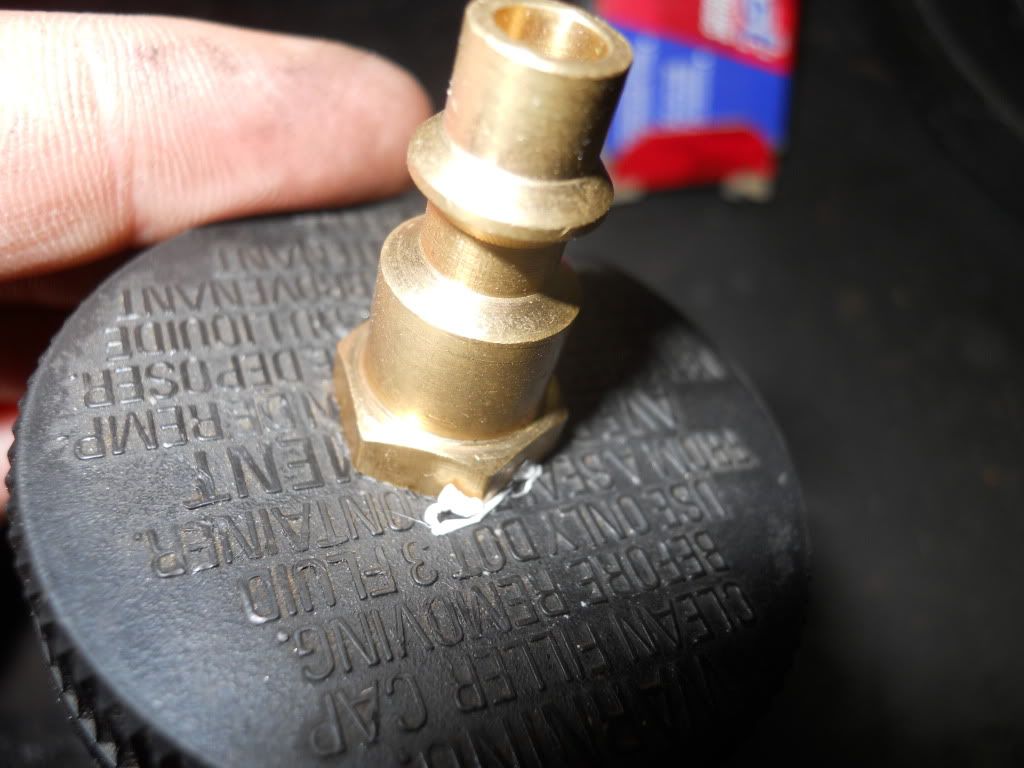
Step 4:
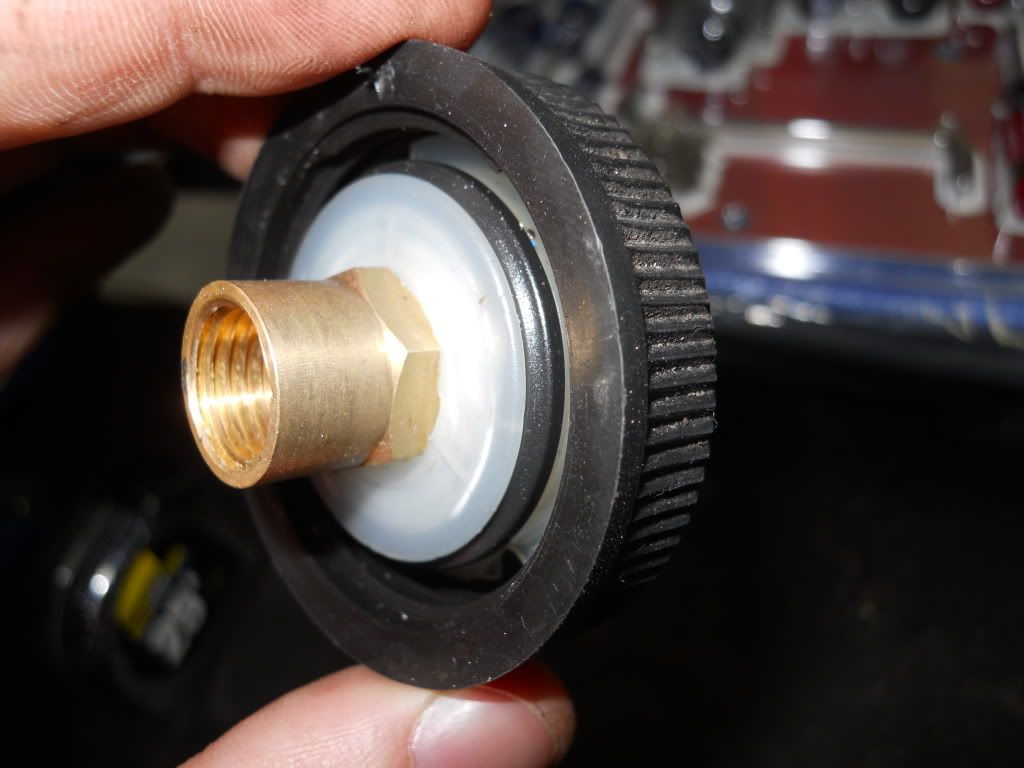
Screw the female 1/4" coupler on the threaded end of the fitting from step 3, then tighten (not too tight but tight enough to make a seal). It's easy to flare out the rubber o-ring. It should look like this at this point:
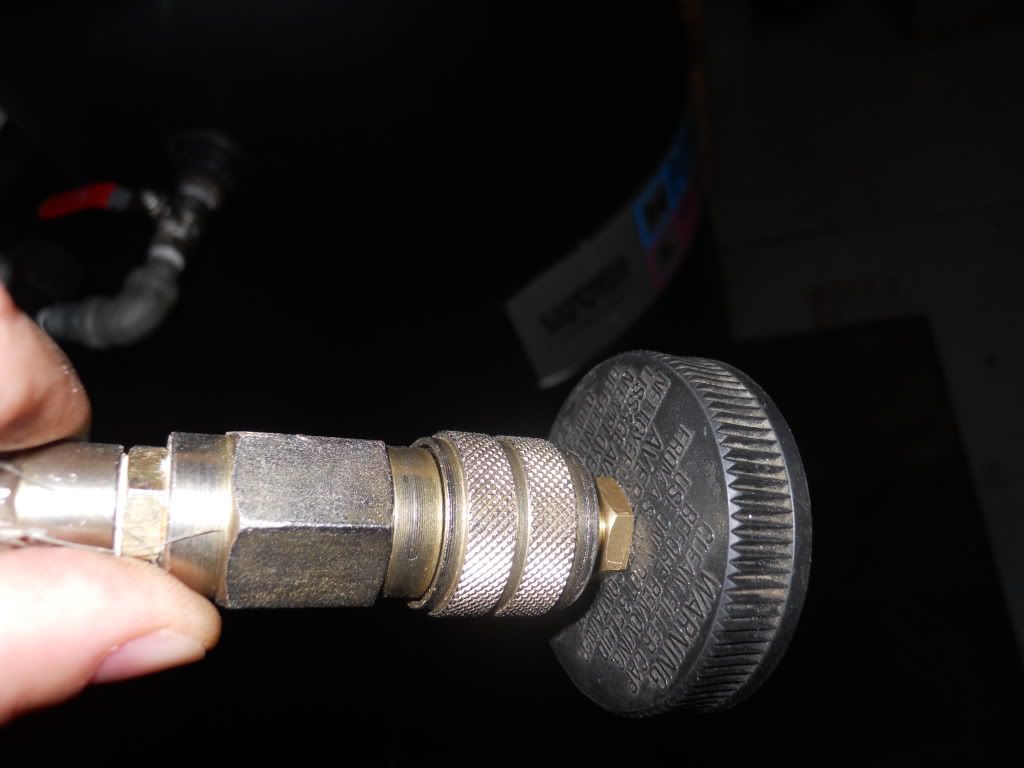
Step 5:
Your new power bleeding cap should be fully assembled at this point.
Now, you can screw the cap on your brake master cyl. reservoir. Again, it's important that you have an air dryer on your compressor to elimate the moisture going through your line(s); you don't want any water to contaminate your brake fluid).
Once screwed on, set the air regulator to 4-5psi and attach the air hose to your new power bleeder (my pic shows it unscrewed).
Your reservoir is now pressurized. Try going to the rear passenger side of the vehicle and open the bleeder valve (I suggest using a clear tube with a small container to catch the excess fluid). You will see how nicely the constant pressure works for bleeding and how easy it is. PLEASE MAKE SURE YOU KEEP THE BRAKE FLUID TOPPED OFF. If you allow it to completely drain out, you'll have to start over and/or possibly bench bleed the brake master cylinder.
I bled all for brakes as well as my clutch line (post-ATX to MTX swap) and the brake and clutch pedals were very stiff.
Hope this helps!! It worked wonders for me on my tight budget and limited space (and being a solo-mechanic). I also wanted to have a chance to give back to the mx-3 community.
Please feel free to PM me with any questions.