Here it begins with the Modifications.
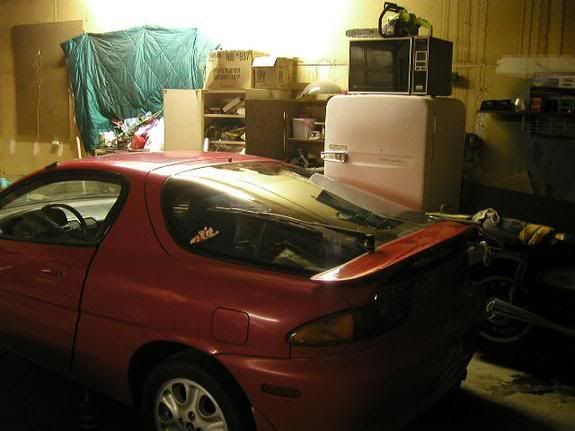
One of the things I have truely hated about the MX-3 is the Hatch Glass.
1. The thing weighs like 100 pounds.
2. That bubbled back make it really hard to add any kind of spoiler that is low profile.
3. Too easy to see what is in the back, such as stereo equipment and such.
I have decided to modify the hatchback, taking out the glass, cutting the actual hatch frame in half, to make more of a trunk.
I will add the pictures tonight, but here is a run down of the process I followed.
Taking Out the Glass
I called a glass shop to ask if they would take the glass out for me, didnt care if it was broken or not but thought it would be easy for them to just zip it out, the bonding material cut or something. They wanted like $100 bucks to do it so I decided to do it myself.
Items needed...
1. Area large enough for the entire hatchback to sit
2. Large Hammer
3. Propane Torch
4. Non Ribbed Guitar String (I suppose other mechanical wire would work)
5. Good insulated leather gloves or welding gloves.
First I put the hatch on the floor on a tarp so that I could wrap the tarp around it to keep the glass from flying everywhere. I wrapped the tarp around the entire hatch and took a brass hammer and smacked it right in the middle. I wasnt expecting it to completely shatter but it did will little force.
The bonding agent used to hold the window in is VERY tough and this is the reason for the guitar string and torch. I took 2 small pieces of tube and strung a section of an old guitar string through it. I heated the guitar string on the torch and quickly moved to the hatch with the remaining glass around the edges. I used the heated wire like a saw and it cut through the bonding agent like butter till it got cold and so had to heat and repeat.
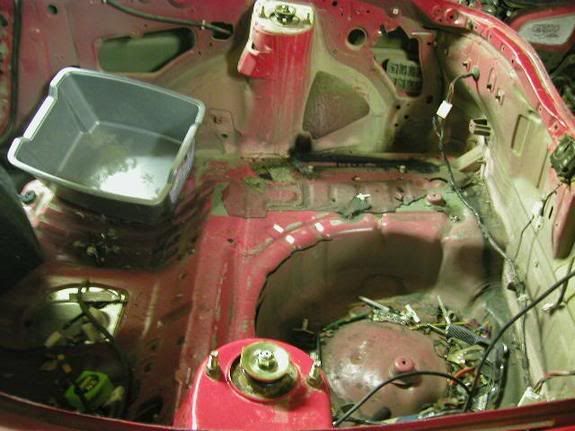
Before long the hatchback frame was pretty much cleared of all remaining glass and bonding agent. I used a side grinder with paddle wheel to get the rest of it off.
Next I took the now empty frame and placed it back on the car to see where I wanted my new "Trunk" to fit. After deciding on a size I messured from the shock mounting holes to the spot that would be cut to make sure both sides were even. I then marked all the way around the frame so that I could see how the cut would be made.
I cut the frame in half using a side grinder and cutting wheel, making sure to angle the cut so that when the new trunk was pushed down, it would match the rear section.
**Cut Frame Picture**
I put the section that would be for the new window back on the car and welded it in place, making sure to have it square on both sides so that the new trunk would match up correctly.
**New Mounted Back Picture**
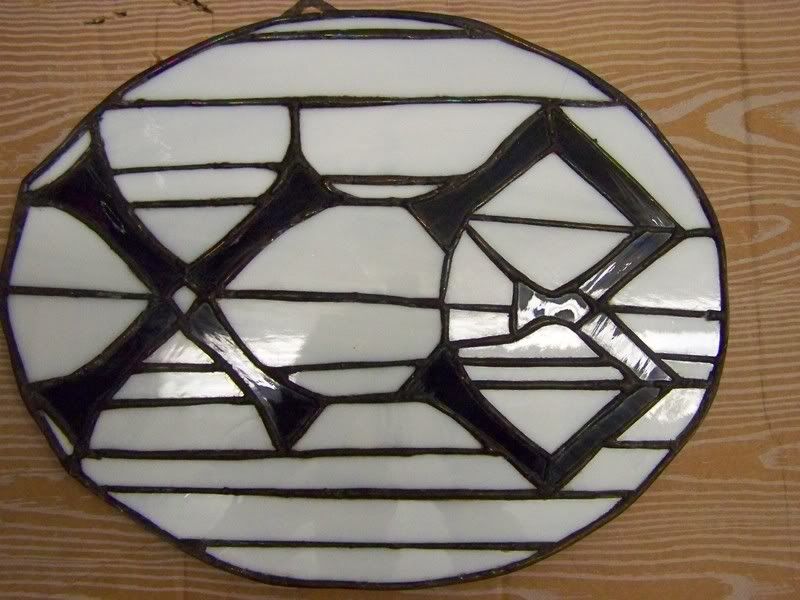
My mom makes stain glass windows and made me a frame with a large X3 in it. This will be mounted into the new trunk with a plexy cover. The thought is to put a light under the small window to shine up through the X3 Stainglass.
**Stainglass Picture**
A friend of mine from Probetalk rolled his MX-6. I have always loved the rear spoiler on the MX-6 and asked if I could take it off and use it. I have been draggin it along on my moves for the last couple years and now it will finally get mounted on the car.
I will need to customize the uprights to make it more streamlined with the new trunk part of my previous hatchback. The cover for the light was broken when he rolled the car but otherwise it was unharmed. I am going to try finding a clear lense and replacement LED assembly for it. If I dont find one that I like I will proubly custom fill the hole with LEDs and Fiberglass. Fiberglass is a wonderful thing!
**MX-6 Spoiler Picture**
I will continue to edit this post for updates on the Hatchback.