Page 10 of 22
Re: Project Jay-Spec MX-326GS
Posted: May 23rd, 2011, 4:15 pm
by PATDIESEL
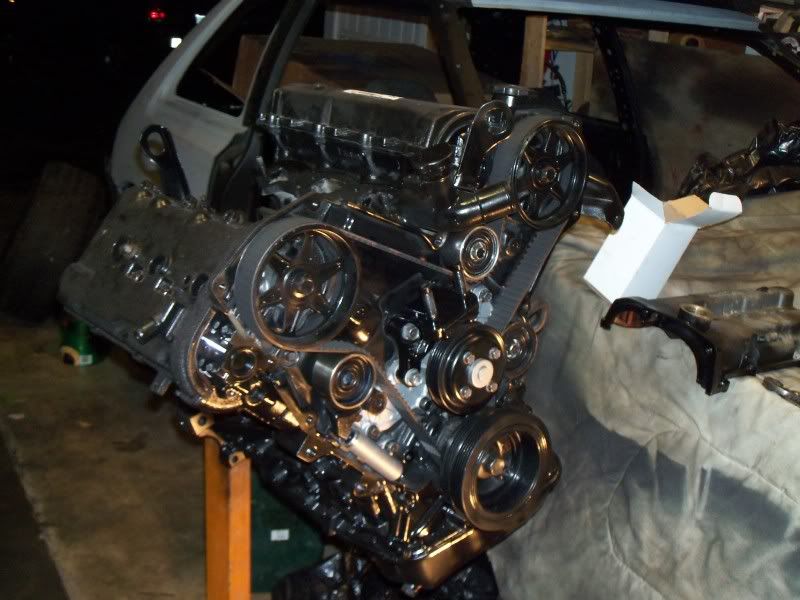
Omg I am so Jelly of your project. That wrinkle finish and silver is what I would like to do to clean up my motors appearance.
Re: Project Jay-Spec MX-326GS
Posted: May 25th, 2011, 6:08 am
by Vecia
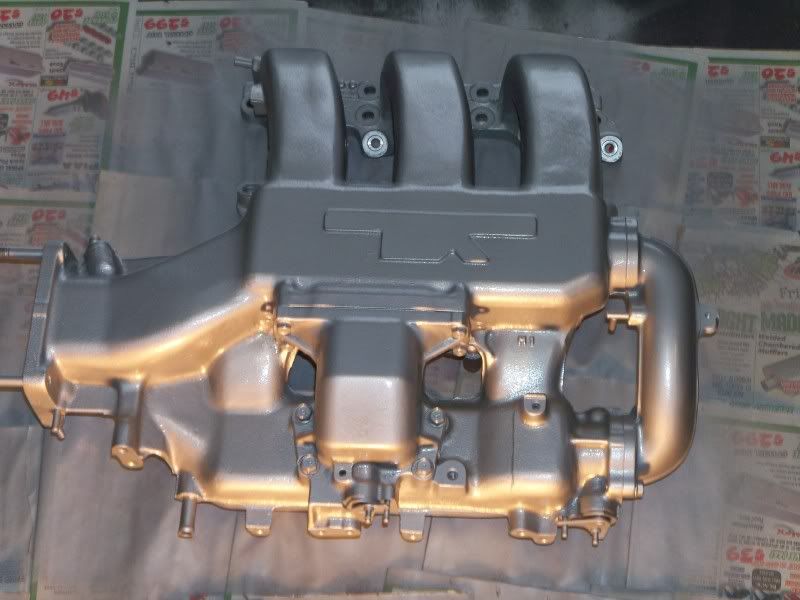
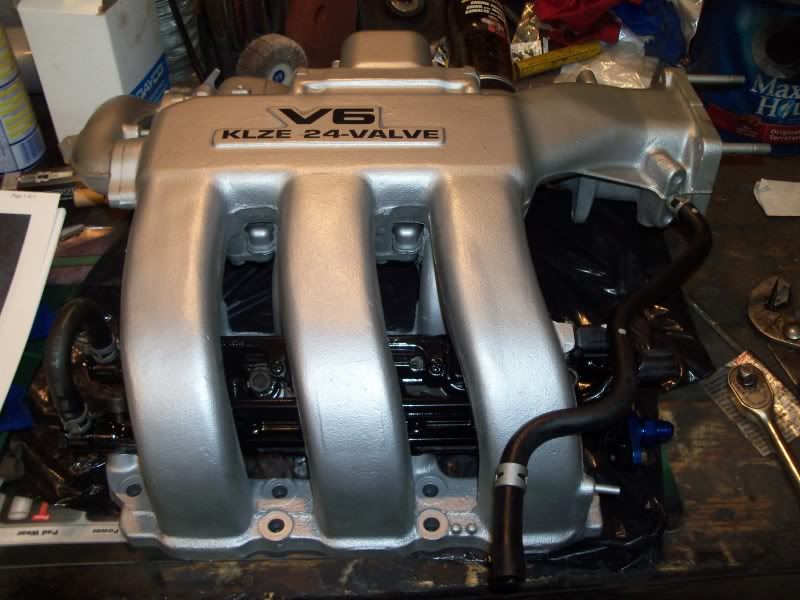
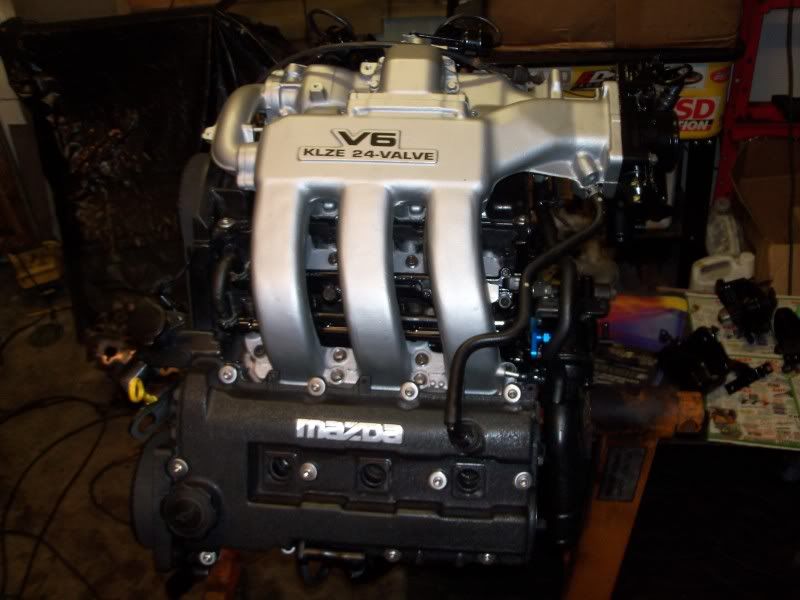
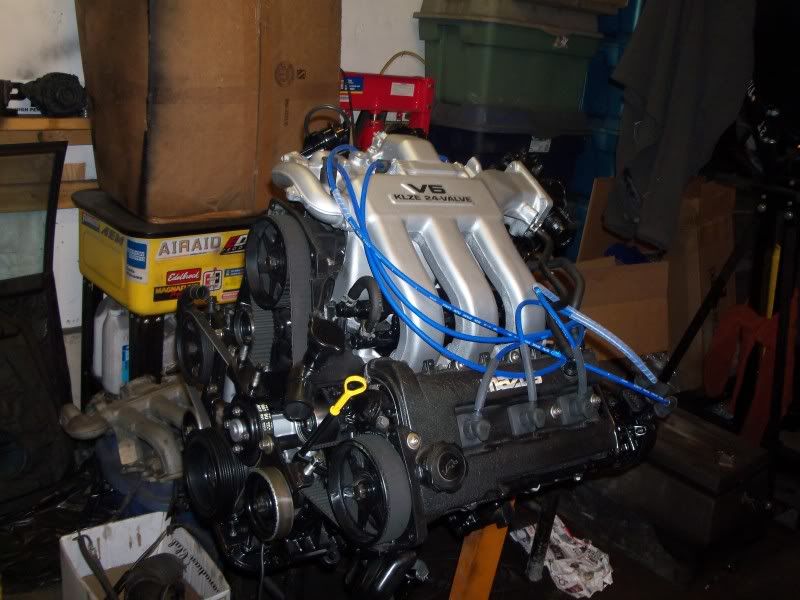
Very clean work on the engine (pic with intake) looks updated. Dig the wrinkle black and silver for sure.
Re: Project Jay-Spec MX-326GS
Posted: May 25th, 2011, 9:56 am
by wytbishop
Any idea what's the difference between the "raised" one and the "indented" one? It's not clear to me.
Re: Project Jay-Spec MX-326GS
Posted: May 25th, 2011, 12:44 pm
by WhiteFinish
I orderd a raised from a different shop.
With this one I could really feal the hight in the sticker. Instead of a flat one.
Re: Project Jay-Spec MX-326GS
Posted: May 25th, 2011, 11:56 pm
by IMACHU2
wytbishop wrote:
Any idea what's the difference between the "raised" one and the "indented" one? It's not clear to me.
The differance is in the intake manifolds. My manifold is the "raised" style. There is a raised aluminum mounting pad in the casting of the manifold that the decal sticks to.
The other style of intake manifold has a indent cast into the manifold for the decal. "This is designed to fit the intake manifold that has a two piece indented emblem most commonly found on the 1993 Ford Probe GT. It is also a direct fit for the popular KLZE upgrade".
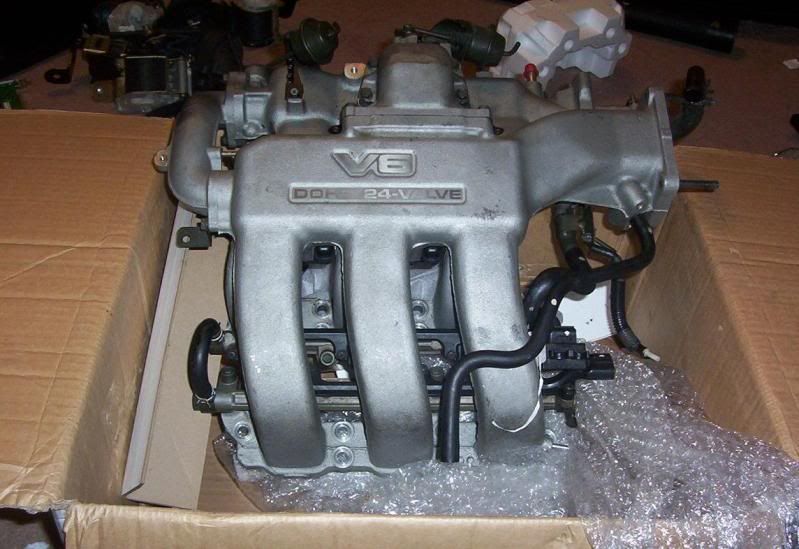
I thought the decal was going to be more of an emblem. It is flat and has no background (just individual letters). In my opinion it still looks really cool and it was only $5.00

Thanks for the compliments guys. I am getting excited now that I finnaly have the KLZE. Before I got the engine it was starting to feel like a 323 restoration project with a brake upgrade LOL.
Re: Project Jay-Spec MX-326GS
Posted: June 22nd, 2011, 3:43 am
by MrMazda92
I don't get how I've never seen this worklog before... It's pure sex as far as worklogs go... Dedication, documentation, and a little crazy thrown into the mix

DEFINITELY inspirational work, at the very minimum.
Re: Project Jay-Spec MX-326GS
Posted: July 6th, 2011, 10:47 am
by IMACHU2
Re: Project Jay-Spec MX-326GS
Posted: July 11th, 2011, 1:06 am
by IMACHU2
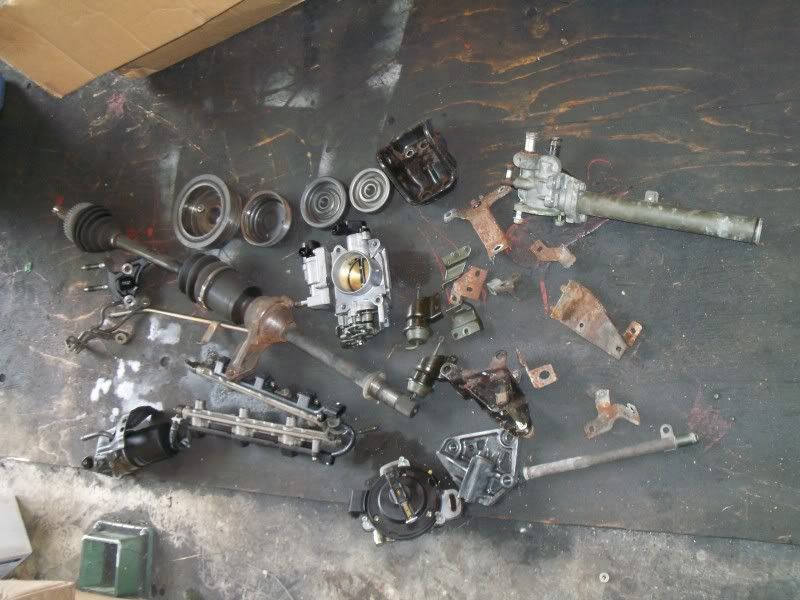
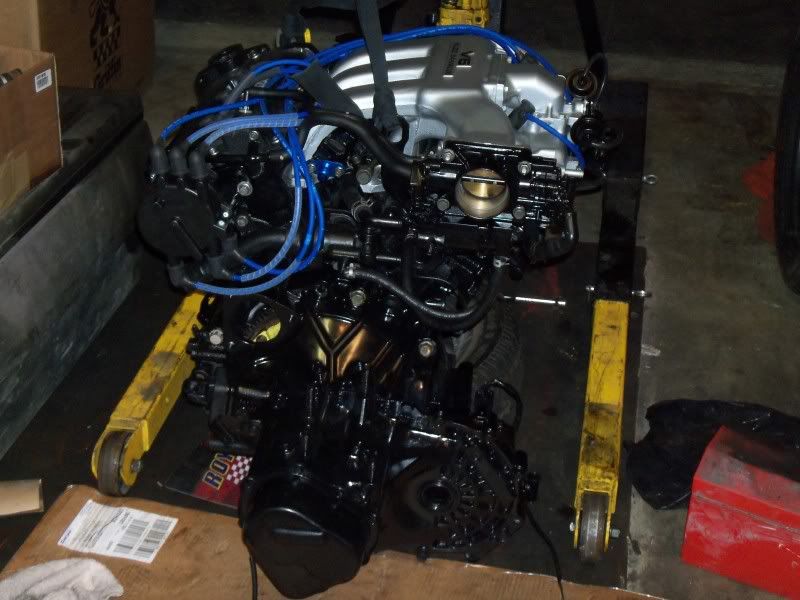
Managed to sneak out to the garage to play this Sunday.
I got some goodies that will aid in the eventuality of the installation of the engine:)
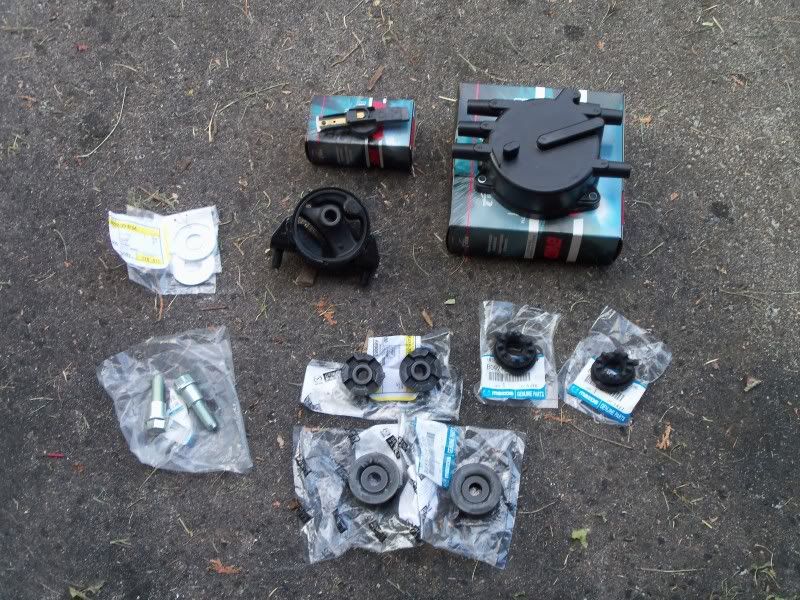
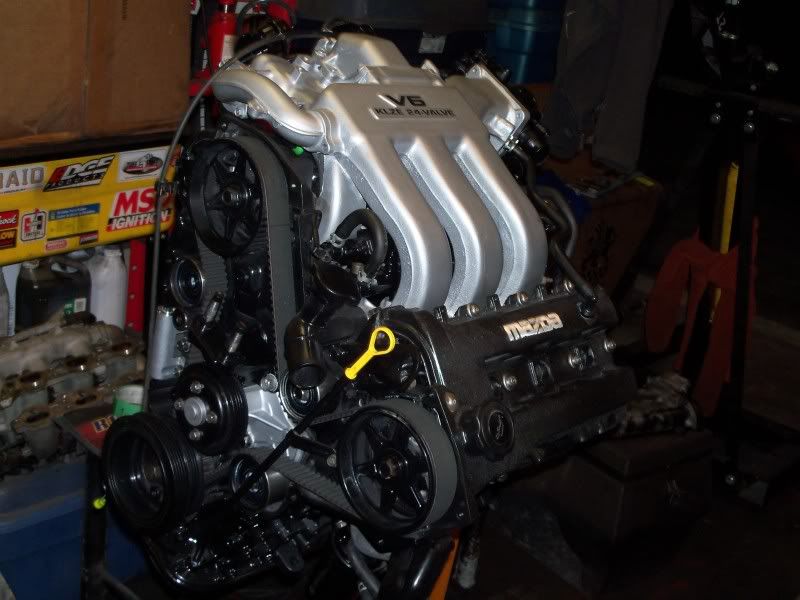
Got some stainless bolts for the valve covers. I installed the new valve cover gaskets too.

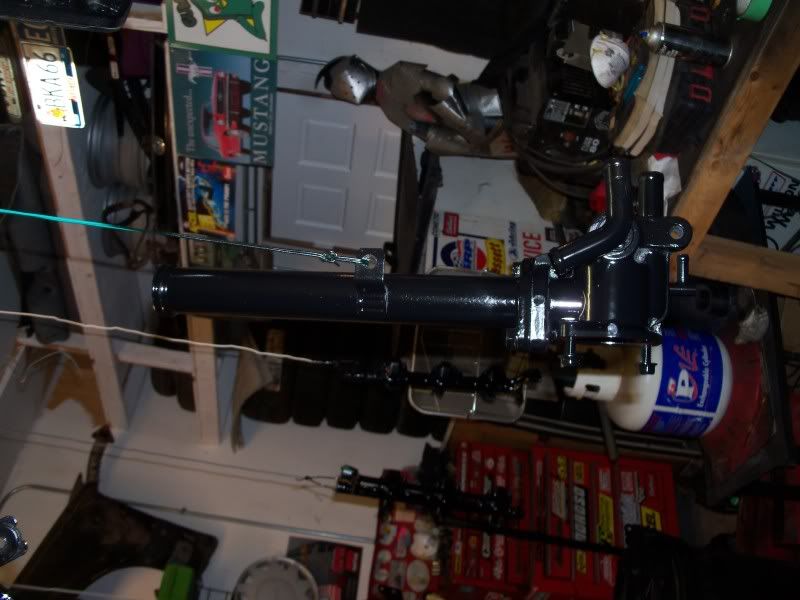
Ran all new Vibrant silicone hoses to the VRIS system.
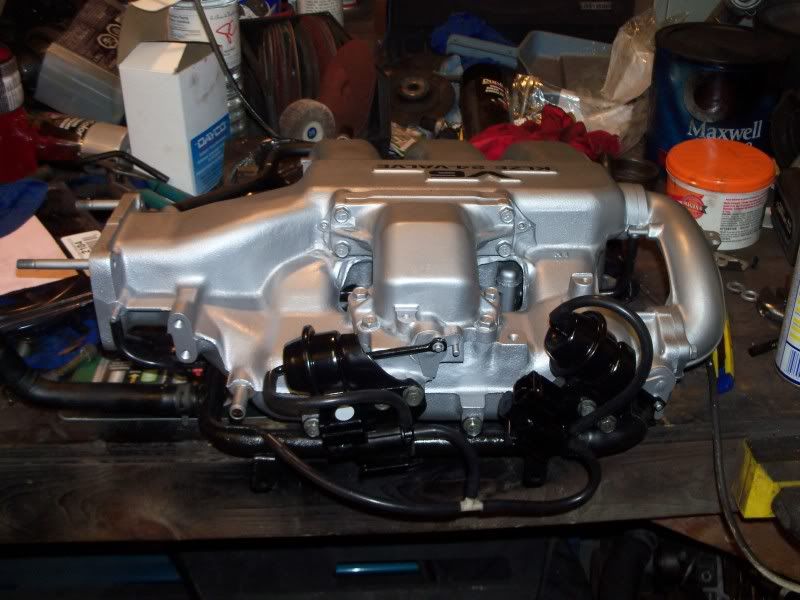
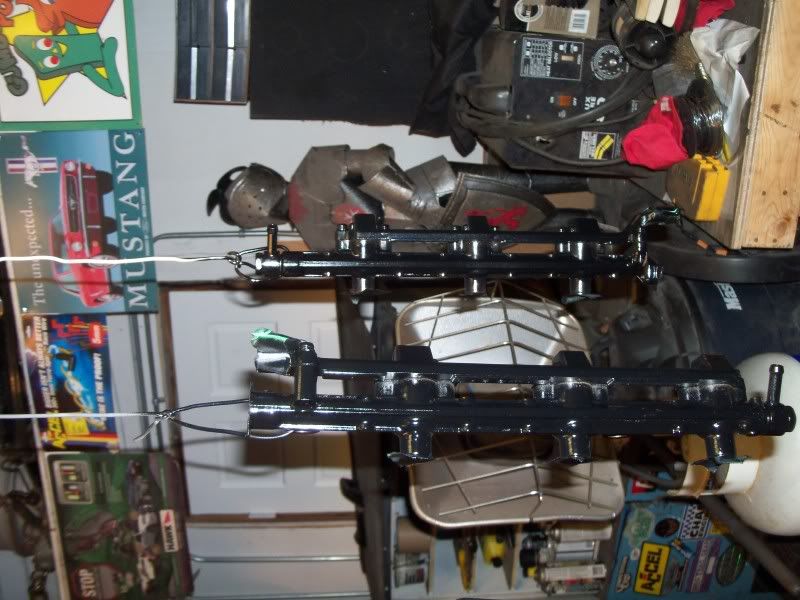
Reassembled the fuel rails and intake manifold.
I have a few things left to figure out, but the engine is almost ready to go in the car.
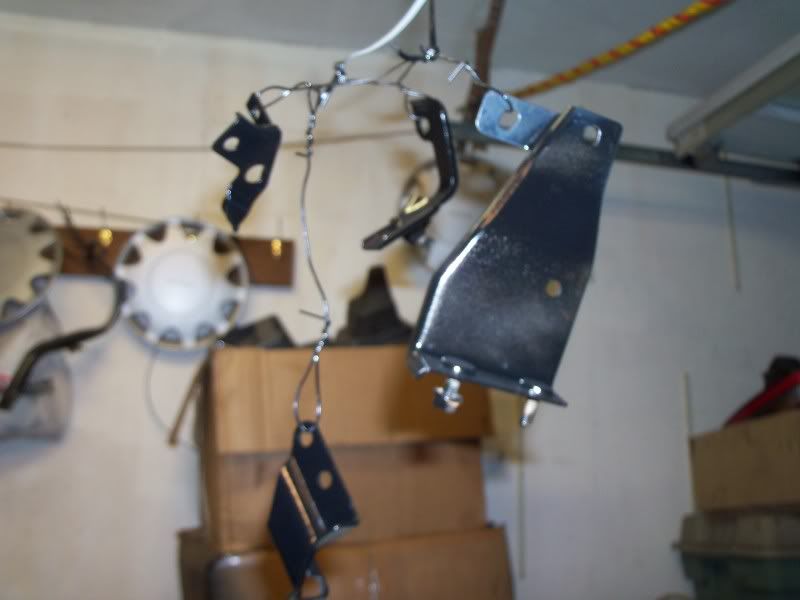
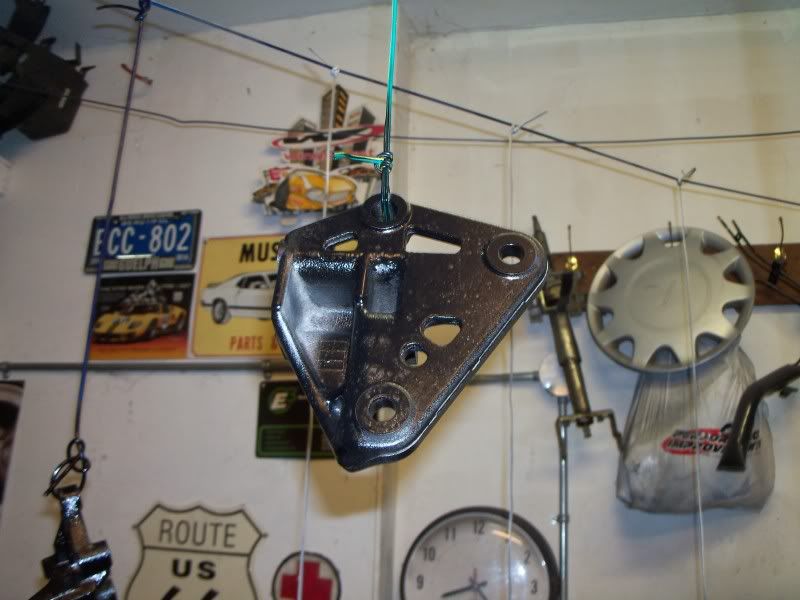
On the WTF list is the throttle cable bracket and how to run the coolant lines to the throttle body. :wtf2:

The left throttle bracket is off the KLZE and it fits the manifold. The right one is off the MX-3 and it fits the throttle cable, likely fits the 323, and does not line up or fit of the KLZE manifold LOL.
Re: Project Jay-Spec MX-326GS
Posted: July 11th, 2011, 2:06 am
by Evo_Spec
the engine looks great!
can't wait to see it in the bay and started up!
Re: Project Jay-Spec MX-326GS
Posted: July 13th, 2011, 12:07 pm
by IMACHU2
Evo_Spec wrote:the engine looks great!
can't wait to see it in the bay and started up!
You and me both

Re: Project Jay-Spec MX-326GS
Posted: July 13th, 2011, 1:19 pm
by wytbishop
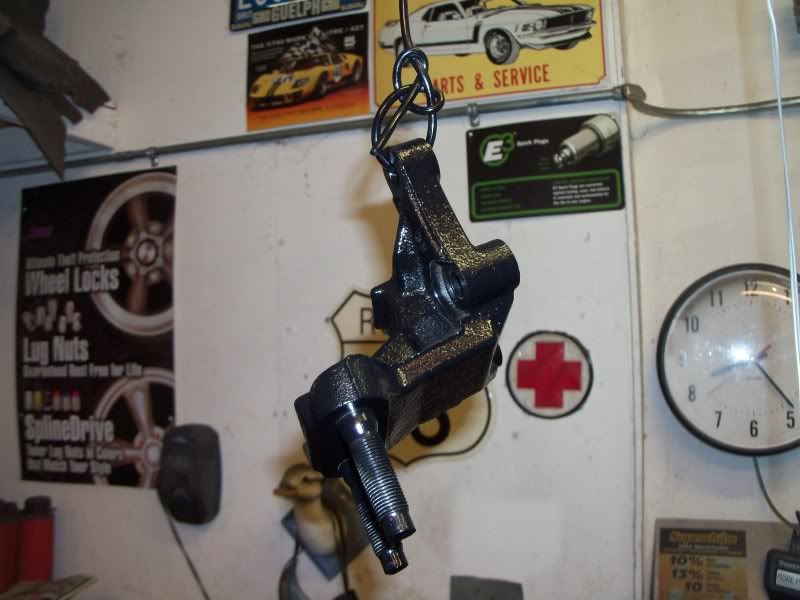
I took the K8 throttle cable bracket and made a cut in the side right at the corner and bent it out so that it was the same angle as the ZE one. Still had to do abit of fiddling and the cable is at the very end of its' adjustment but it works fine.
Engine looks just awesome.
Re: Project Jay-Spec MX-326GS
Posted: July 13th, 2011, 1:54 pm
by solo_ryder
Engine looks soooo fresh! Cant wait to see the finished product. Making me miss having a clean build
Re: Project Jay-Spec MX-326GS
Posted: July 14th, 2011, 12:47 pm
by IMACHU2
Thanks for the compliments and suggestions. I have nearly run out of rusty broken stuff to replace and paint, I may be actually ready to put it in the car.
Re: Project Jay-Spec MX-326GS
Posted: July 18th, 2011, 1:34 am
by IMACHU2
Had big plans of getting the engine in today. The engine hoist had previously been messed up by my son. He unscrewed the valve right out, and got soaked with Hydraulic fluid. I filled it back up, but it has never worked right since. Today it would not lift anything.

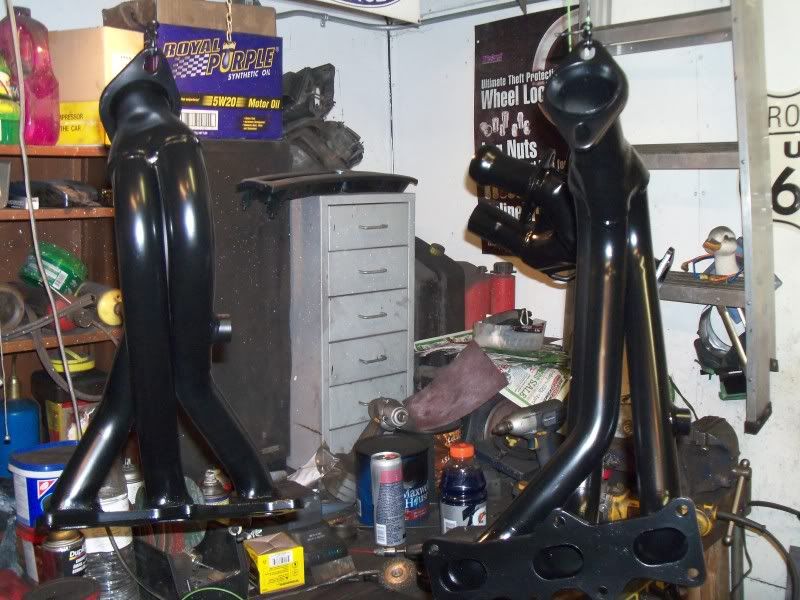
Wire brushed the shipping paint off the Pacesetter's
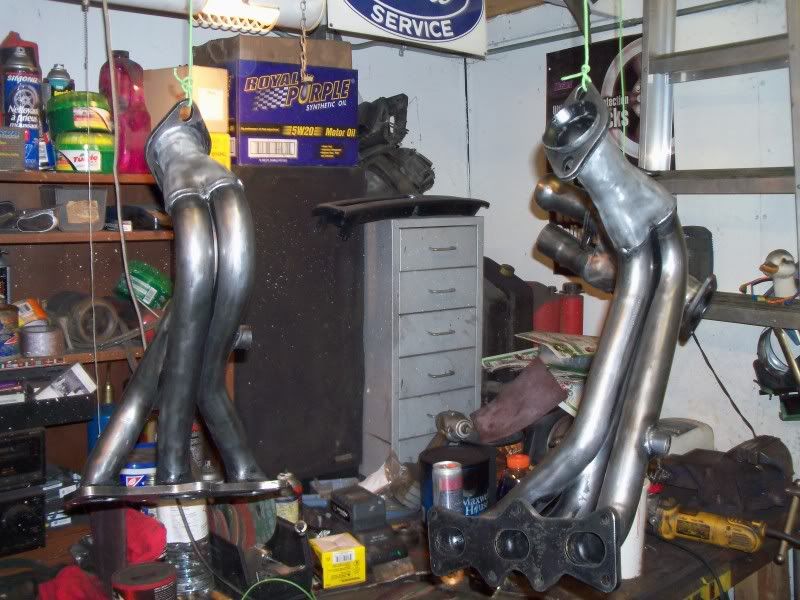
Painted them with my favorite high tech header paint (BBQ Paint) LOL
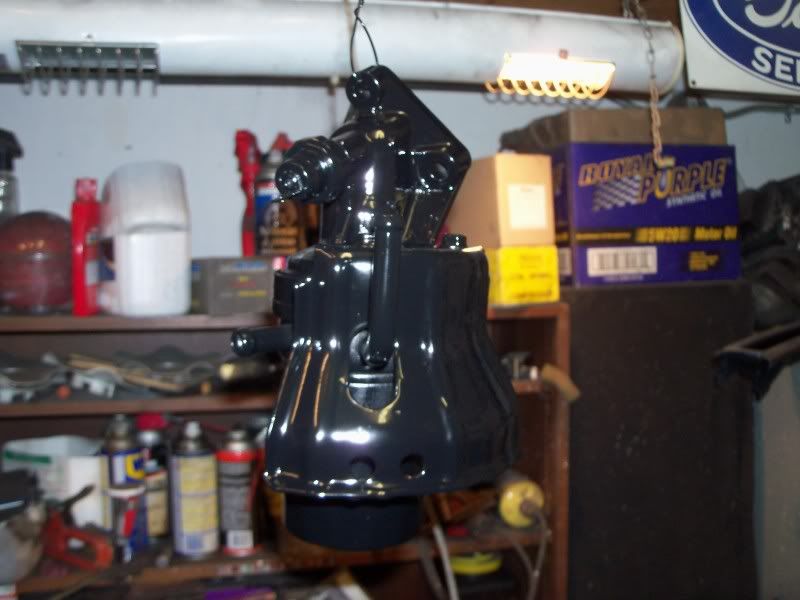
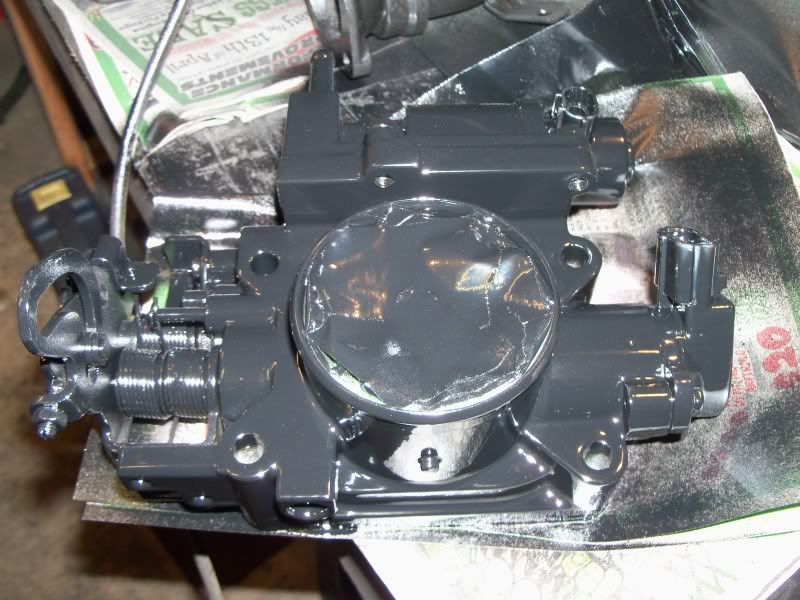
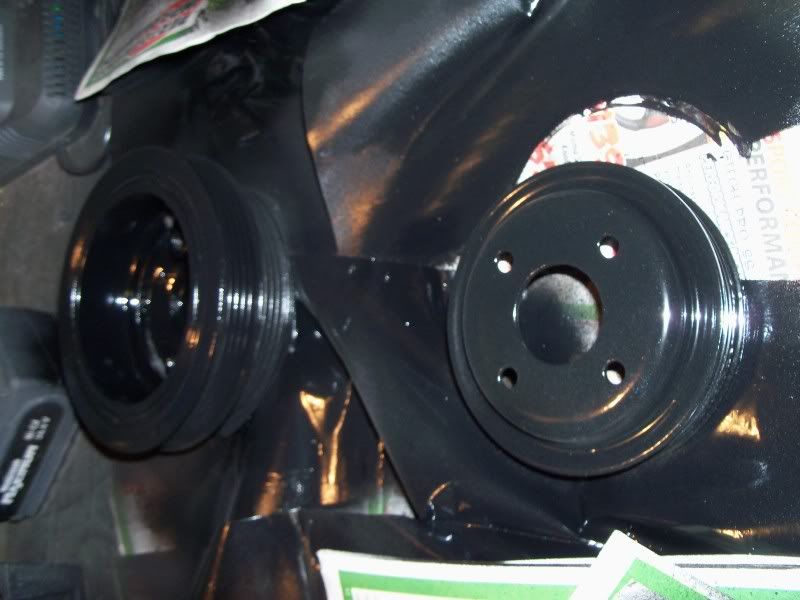
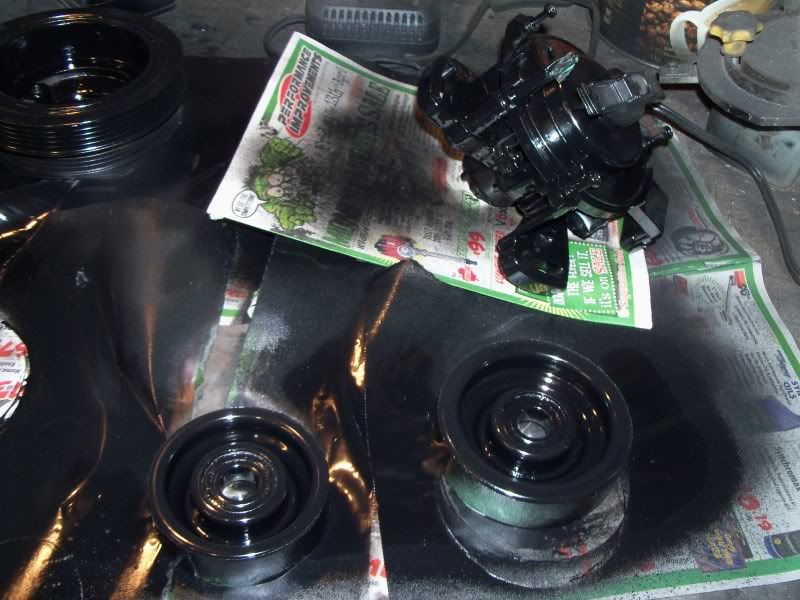
Put the power steering bracket, pump, and belt on. Got the alt bracket and disty and wires on. The wires are all over the place for the short term. Just painted all the ignition wire holders.
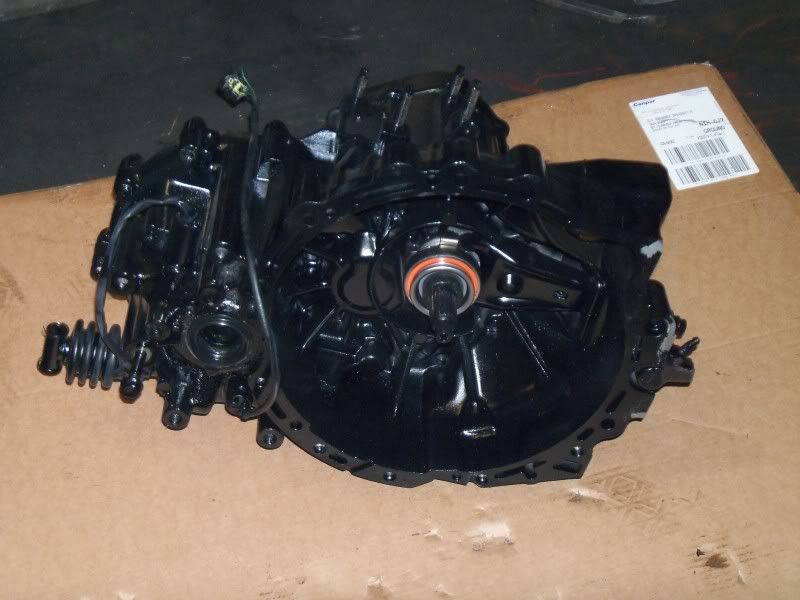
Put new output seals and a realese bearing in the trans
Bolted the resurfaced MX-3 flywheel on. Ya it is not painted LOL
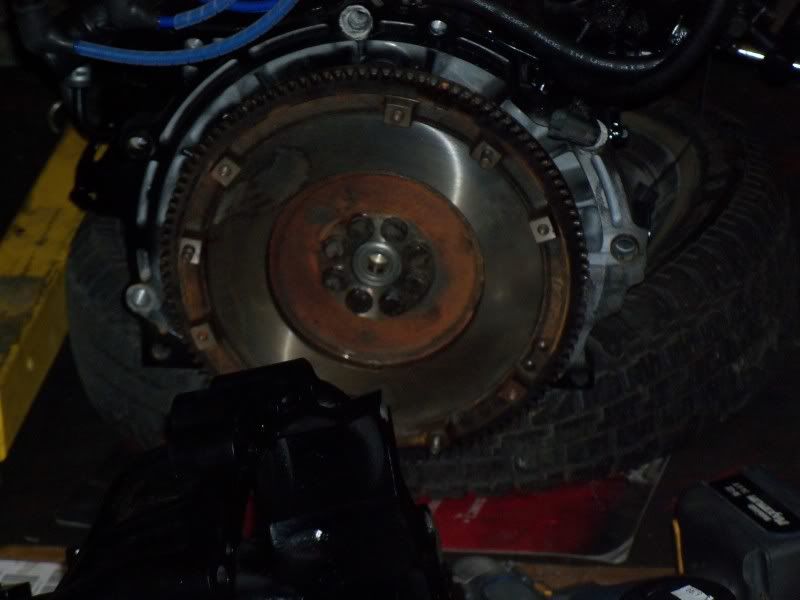
Put the ACT clutch on it.
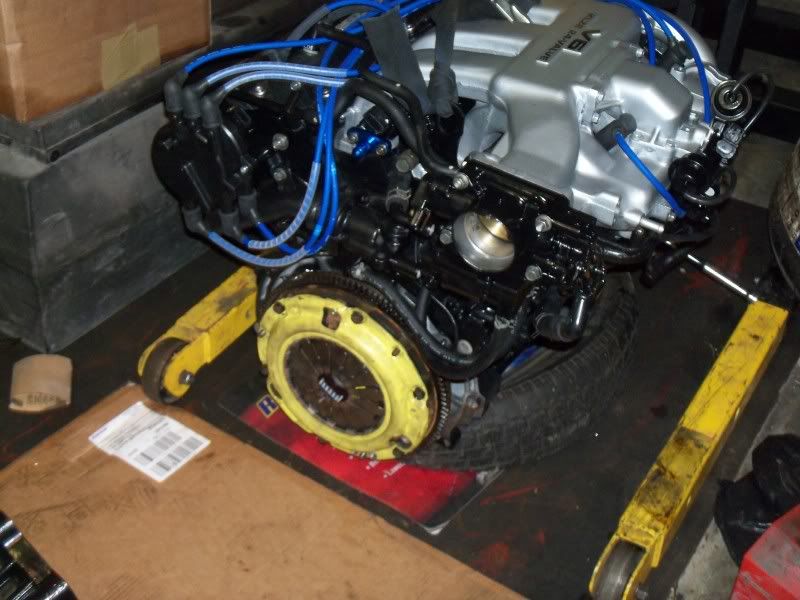
Engine & trans hanging from the Hydraulically challenged "crane"

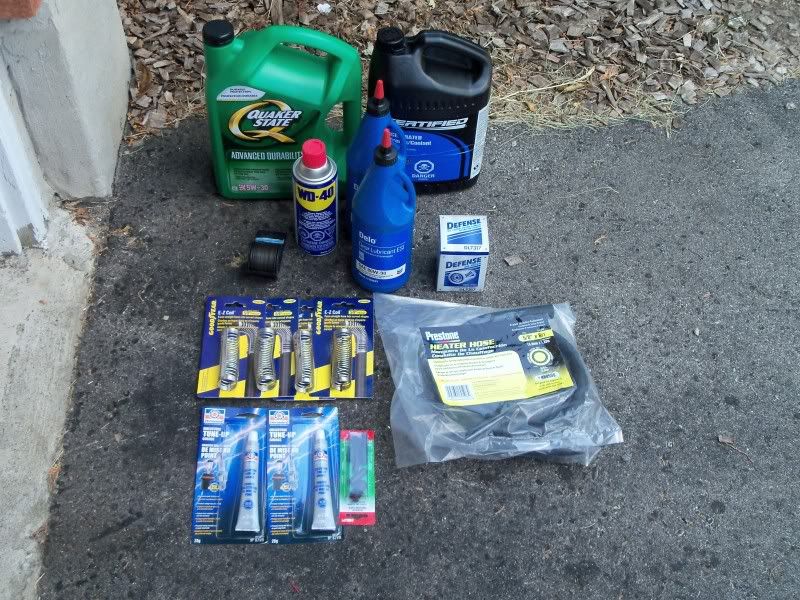
Bought the cheapest oil and filter money can buy to flush out the KLZE on start-up.
Re: Project Jay-Spec MX-326GS
Posted: July 18th, 2011, 9:48 am
by wytbishop
You don't add fluid through the lock screw. There's a plug on the side of the cylinder body where you add the fluid. Let the hoist down all the way and add fluid to the plug on the side. Pump it up and let it down again and re-add until it won't take any more fluid.