Page 8 of 22

Re: Ryan's Final Build

Posted: March 5th, 2011, 4:40 pm
by Nd4SpdSe
Ryan wrote:Higher pressure behind the squirters is exactly what I want. They are fed directly from the top half of the main bearings. The higher the pressure behind them, the higher the pressure everywhere else in the system.

They were removed entirely in the later KL's in order to raise oil pressure when running, as lots of KL's have suffered rod bearing failure due to oiling issues, I just compromised. Some KL's sees only ~10PSI at idle :shock:
Ohh, good call. My truck is 20psi at idle.

Re: Ryan's Final Build

Posted: March 26th, 2011, 12:32 am
by Ryan
Some photies... Sorry if there are repeats, its been a slow little while. Waiting for parts...

Been hacking away at the heads... talk about slow and painstaking.
Image

Oil filter assembly apart for modification... I'll be junking the cooler and at some point putting in an after market cooler. For now I'm putting in a sandwich plate, to tap an oil pressure gauge and oil temp sensor into.
Image

widened up some oil galleys in the block:
Image

After 4 weeks in transit from ON to MB, I got the timing stuff I needed:
Image

Mini sides:
Image

Steering rack finished:
Image

ZE rods/pistons prepped and ready for balance:
Image
Image

Re: Ryan's Final Build

Posted: March 28th, 2011, 8:00 pm
by Ryan
CC'd the heads:

Image
Image

heads are within 0.5cc from factory O.O. Those were done with the wrong spark plug, so -2cc ish. I wasn't concerned with true volume (not calculating C/R) but the difference.

and after all that work, ports are within 3 cc. Not bad. I won't sweat that much, its not like the I/M provides an equal path anyway. Plus, those numbers are mostly bull, as I changed the plate a few times (first one cracked, second melted, third was funny shaped and I may have used it upside down a few times)

Re: Ryan's Final Build

Posted: March 31st, 2011, 7:20 pm
by Ryan
Clutch!

Image

Other stuff in the mail too :D

MPI messed up, and we're all getting a 45% rebate... that works out to about $600 for me.

Re: Ryan's Final Build

Posted: March 31st, 2011, 8:51 pm
by Daninski
Attending school full time and still able to buy parts. You must of found the 'Fountain of Funds'. :P Good work. So when can we expect you car to be on the road.

Re: Ryan's Final Build

Posted: March 31st, 2011, 8:54 pm
by Ryan
Its called a guilty divorced father with a recently acquired five to six figure inheritance.

On the road? In my dreams, before May. In reality? Who knows. Got a MX-3 flywheel for me?

Re: Ryan's Final Build

Posted: March 31st, 2011, 9:01 pm
by Daninski
Yes I do have an MX3 flywheel. Give me your address and postal code and I'll get it shipped hope fully tomorrow. (that was easy) I need the money for shipping soonest, I'm now retired and poor. :lol:

Re: Ryan's Final Build

Posted: March 31st, 2011, 9:04 pm
by Ryan
For shits, R0A 0V0

:P

Re: Ryan's Final Build

Posted: April 3rd, 2011, 10:39 am
by Ryan
Decided I wanted a red pressure plate...
Image
Turns out, that the inside diameter of the cam gears is exactly the same as the diameter of the springs there. I re-used my template.

And I found .717 gears from a 626 sedan, this will let me cruise at 60MPH at 2500 RPM, and 70 MPH at 3150 RPM.
Image

EDIT!!! These are the wrong gears, they don't fit. If your look like this you're screwed too.

Re: Ryan's Final Build

Posted: April 3rd, 2011, 2:53 pm
by WhiteFinish
Ryan wrote:CC'd the heads:

Image
Image

heads are within 0.5cc from factory O.O. Those were done with the wrong spark plug, so -2cc ish. I wasn't concerned with true volume (not calculating C/R) but the difference.

and after all that work, ports are within 3 cc. Not bad. I won't sweat that much, its not like the I/M provides an equal path anyway. Plus, those numbers are mostly bull, as I changed the plate a few times (first one cracked, second melted, third was funny shaped and I may have used it upside down a few times)
I didn't know it was so easy to CC the heads.
Why did you do it ? I mean, what did you port that you needed to CC your head ?

Perhaps a small write up for future reference?

Re: Ryan's Final Build

Posted: April 4th, 2011, 12:25 am
by Ryan
Its not hard at all. Just google it.

Hardest part is finding a burette. $150 a peice. I flirted with the lab steward at University...

I didn't touch the combustion chambers, any removal of material -> lower C/R -> defeats my purpose.

the ports were close enough for my liking, so I'm happy, and now I'll bring it back to school and do our SAE formula car's engine, and make it super precise.

Re: Ryan's Final Build

Posted: April 7th, 2011, 10:37 pm
by Ryan
Birthday present from the bestest GF in the whole wide world:

Image

From Dan[sac] himself:

Image

What was left of Curtis' (umcamara) stash of parts:

Image

A fuel pump, soon to be turned oil cooling pump:

Image

Threads on oiling over on PT, I tend to post my more technical stuff over there in hopes that I get some more KL-experienced brains to pick:

http://forums.probetalk.com/showthread.php?t=1701300735

http://forums.probetalk.com/showthread.php?t=1701300233

Re: Ryan's Final Build

Posted: April 9th, 2011, 1:22 am
by Ryan
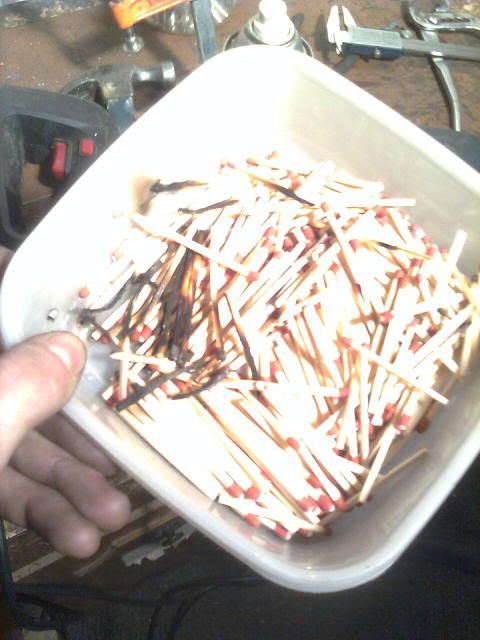
Whilst grinding today, I set a box of matches on fire. Whoops.

Image

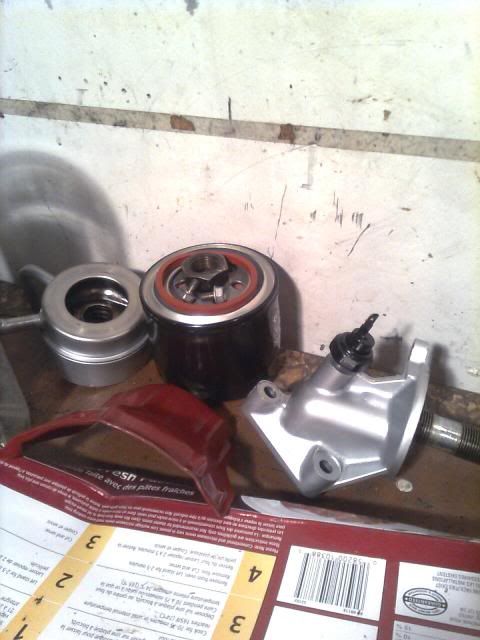
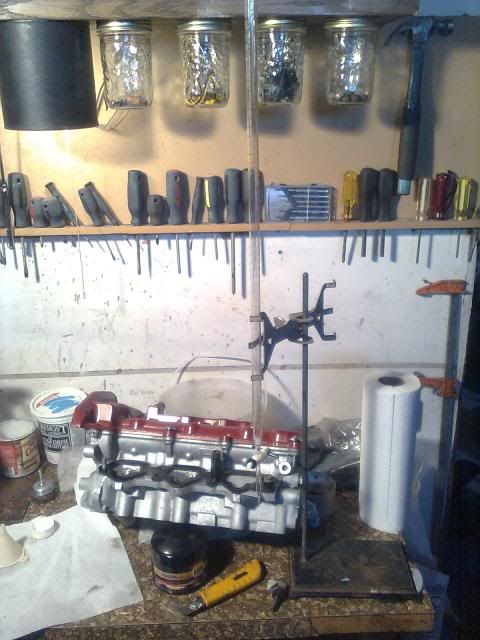
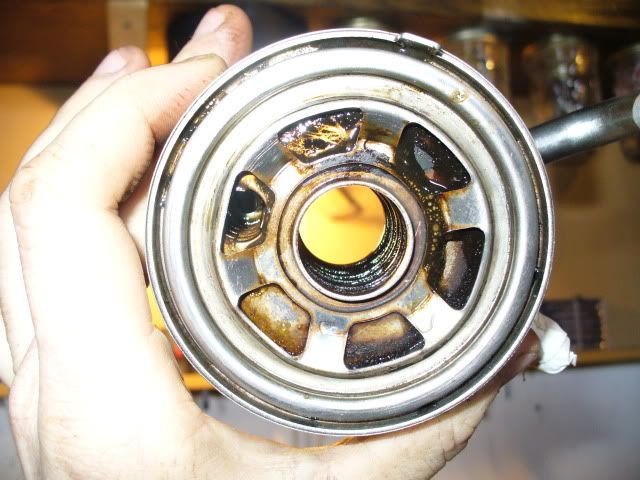
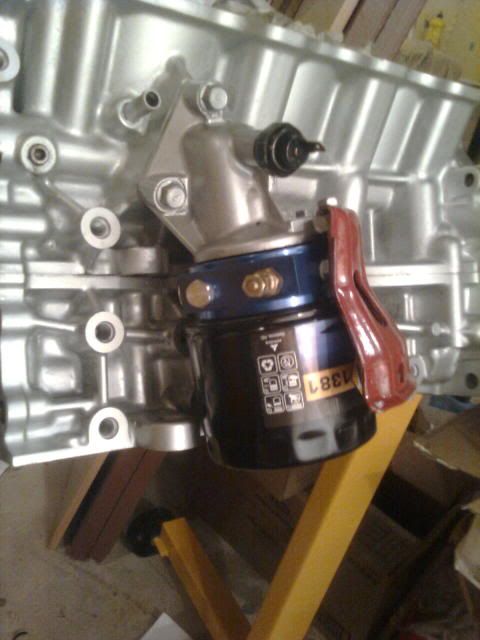
I got my oil filter sandwich, and I have successfully deleted the oil cooler!
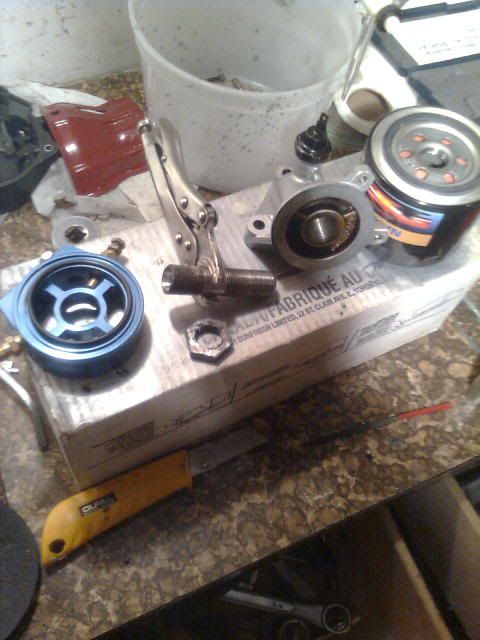
What I did:

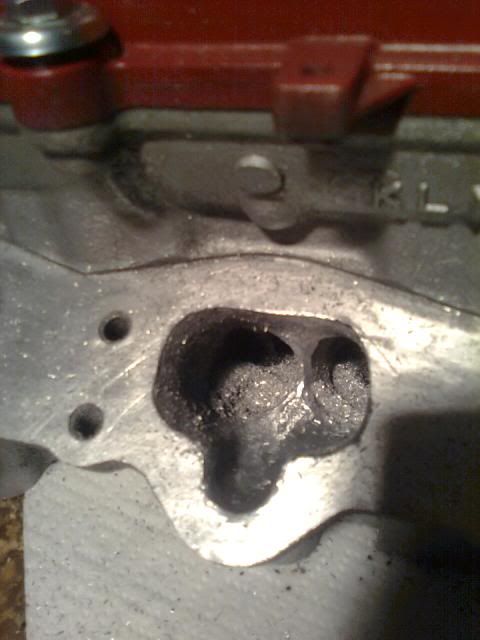
realized that the non-threaded part of the oil filter post was in the wrong spot. Since a M20x1.5 tap is harder to find than a girlfriend who shares my interest in cars, I had to think.

-I removed the post from the block adapter (grip like hell with vice grip and hit with hammer)
-I ground off 5-7 threads from the block side. Now, think carefully when doing this. The total length must still allow the filter to screw on enough, but not so far that the rest of the post bottoms out in the filter. Turns out that if you cut it enough that the threads bottom out in the block adapter, this all works out.
-I radiused the cut I just made with my carbide.
-cleaned the post inside and out
-Now, the nut is too thick, the filter jams on it before the seal touches, so I had to grind the nut in half. That is challenging, I wish I had a lathe :(.
-NOW it all fits nicely, thread lock the block side of the post.
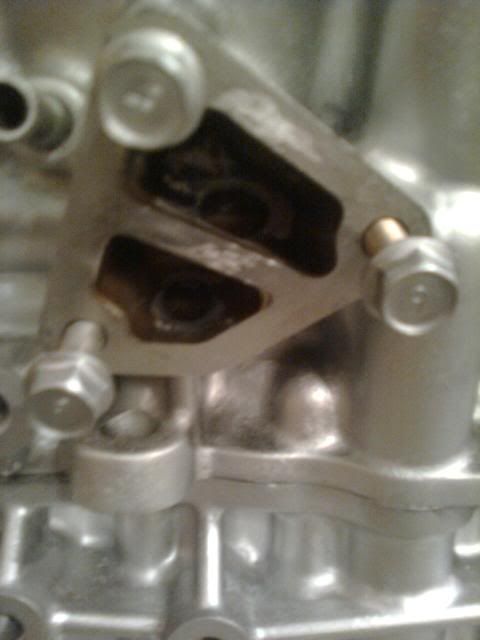
-Problem: sandwich plate centre hole is bigger than post, so it does not centre itself. Solution is to find an Oring that fits between them, or slightly larger so that when you tighten the nut down it presses the oring into the middle, centring it. Do all of this.
-now put on the filter sheild and see which way you need to rotate the sandwich plate so you can still get at the ports. Done. Tighten the nut down for good (1 1/4")
-Put on filter, make sure it tightens down properly without bottoming out on the nut.

Voila! oil cooler delete!

Image
-2 hours of labour (seemed much longer)

Image


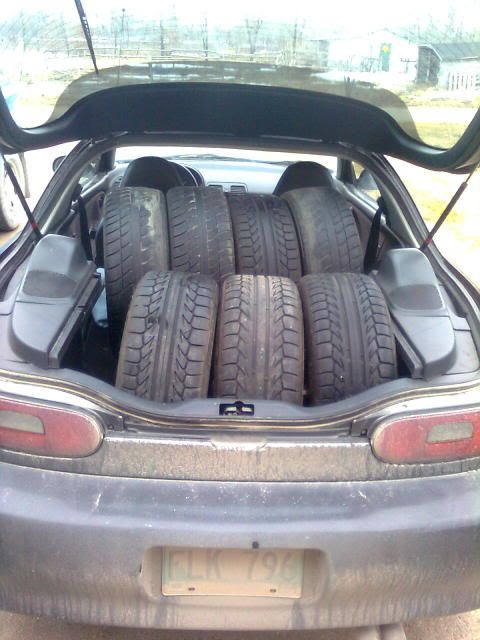
Also, went out to get rubber switched around for summer :)
Image


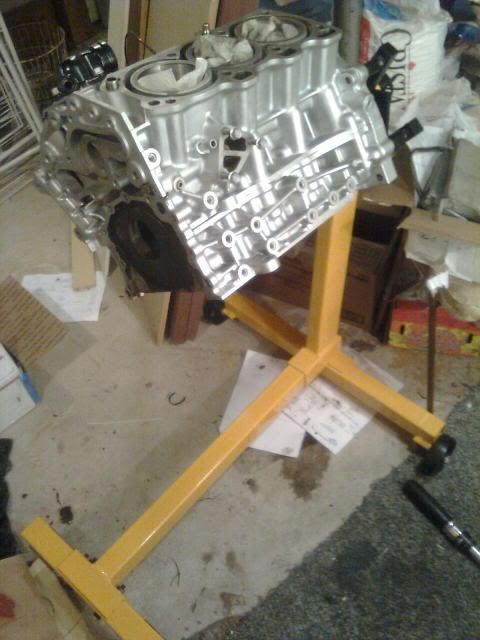
And! The awesome GF bought me an engine stand for my birfday!
Image


Also, I got my plug wires in the mail. They are black and nothing special.

Re: Ryan's Final Build

Posted: April 9th, 2011, 8:34 am
by Nd4SpdSe
Hold a sec...hold on a second here....

You've deleted the OEM oil cooler

You want to integrate some complex oil bypass cooling system with a fuel pump

But you suspect one of the issues in the KL is oil temp?

I'm actually kinda confused, I really am.

Re: Ryan's Final Build

Posted: April 9th, 2011, 8:44 am
by Ryan
I suspect THIS is one of the issues:

Image

Can you see the one little oil passage? Can you imagine how much oil can possibly be pushed through there at 20-70 PSI? Is that restriction more than the equivalent of all the bearings? That is, can that amount oil all of the bearings in the motor(4+6+10+10), along with whats left of the oil squirters at 7krpm?